How to design a LinkedIn launch post in Canva
Use this walkthrough to turn a template into a finished launch post. You’ll choose a template, add your image and brand assets, resize the design, and download the final file.
1. Select a template
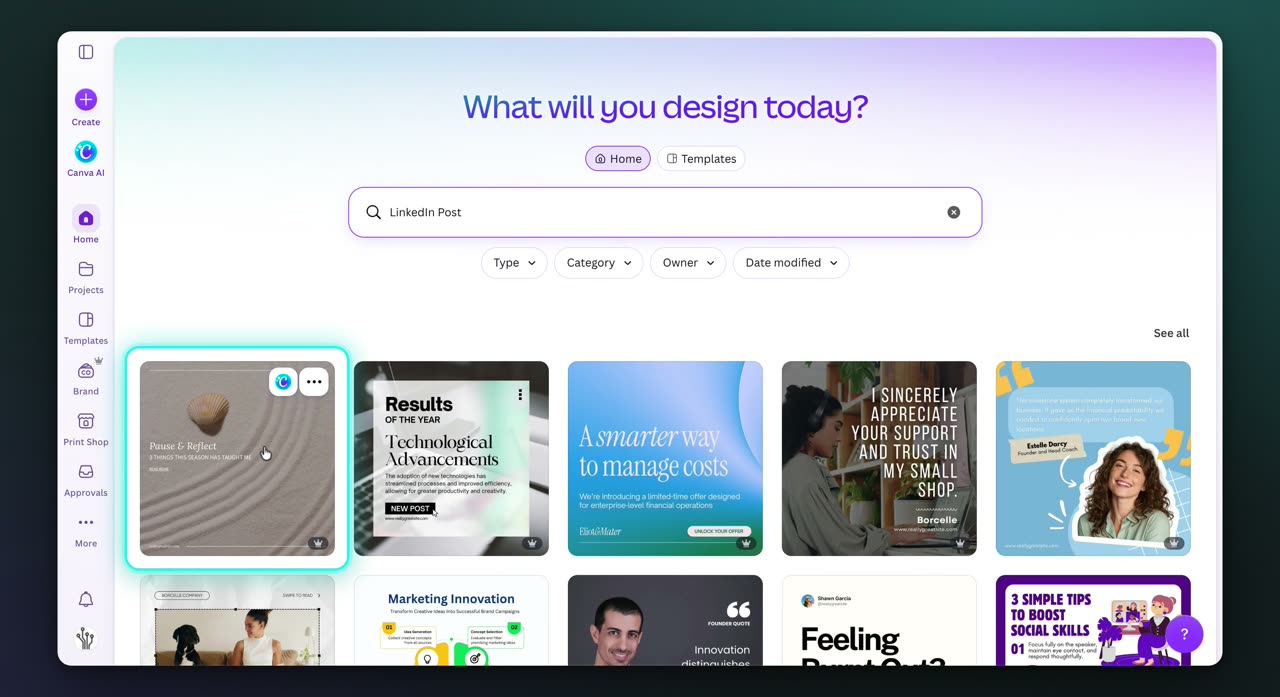
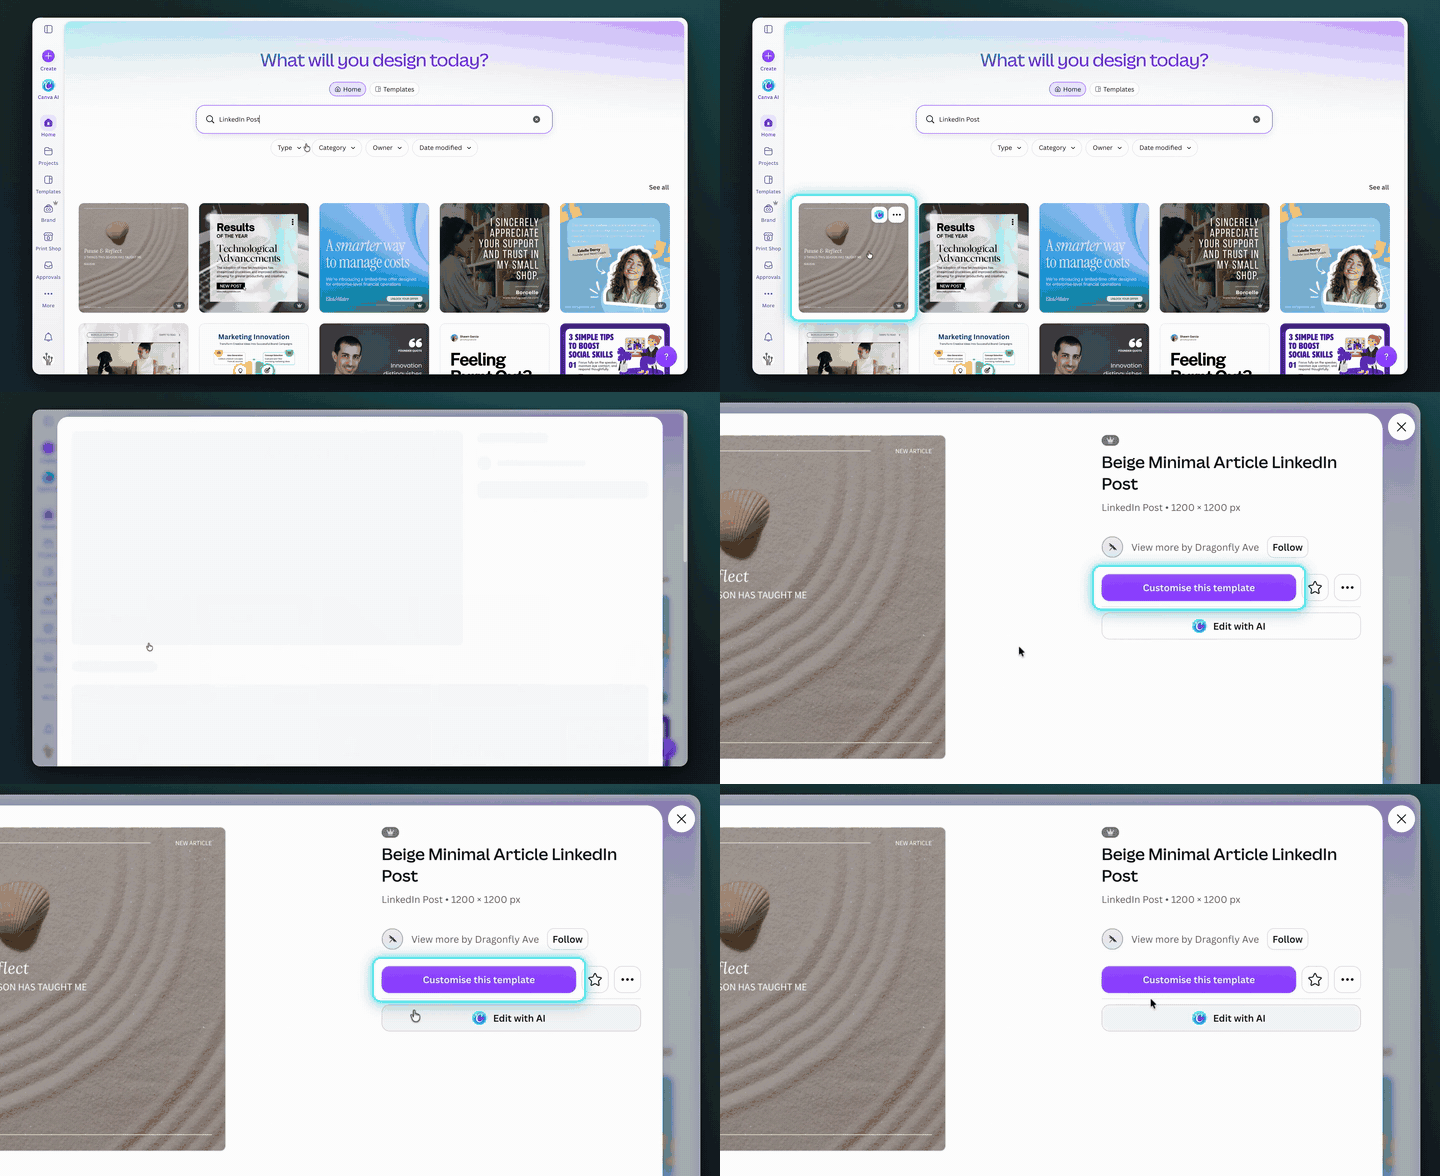
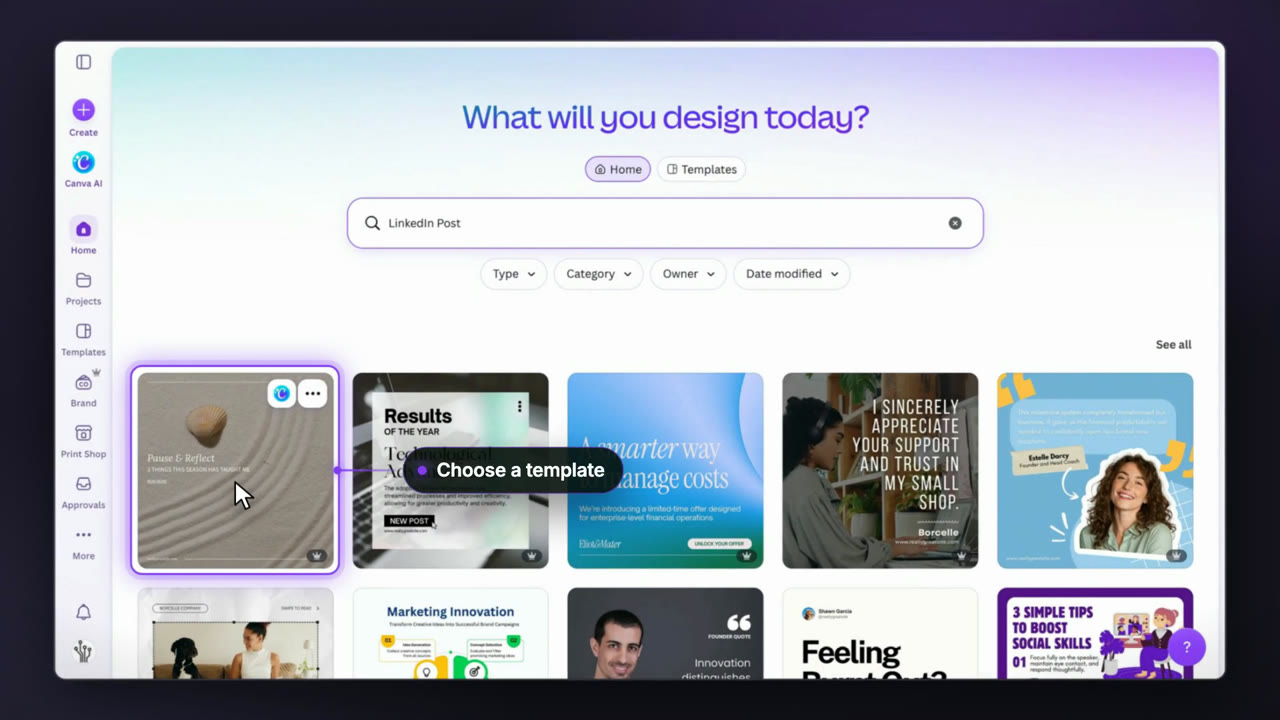
Click a design template card in the LinkedIn Post search results. This opens a preview of the template you want to use.
2. Open the editor
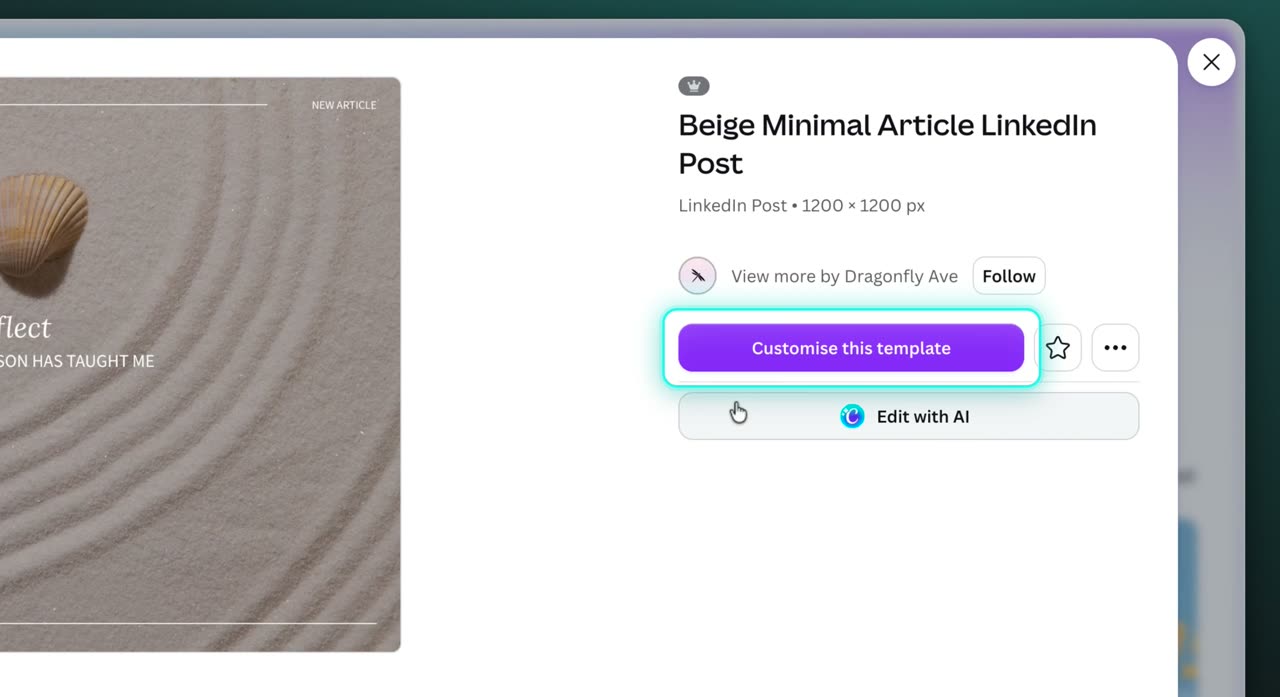
Click Customize this template to open the selected design in the editor. Canva opens the design editor and shows the Uploads panel.
3. Insert uploaded media
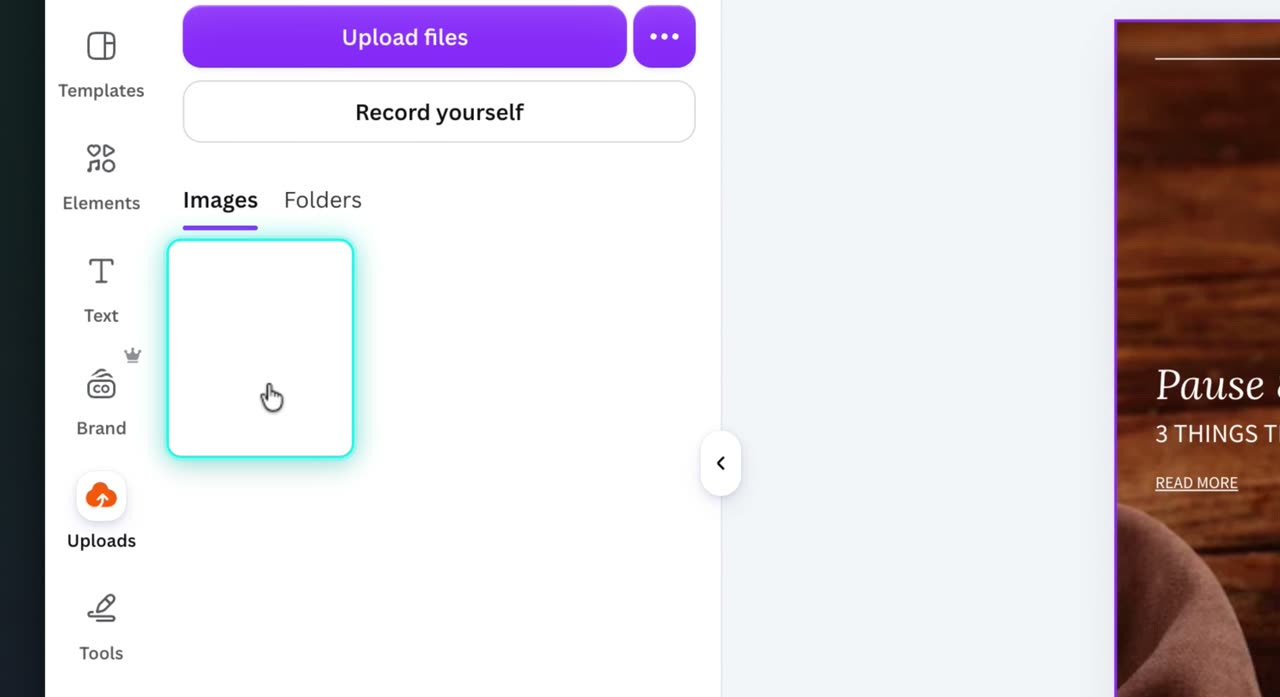
Click an image thumbnail in the Uploads library. The uploaded photo is placed on the canvas, and the text on the design changes on screen.
4. Open Brand
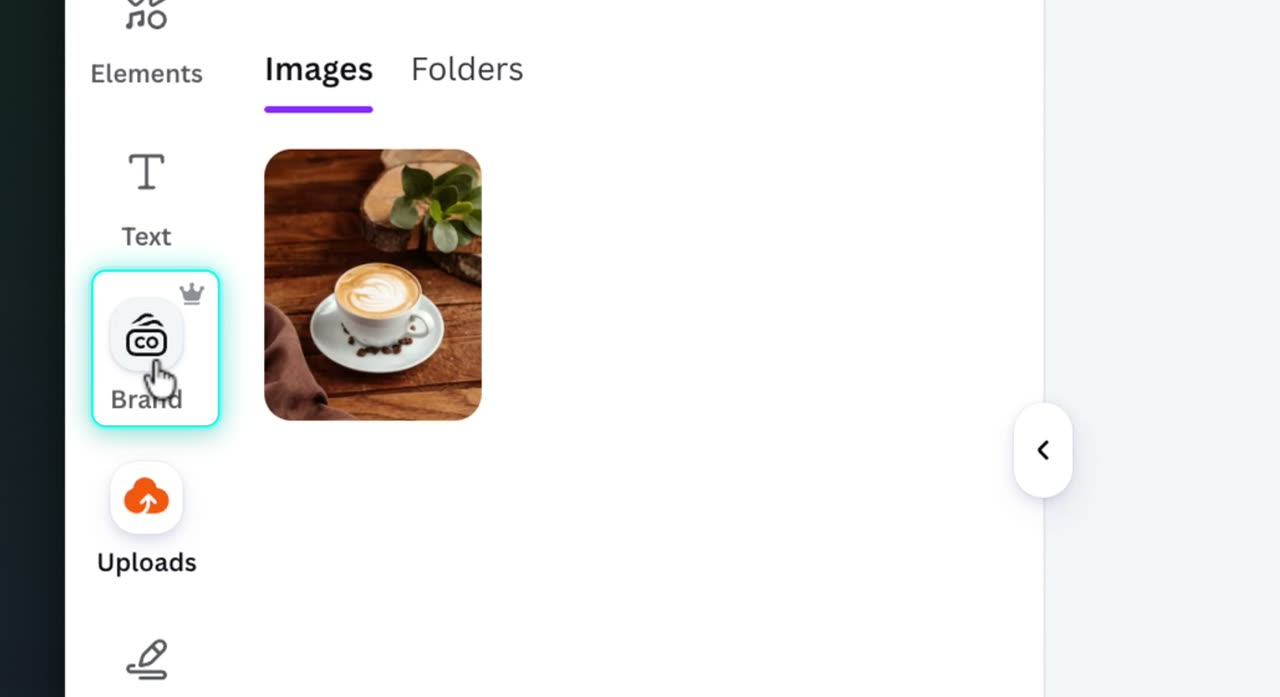
Click Brand in the left panel. The Brand Kit panel opens and shows logos, colours, and fonts.
5. Shuffle brand colors
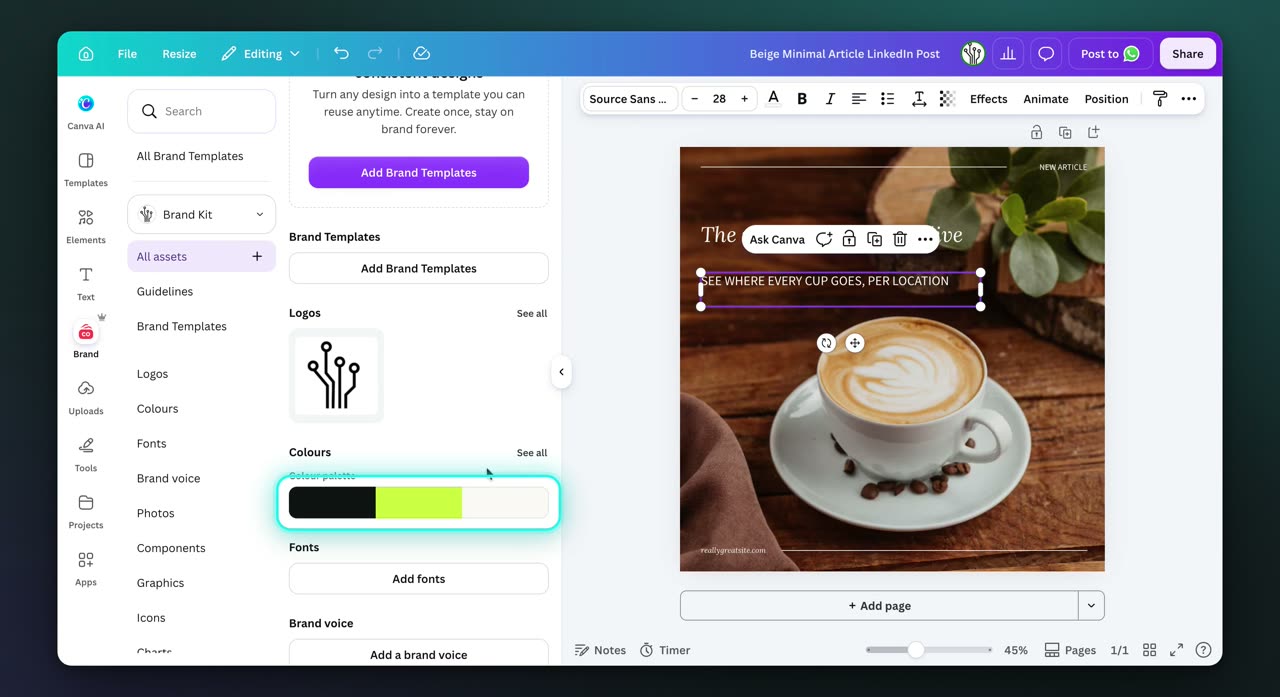
Click Shuffle to cycle through brand color combinations on the design. Keep clicking until you see the version you want.
6. Add the brand logo
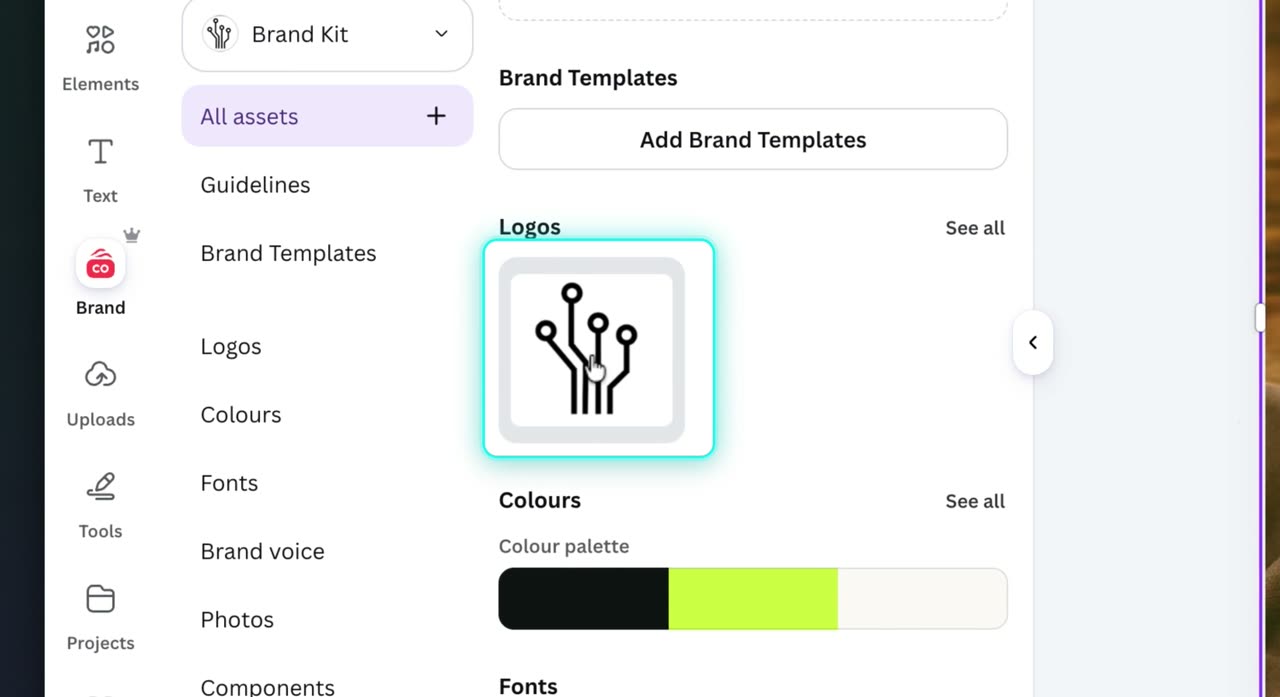
Click the logo asset in the Brand panel. The logo is inserted into the design and moves to the bottom right of the canvas.
7. Open Resize
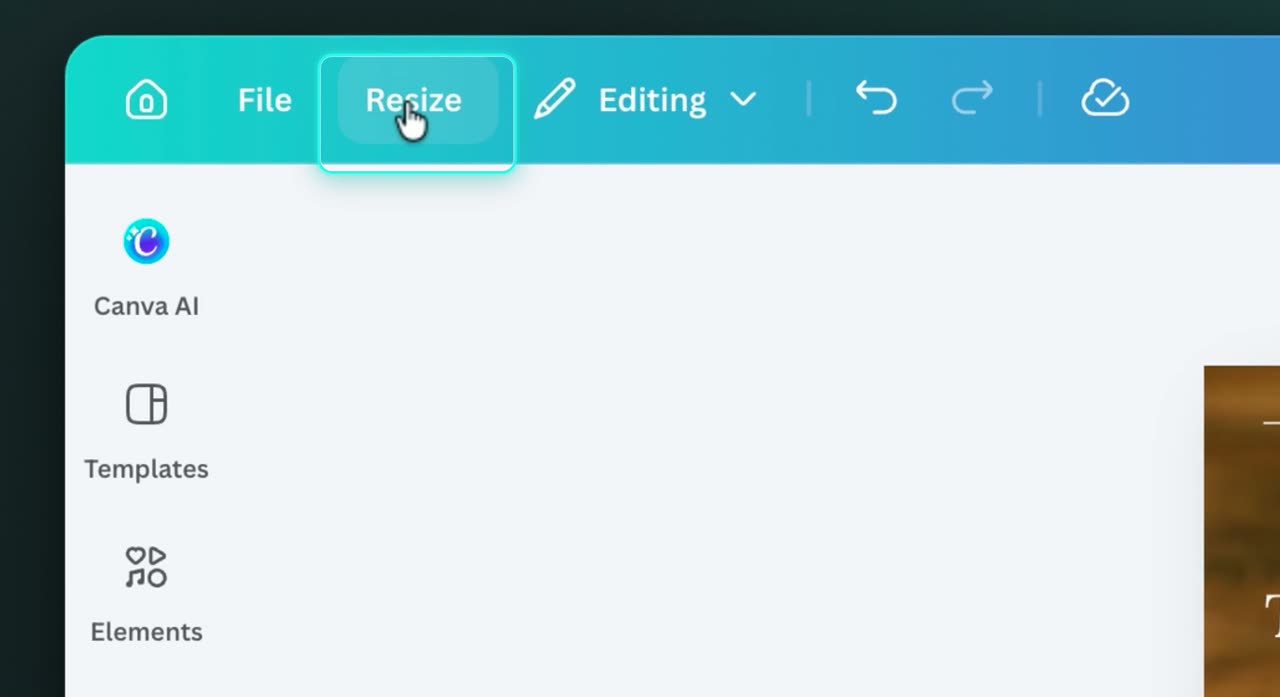
Click Resize in the top toolbar. This opens the options for changing the document dimensions.
8. Resize this design
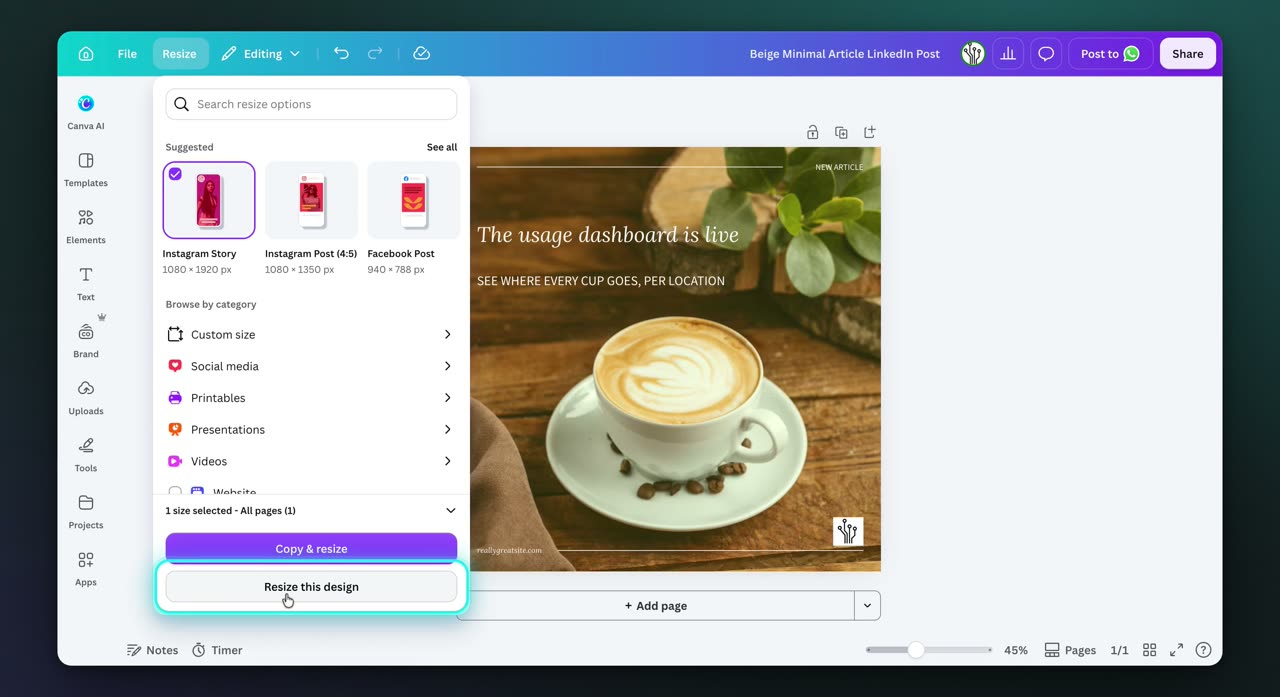
Click Resize this design to change the post to the Instagram Story size in place. The layout updates in the same design.
9. Open Share
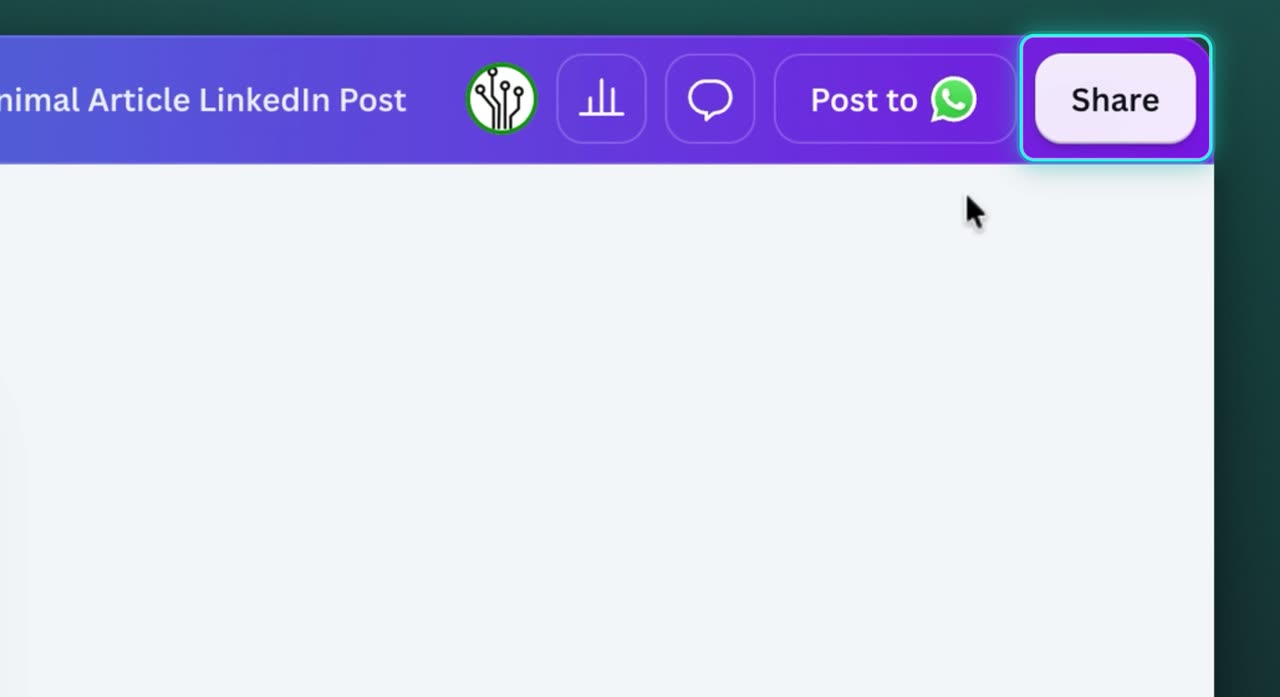
Click Share in the top right corner. This opens the export options after the page has been resized.
10. Download the design
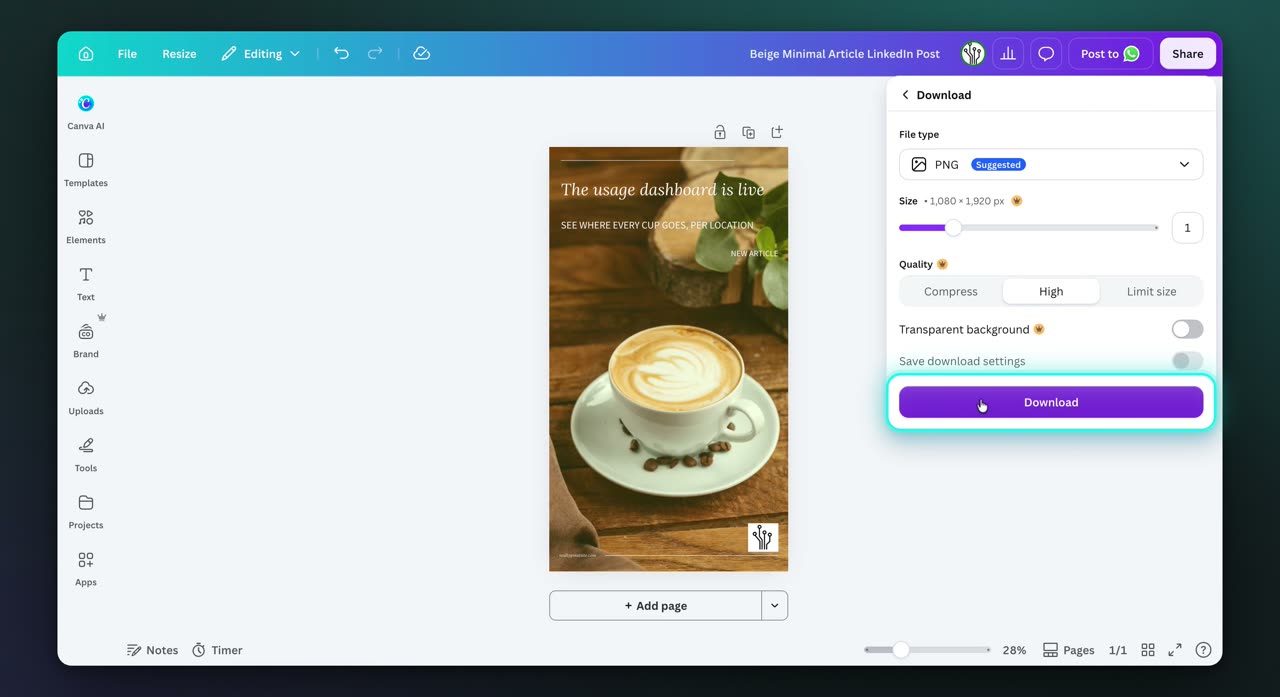
Click Download to export the finished design to your computer. The PNG download starts, then shows as completed in the side panel.
Your launch post is now ready to use or share in its downloaded format.