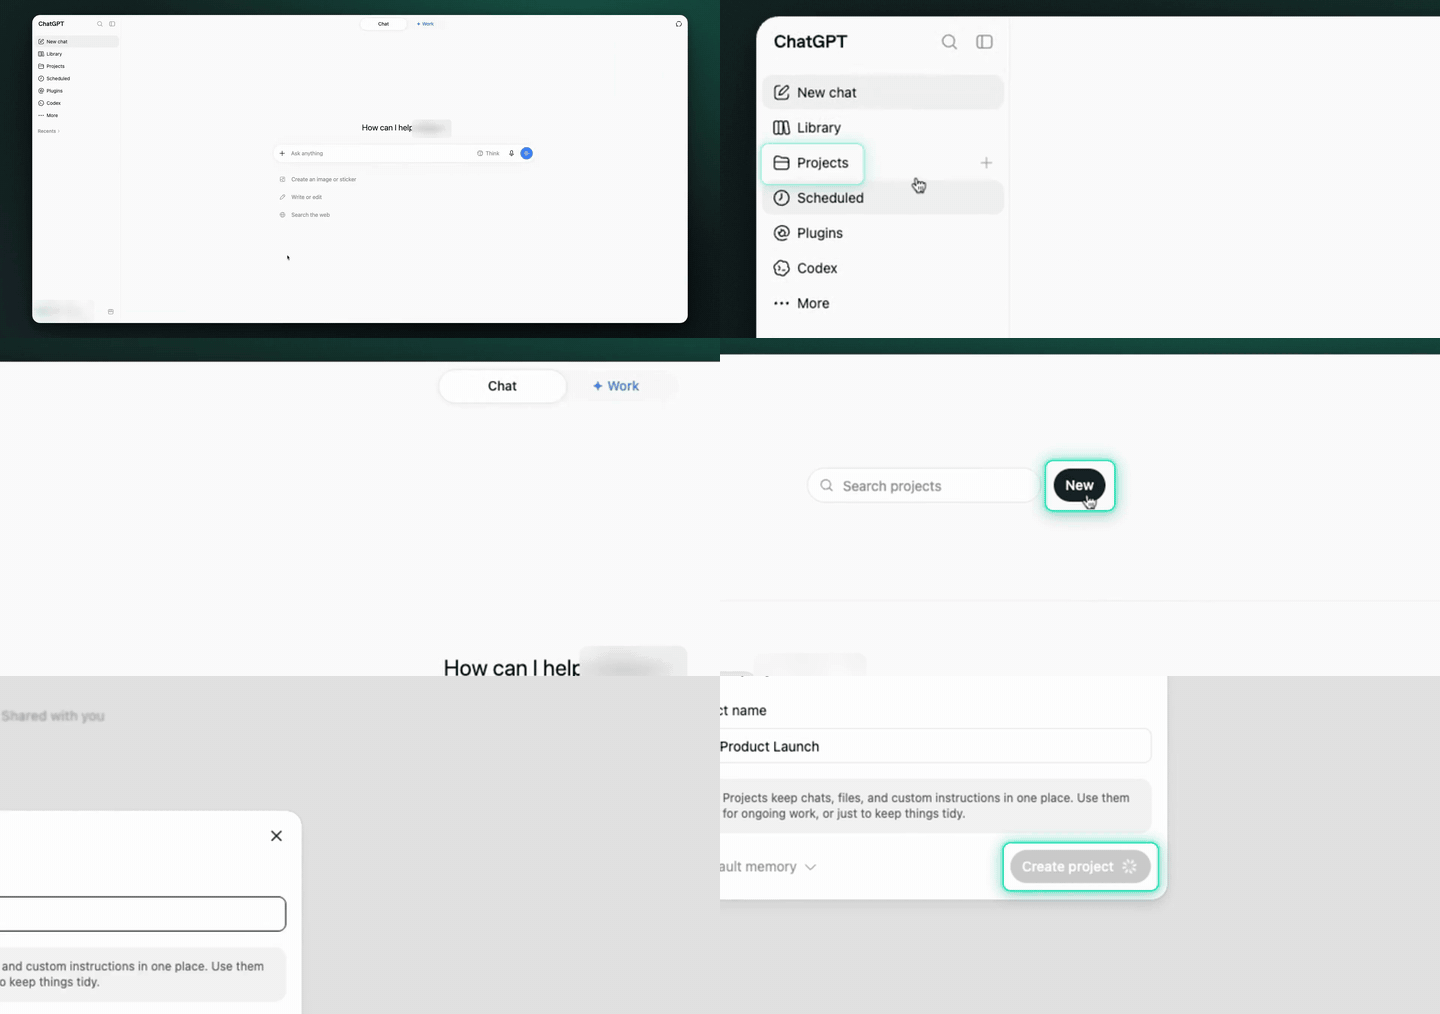
How to use ChatGPT Projects and Image
Use Projects to set up a dedicated workspace, add files, and start a chat that uses your project context. You will also open the prompt bar tools so you can access options like image creation.
1. Open Projects
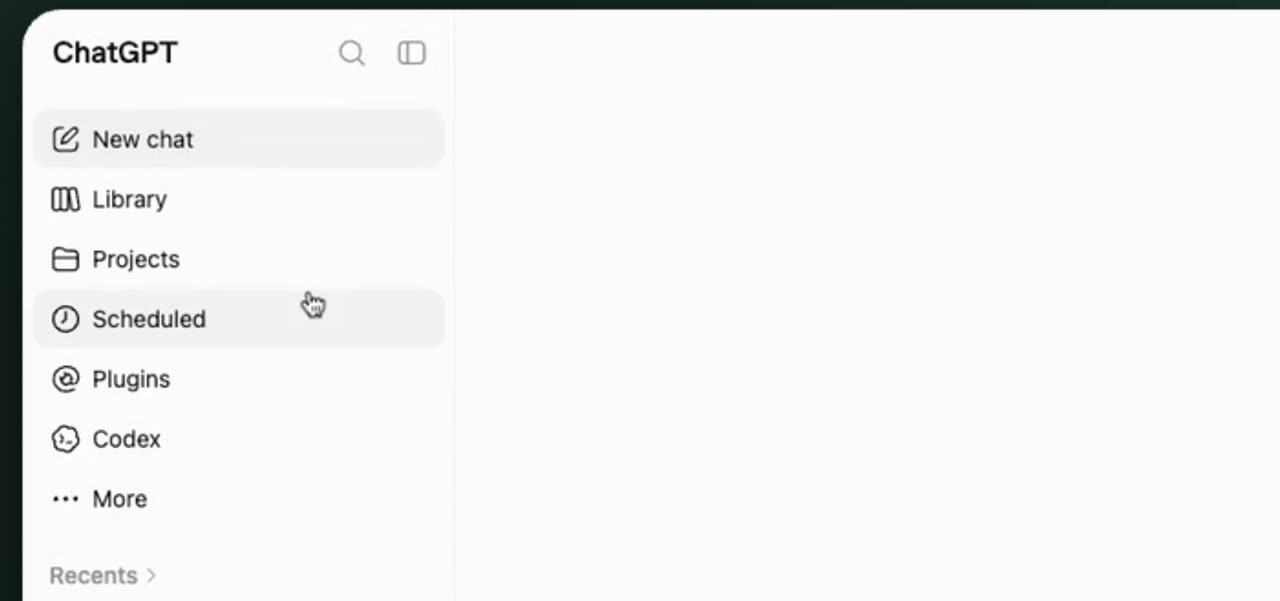
Select Projects in the sidebar to open your project workspace. This is where you can create and manage project-based work.
2. Create a project
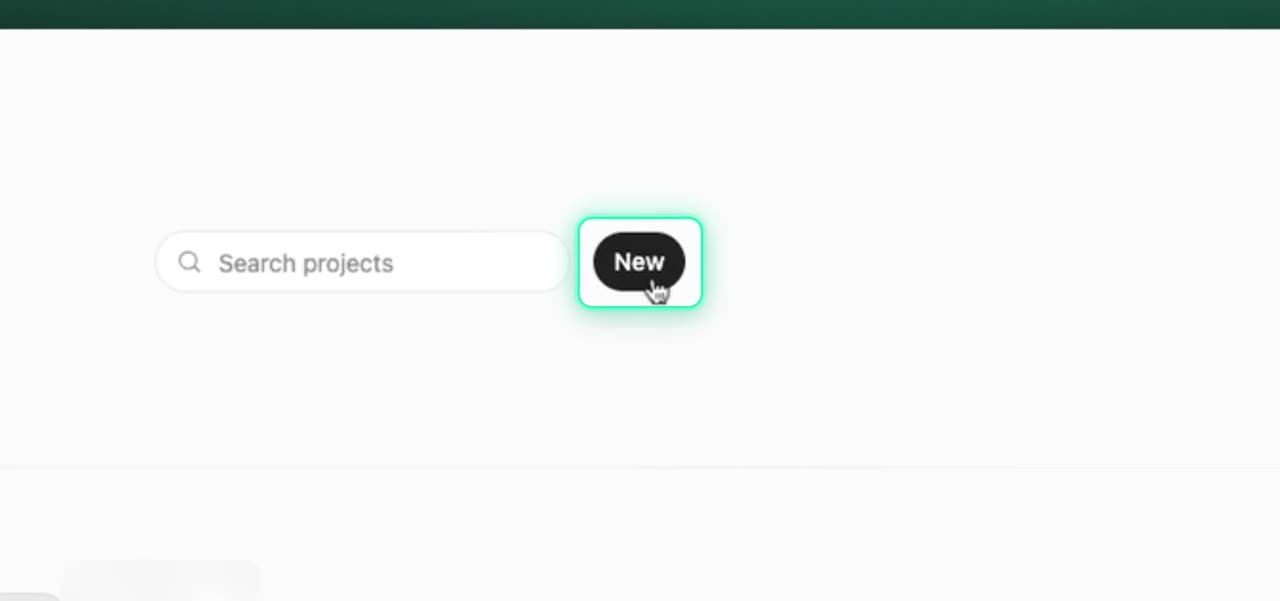
Click New project to start a new workspace. Use this to set up a separate space for this workflow.
3. Save the new project
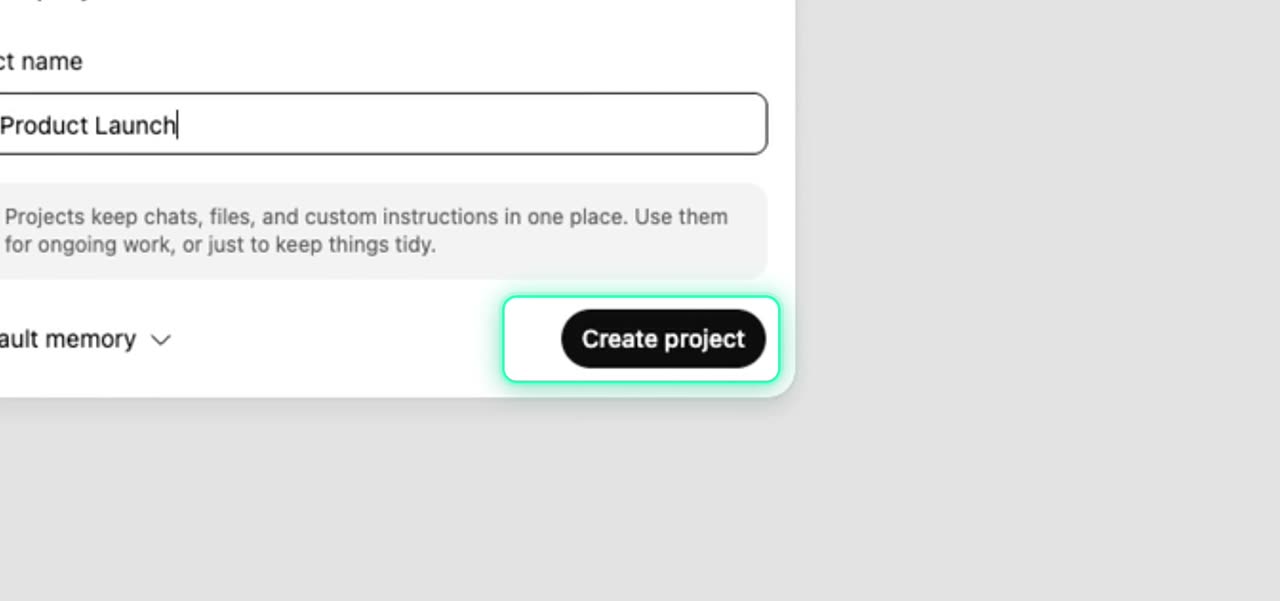
Enter a project name, then click Create project. This saves the project so you can start configuring it.
4. Open project options
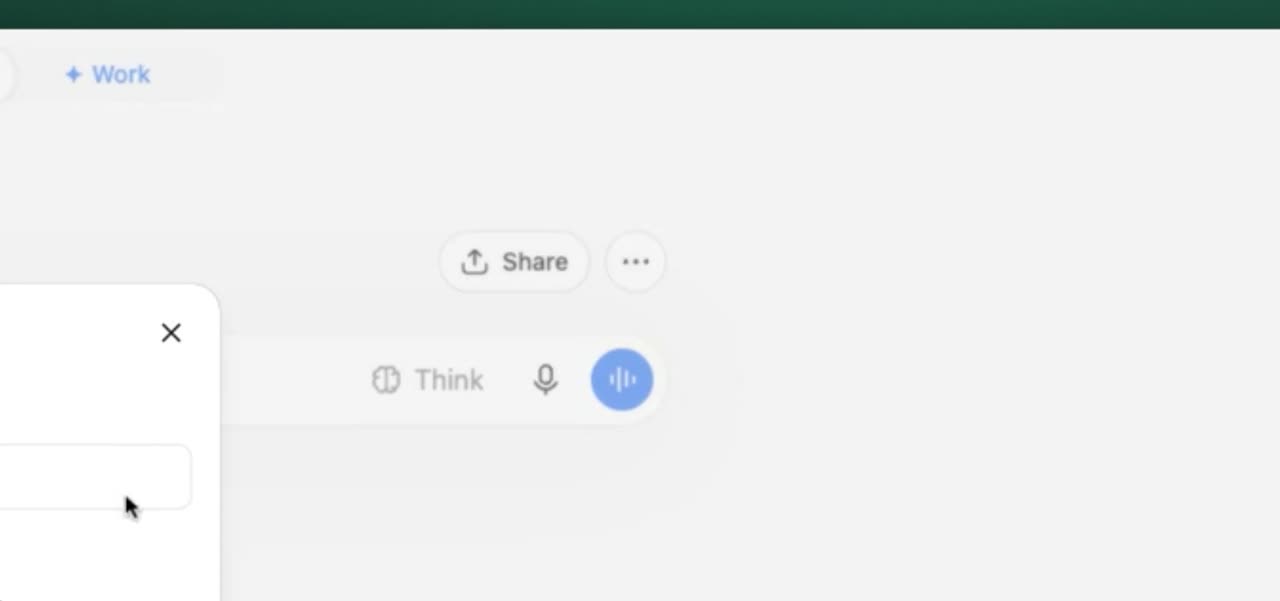
Click the menu icon to view project options. This opens the settings and configuration choices for the project.
5. Edit project settings
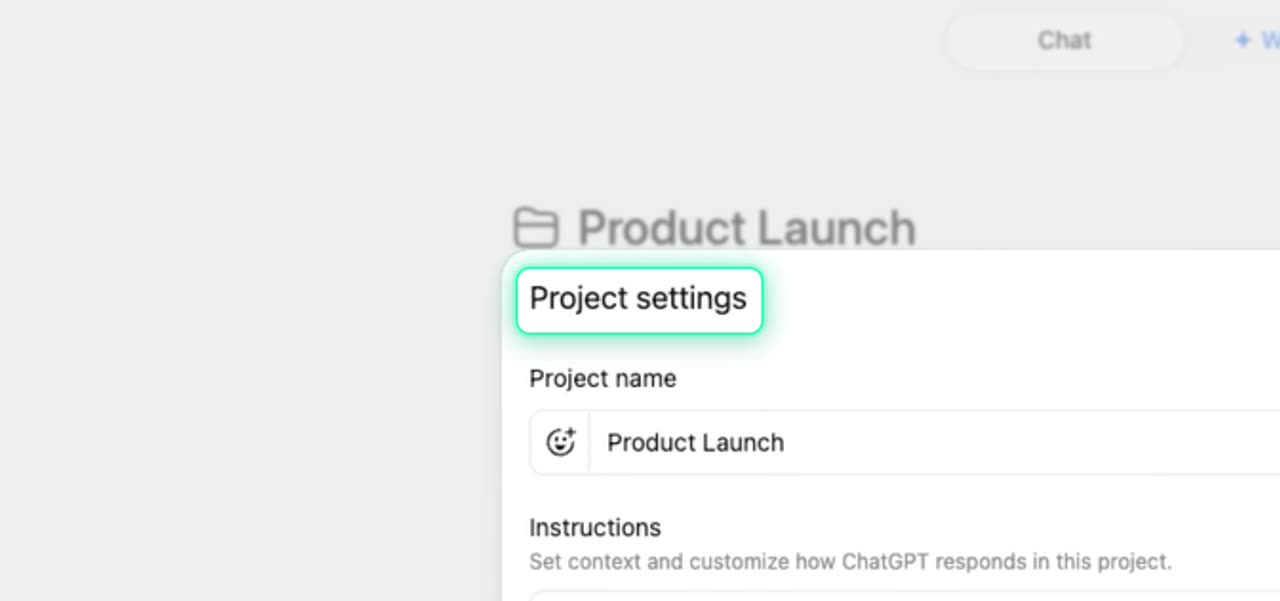
Select Project settings. Here, you can adjust custom instructions and other project preferences.
6. Save your settings
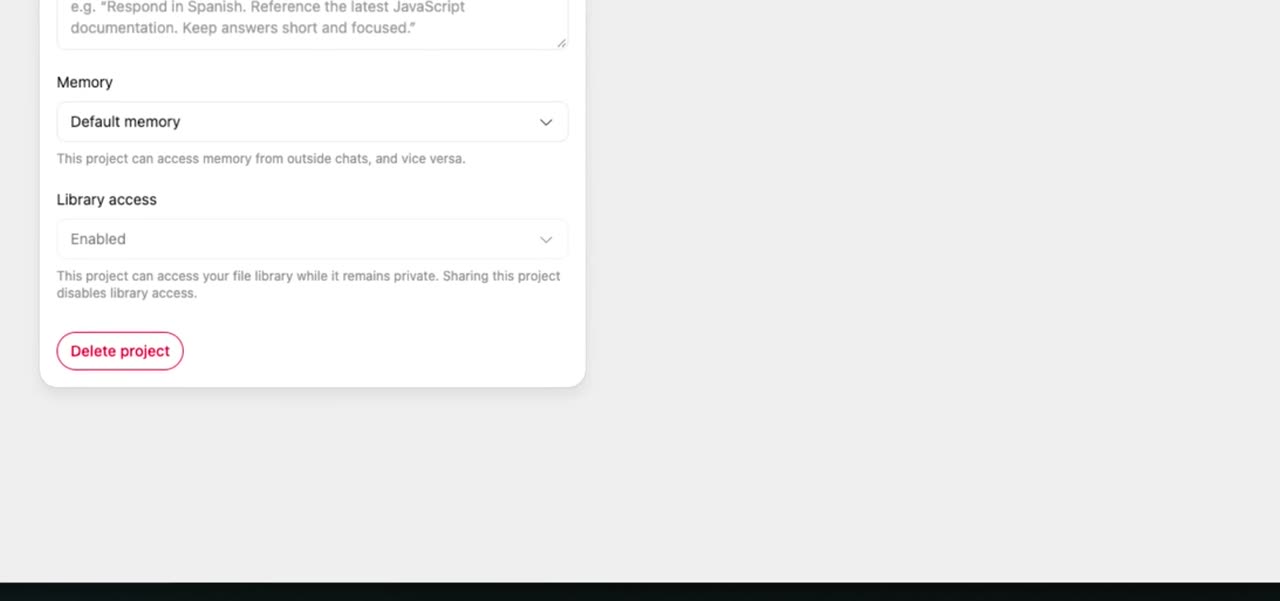
After you make your changes, click Save. This applies your custom instructions to future work in this project.
7. Switch to Sources
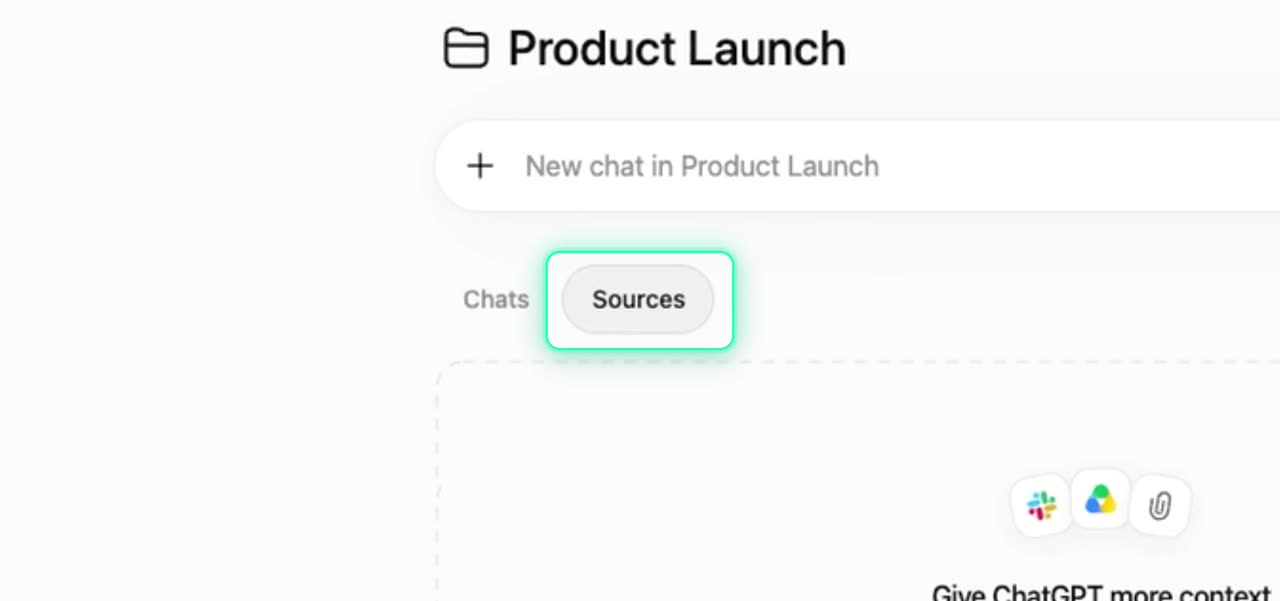
Click the Sources tab to manage project files. Use this area to review and organize uploaded materials.
8. Add files
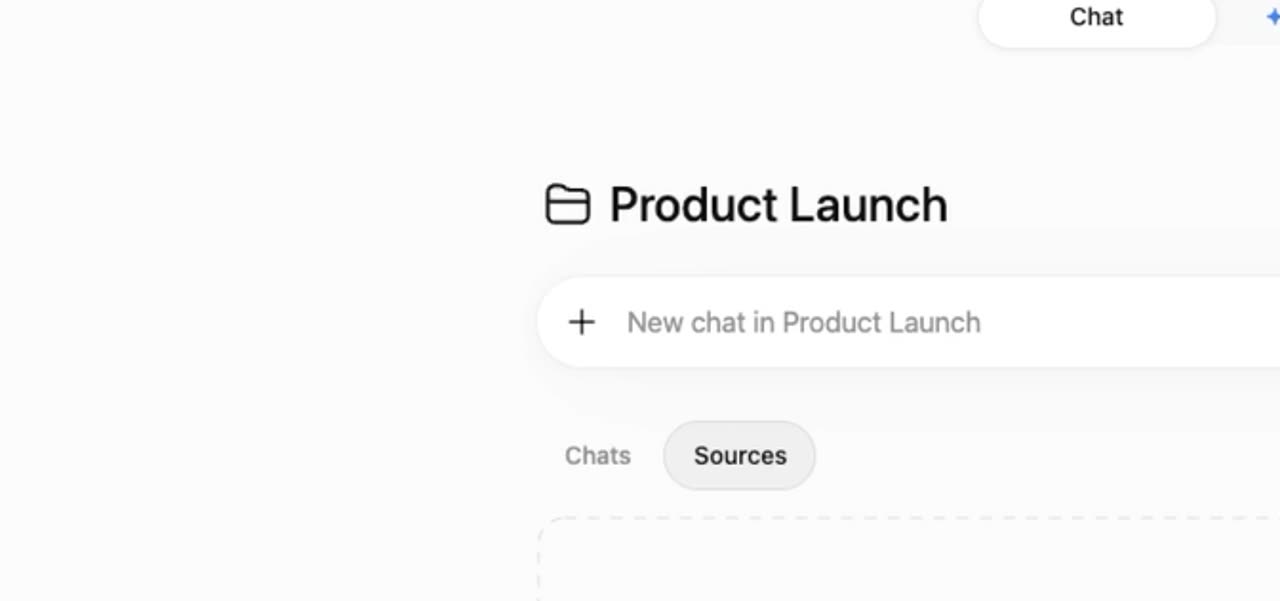
Click Add sources to upload relevant files. These files can help guide the project context.
9. Start a new chat
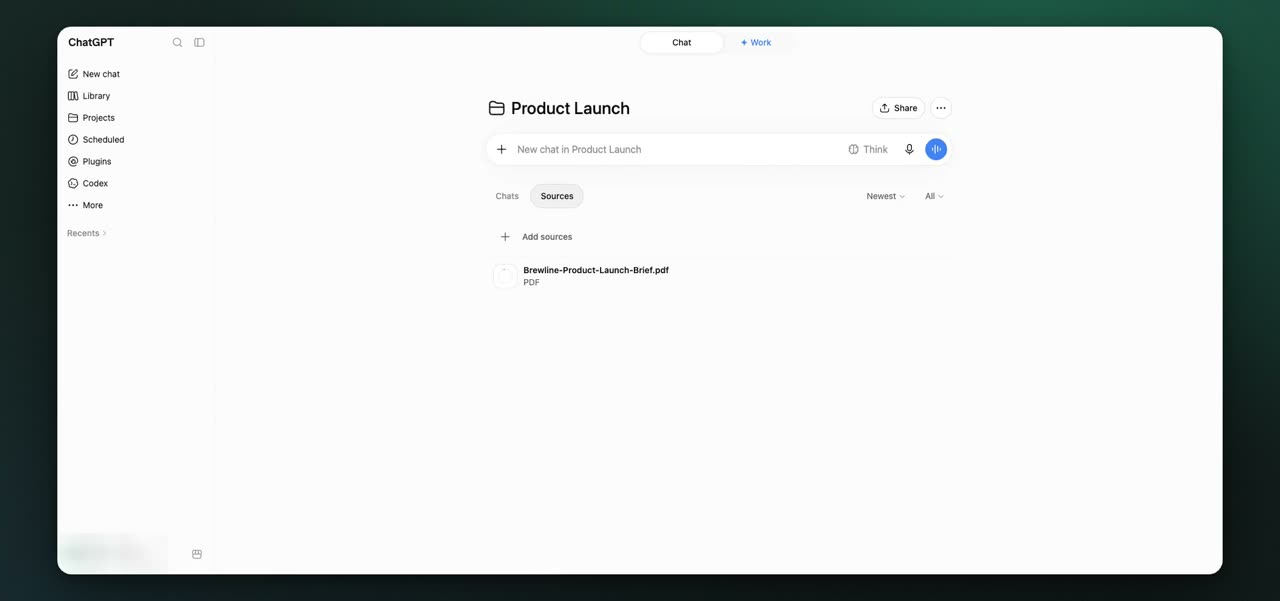
Click to start a new chat in the project. Your prompts can now use the project context and reference the uploaded files.
10. Open the action menu
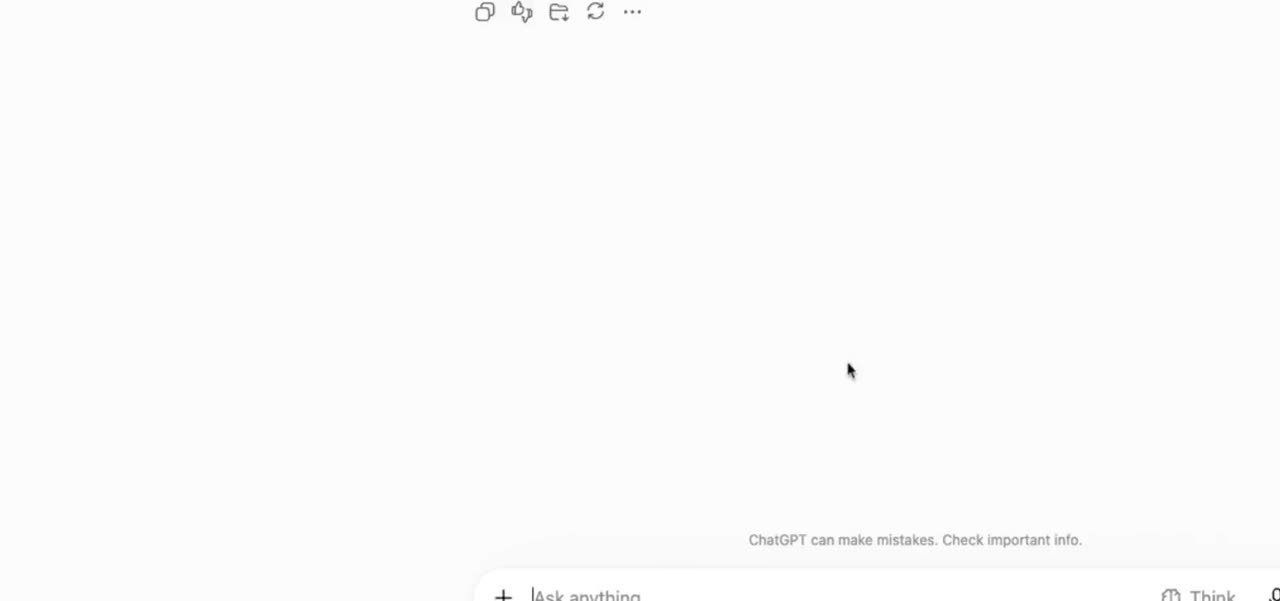
In the prompt bar, click the plus button to open additional tools. This includes options such as image creation within your project.
Your project is now set up with settings, sources, and a new chat, and you can open the prompt bar tools when you want to create an image.