How to use Claude Projects
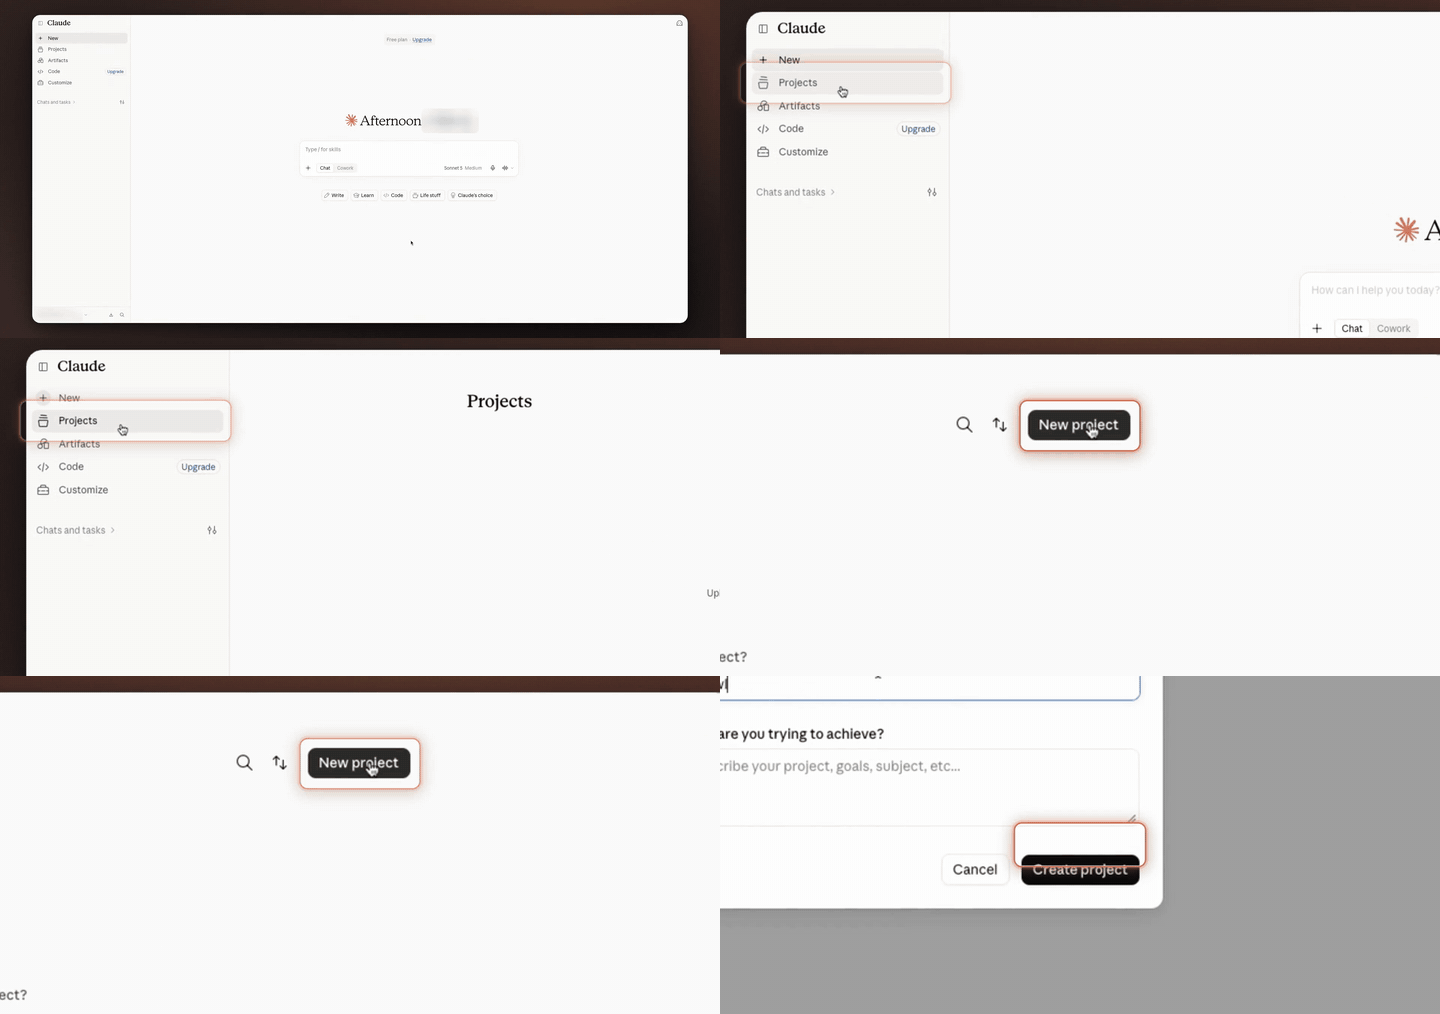
Use Projects to organize your work, add instructions Claude should follow, and upload reference material for a conversation. Follow these steps in order to create your first project and start chatting in it.
1. Open Projects
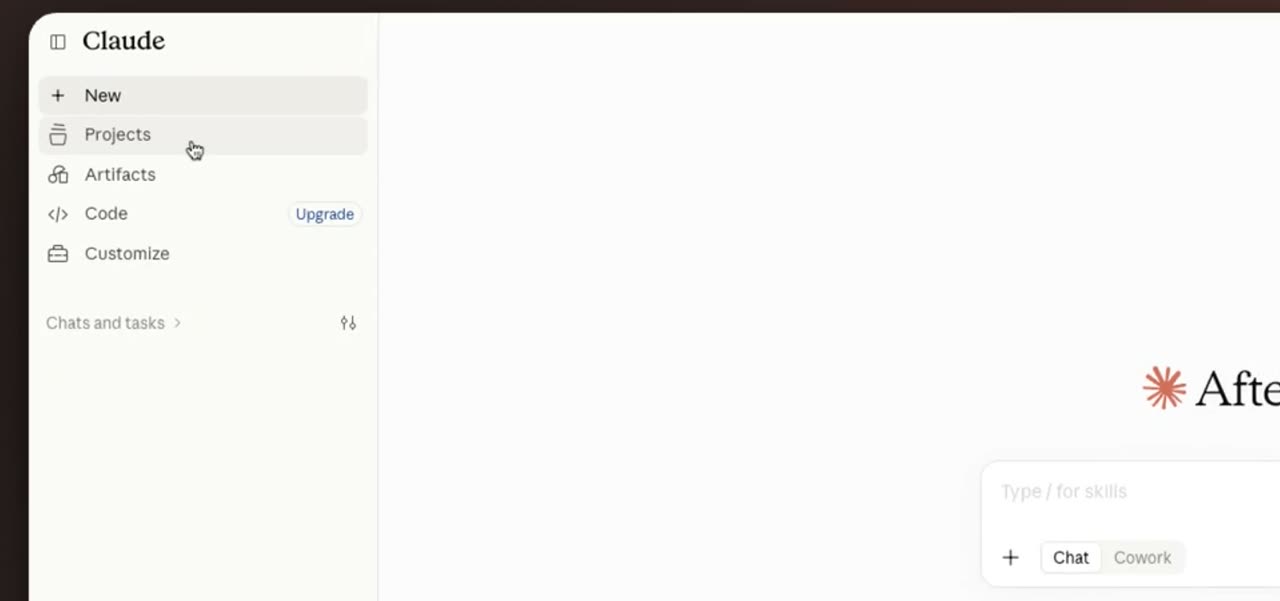
Click Projects in the left navigation menu. This opens your project dashboard.
2. Create a new project
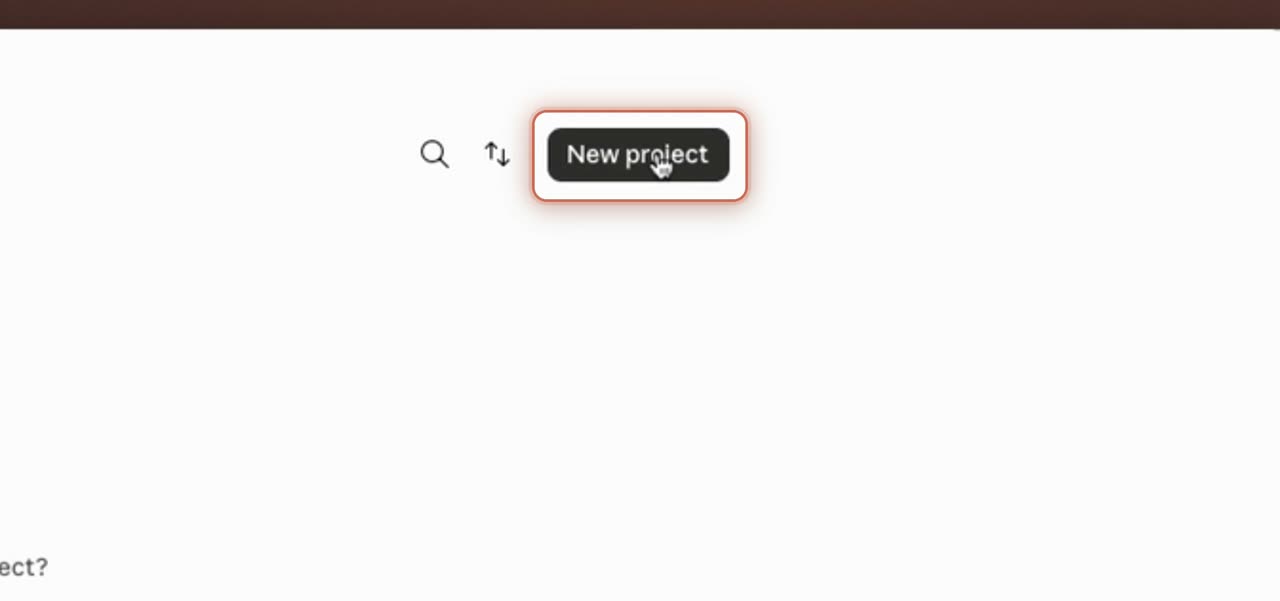
Click New project in the upper-right corner. This starts a new project.
3. Save your new project
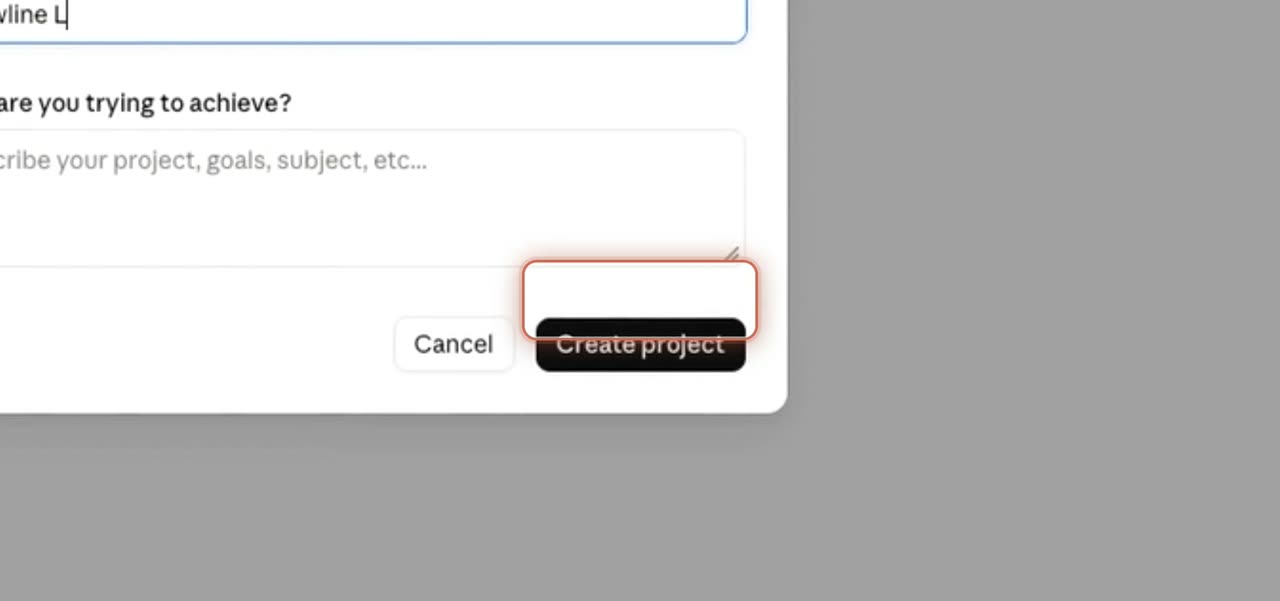
Enter a name for your project. Then click Create project to save it.
4. Add project instructions
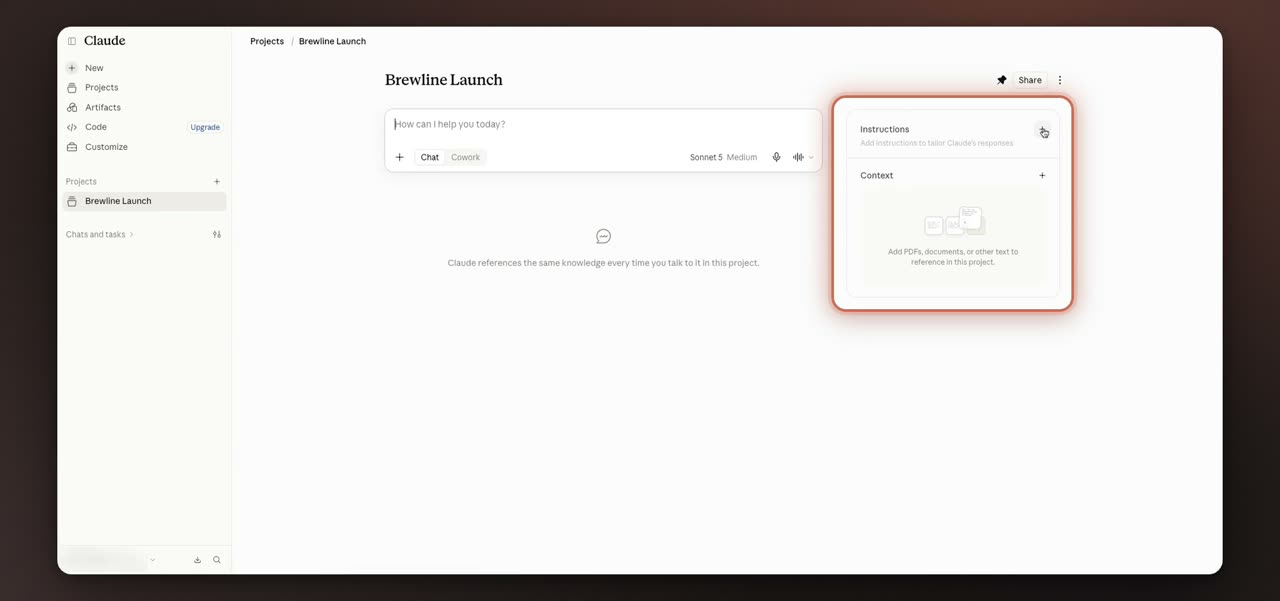
Click the instructions section. Use this area to set project-wide guidance for Claude.
5. Save project instructions
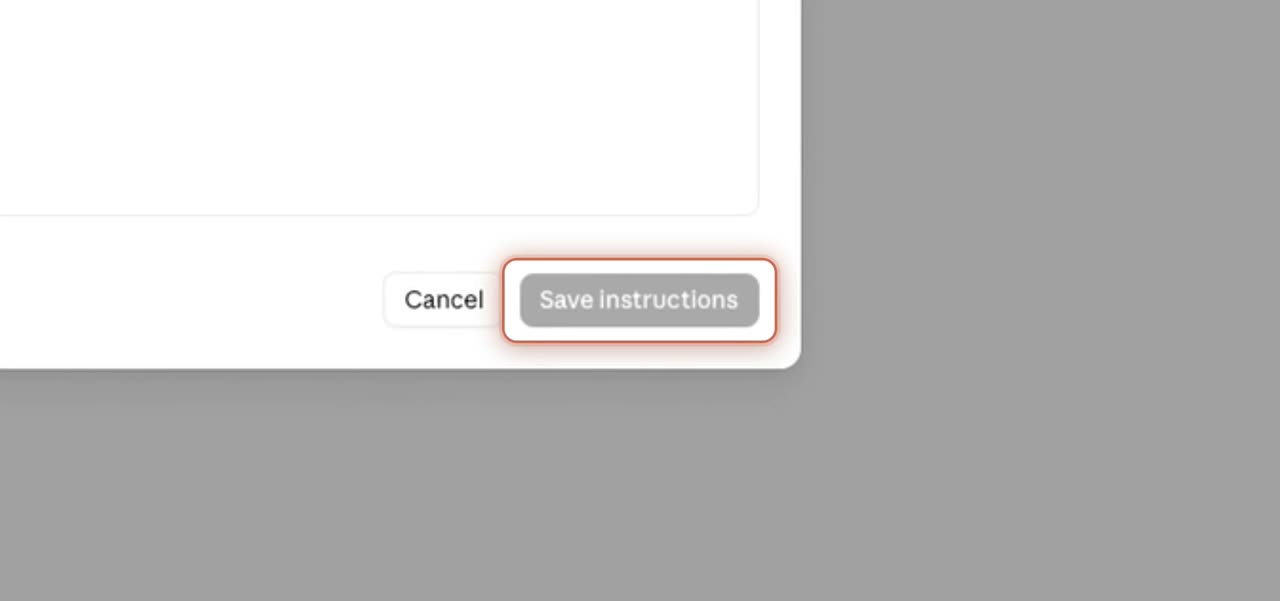
Type the instructions you want Claude to follow. Then click Save instructions.
6. Add project content
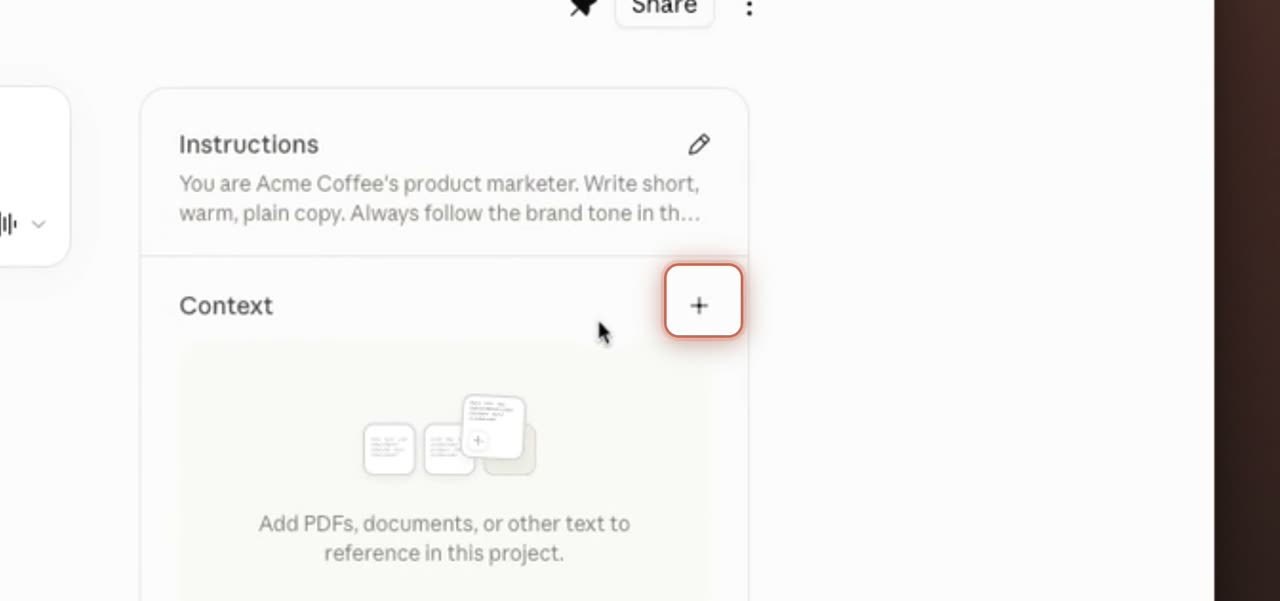
Click the plus icon in the Context panel. This lets you add reference files or other content to the project.
7. Upload a file from your device
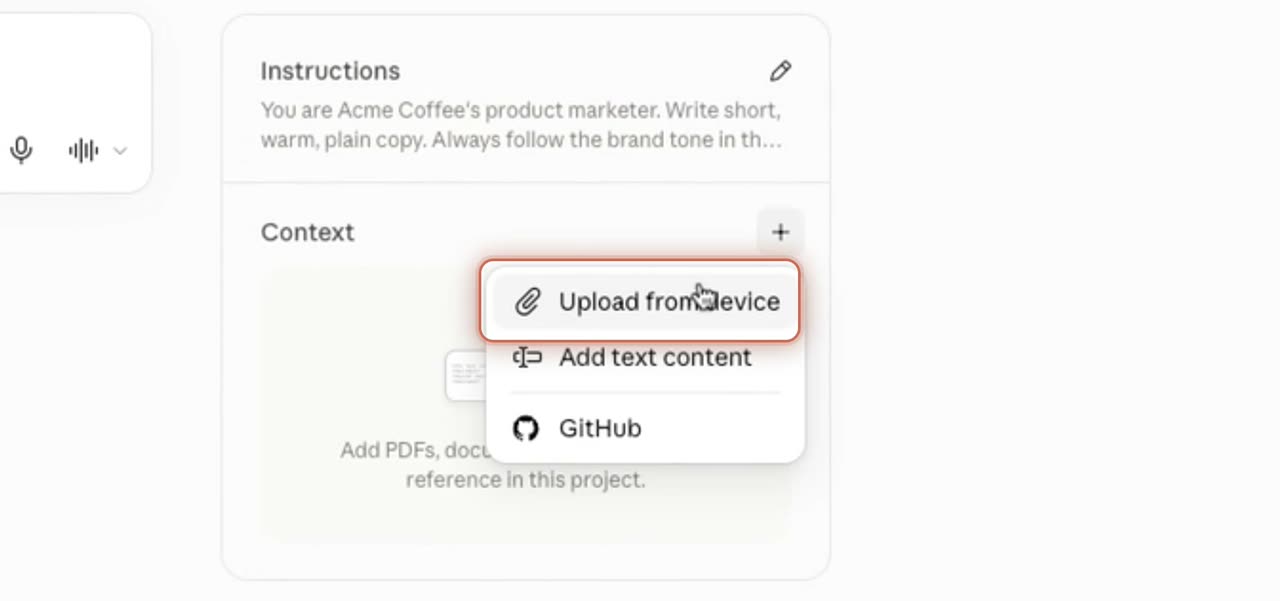
Select Upload from device. Then choose the local document you want to use.
8. Send your prompt
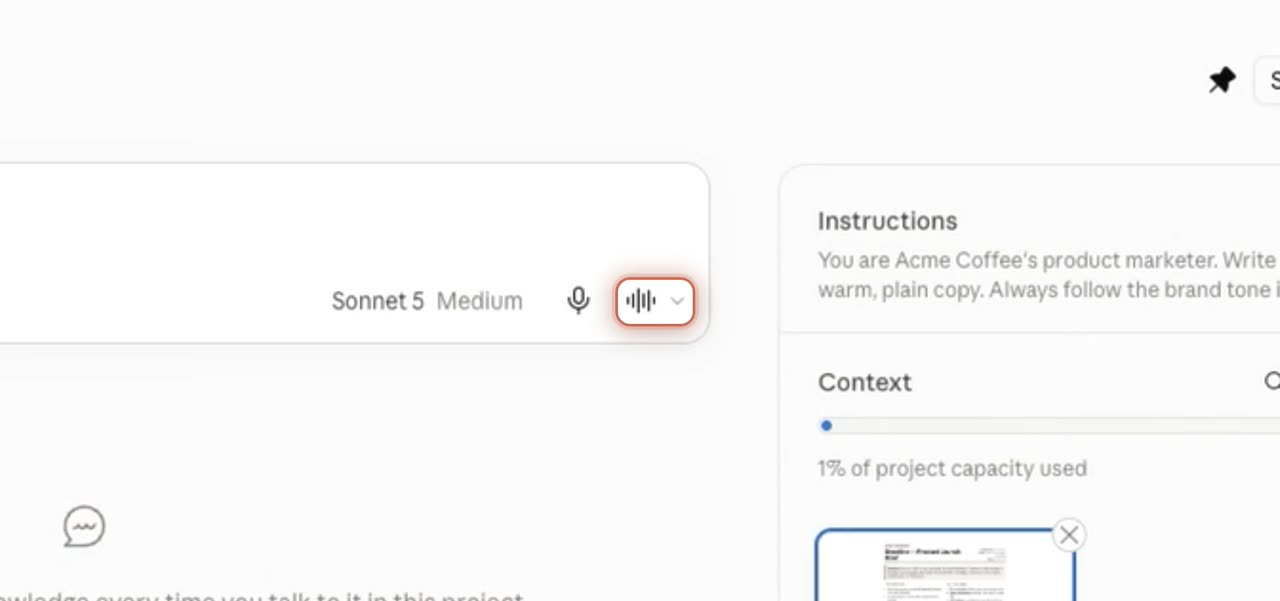
Enter your prompt in the chat field. Click the send button to start the conversation.
Your project is now ready, with instructions and reference material in place for future prompts.