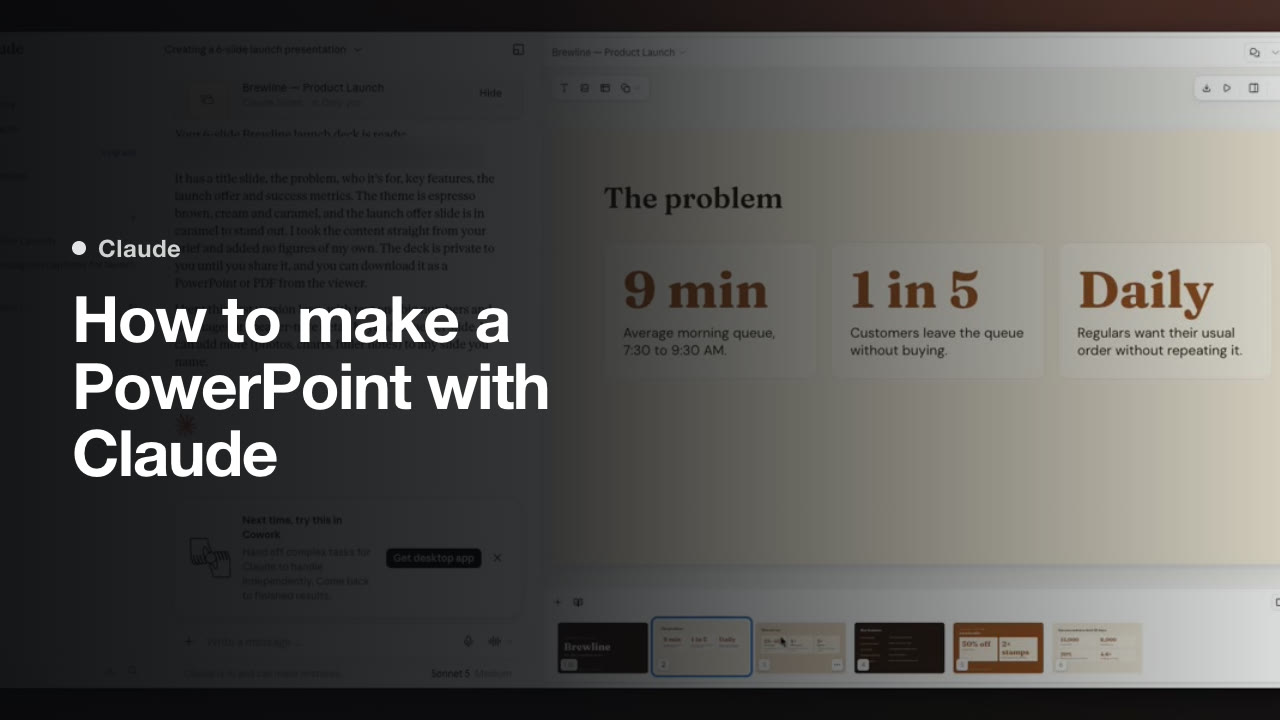
How to make a PowerPoint with Claude
Use Claude to turn your source material into a presentation, then export and preview the deck. Follow these steps in order if you're doing this for the first time.
1. Upload your reference document

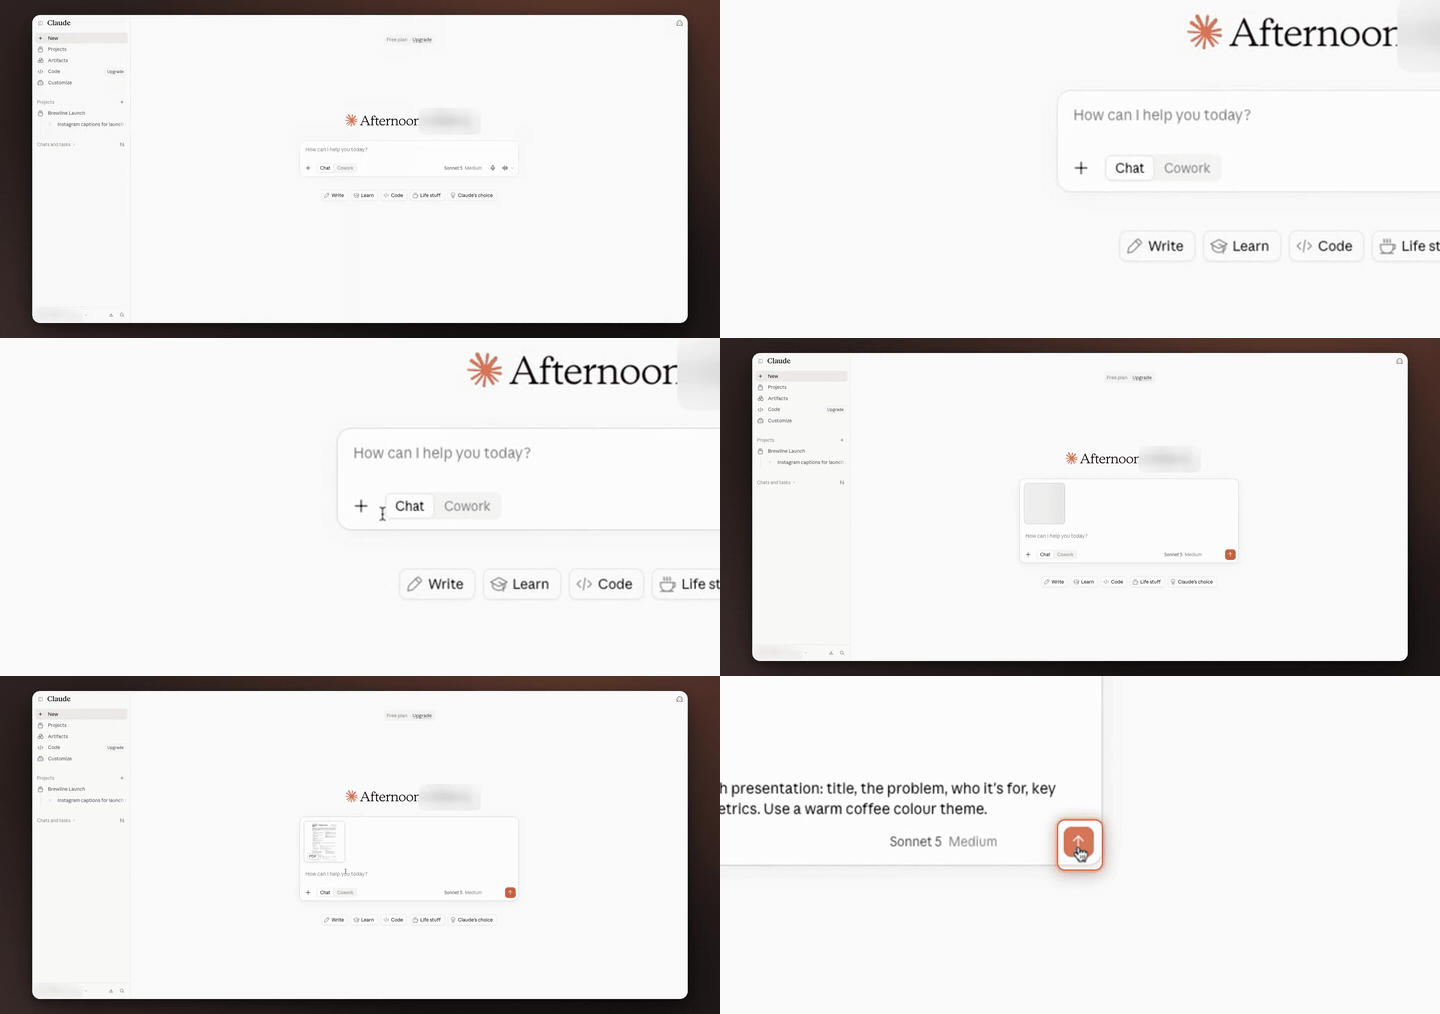
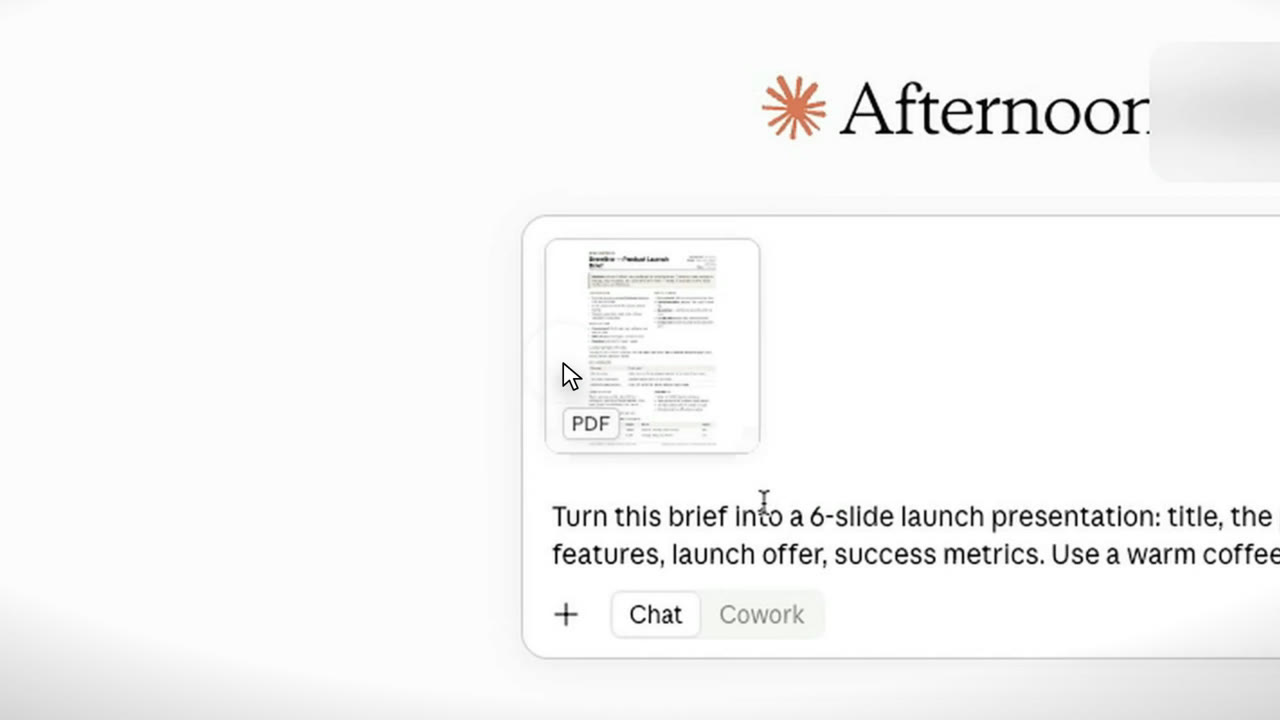
Start on Claude's home screen. Click the + beside the message box, then add your source material. The document appears as an attachment in the prompt area.
2. Send the presentation prompt

Enter your prompt, then click the send or Submit button. Claude generates the slide deck and shows a presentation preview.
3. Open the export options
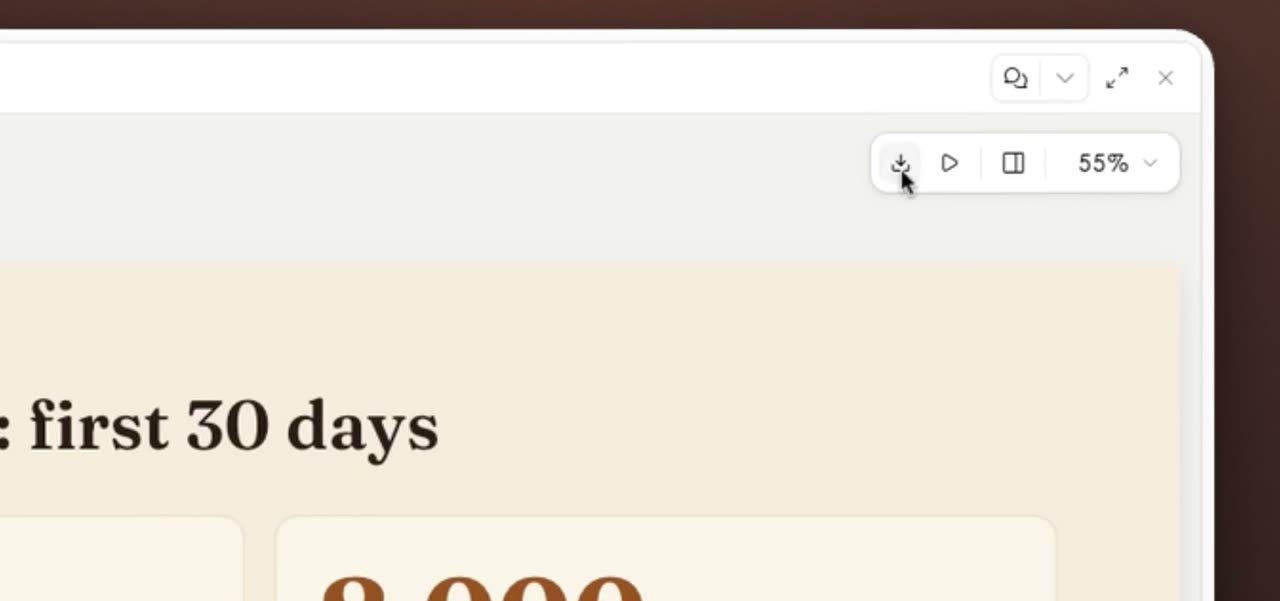
In the artifact preview header, click the download icon. This opens the export menu for the deck.
4. Choose PDF as the format
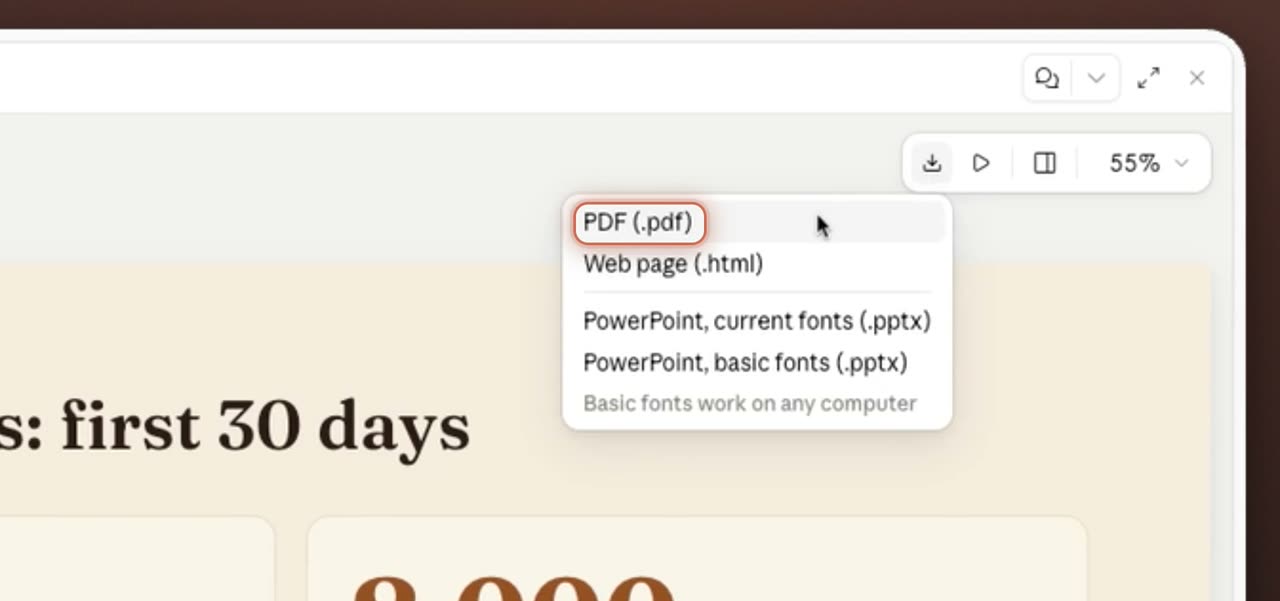
From the download menu, select PDF. This sets the presentation to export as a PDF file.
5. Save the file to your computer
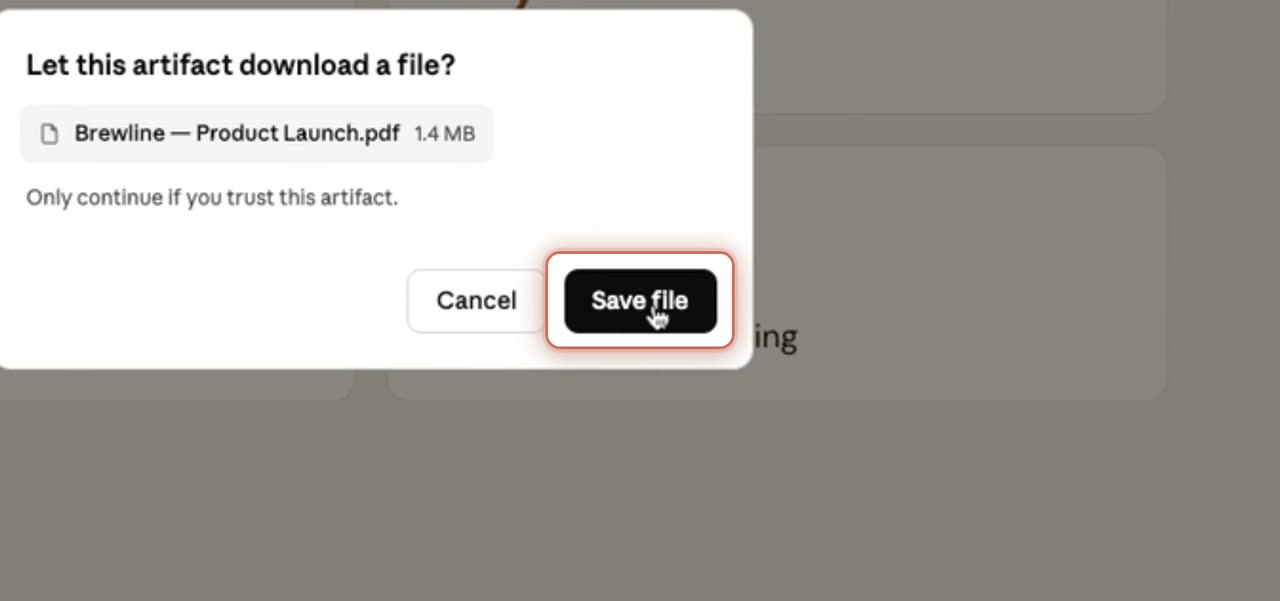
When the download dialog appears, click Save file. The presentation downloads to your computer.
6. Open the presentation menu
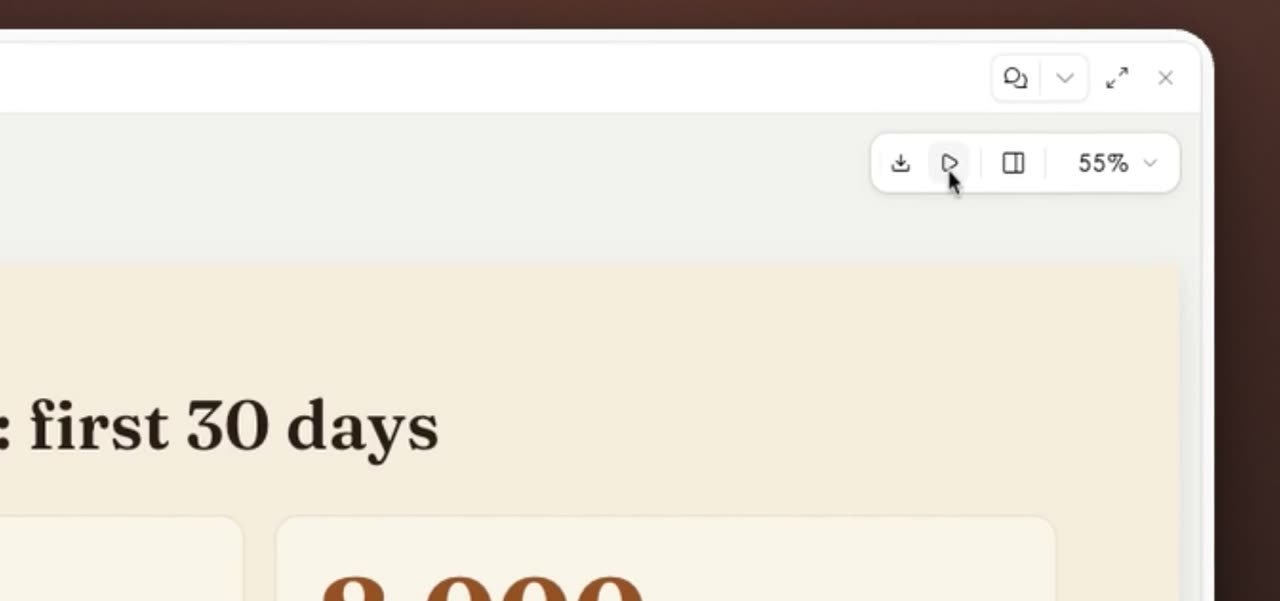
Click the presentation icon in the preview. This opens the presentation options.
7. Start the slideshow
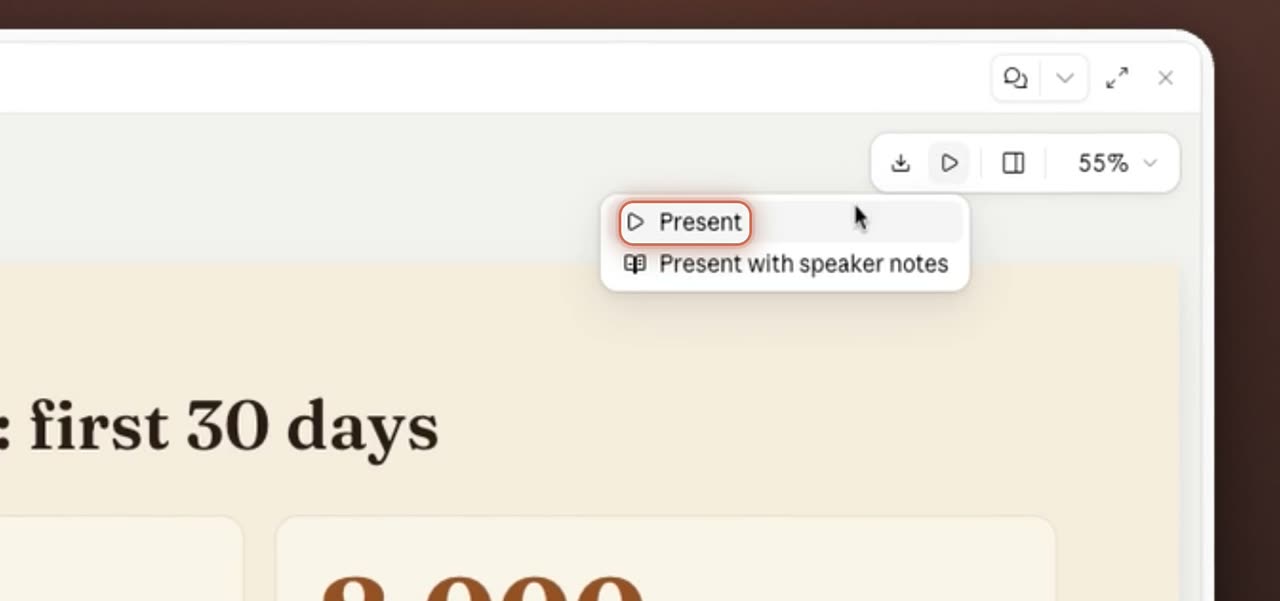
From the menu, choose Present. The deck opens in full-screen presentation mode.
8. Exit full-screen mode
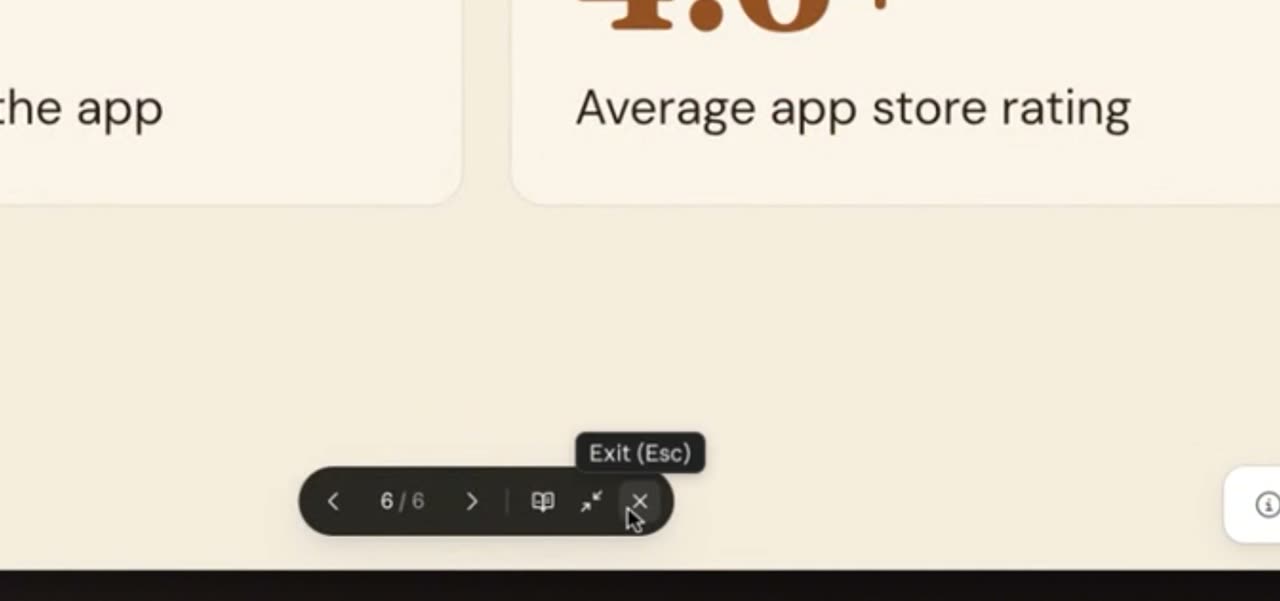
In full-screen view, click the exit button to return to the slide editor view. You can also use Esc if that option appears.
9. Change the slide transitions
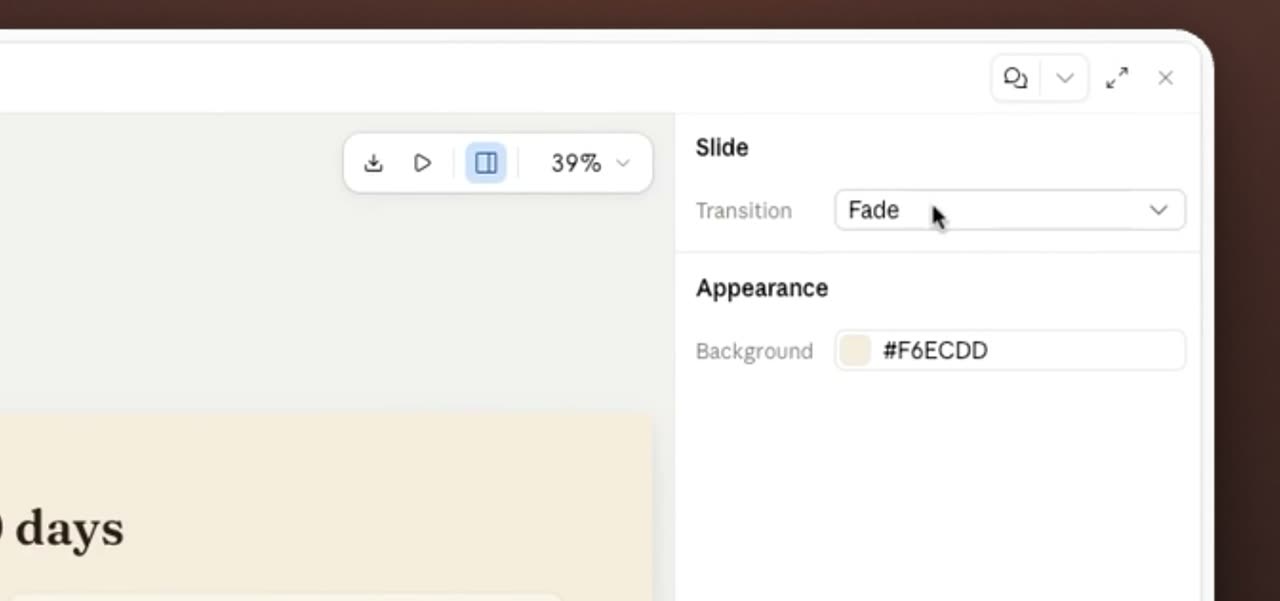
In the right inspector panel, open the Transition dropdown. Choose the transition settings you want for the slides.
10. Preview the presentation again
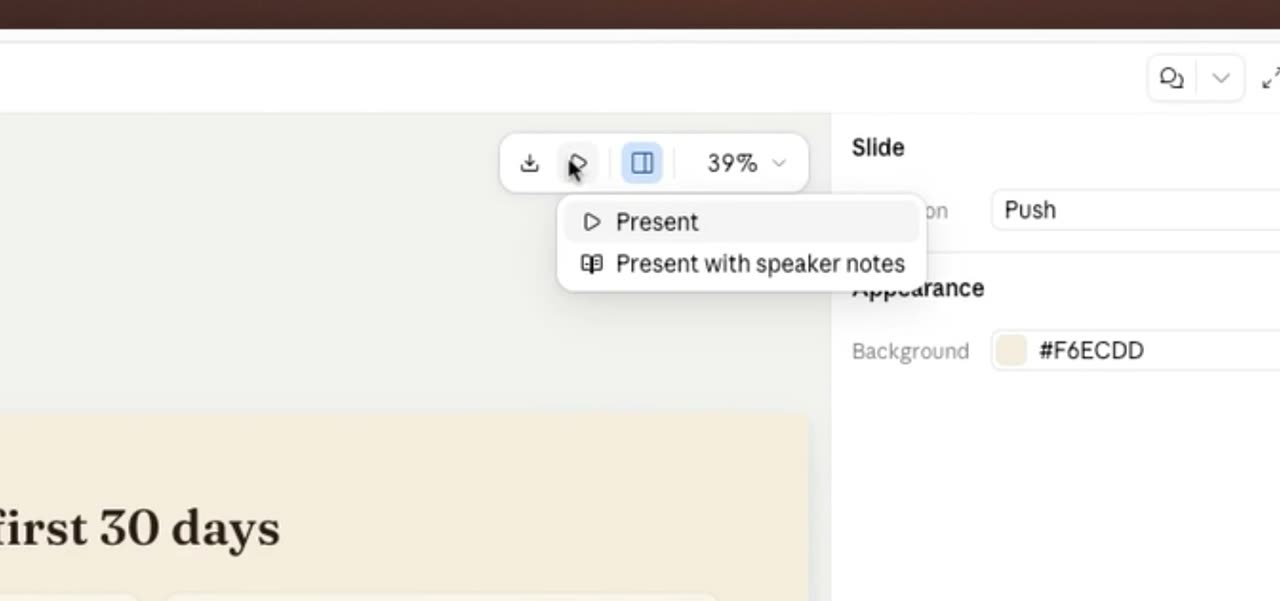
Click the present icon again, then choose Present. The deck opens in full-screen mode so you can review the transitions.
11. Close the presentation preview
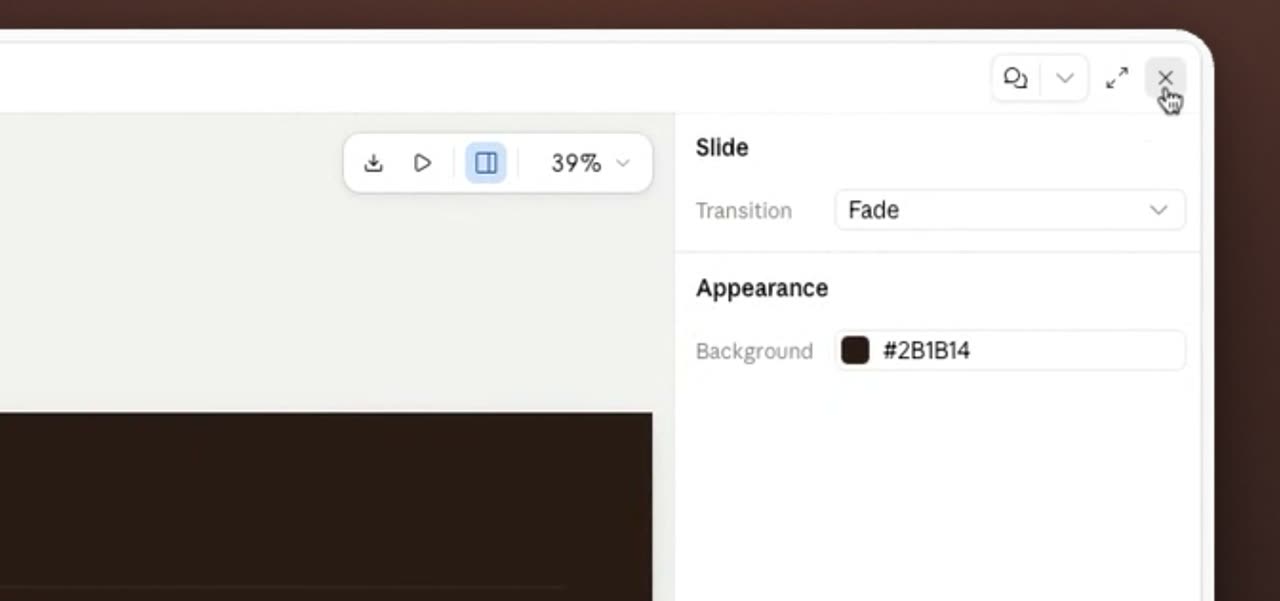
Return to the preview, then click the X icon. This closes the presentation view and takes you back to the chat.
After that, you can keep editing the deck in Claude or use the downloaded file on your computer.