How to publish a release with generated notes on GitHub
Use this walkthrough to create a new GitHub release, generate release notes automatically, and publish the release. Follow the steps in order if you are doing this for the first time.
1. Open the releases page

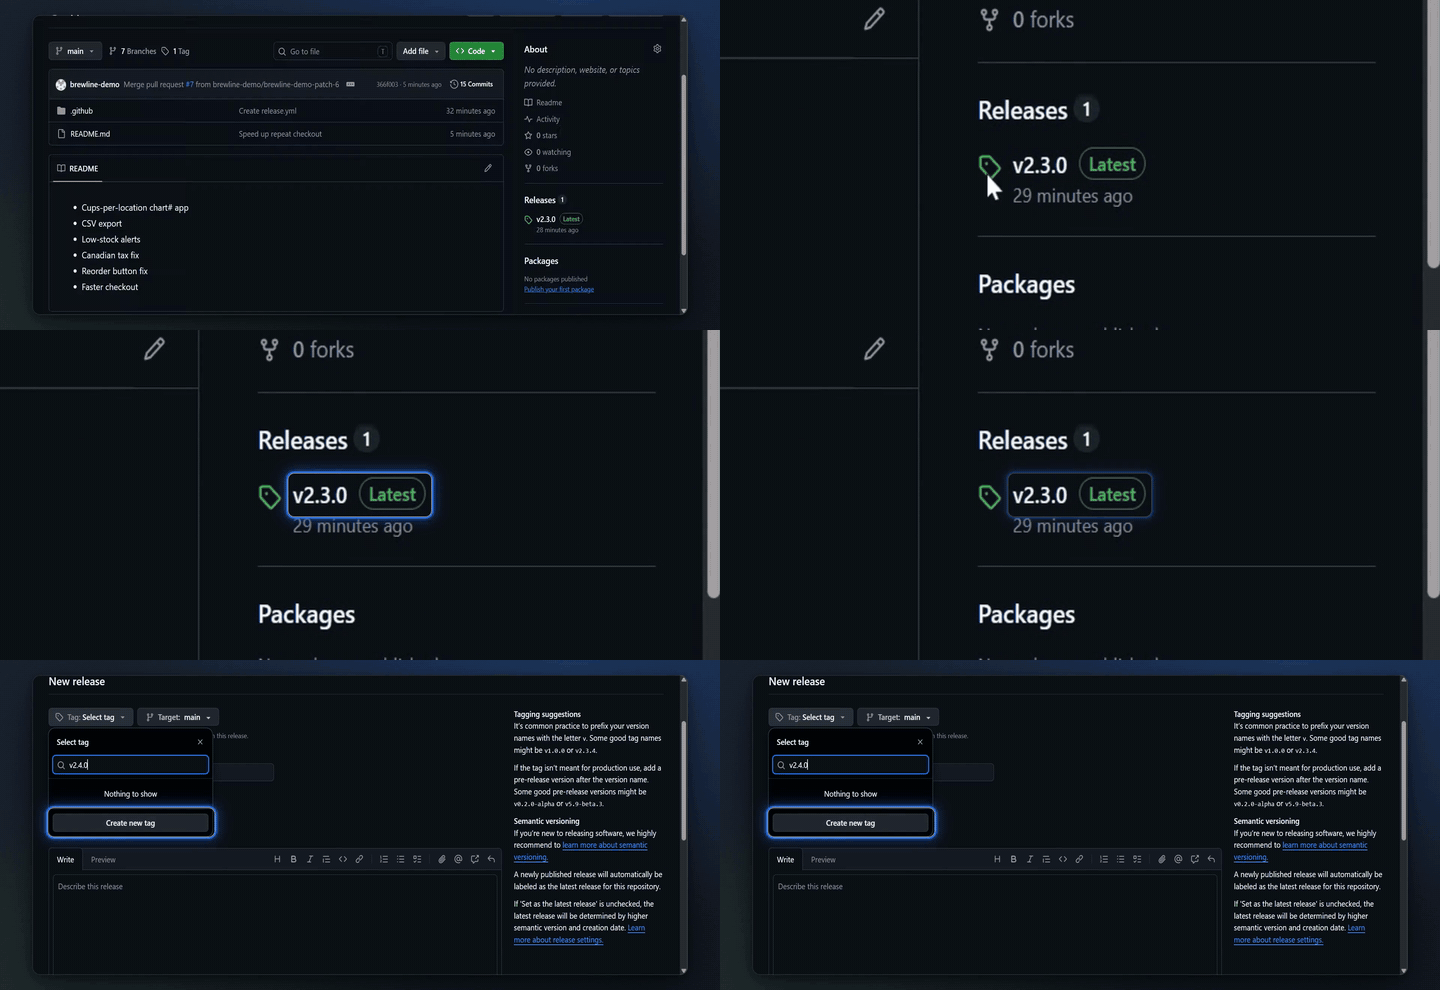
From the repository homepage, click the latest release tag, shown as v2.3.0 Latest. This opens the releases page, where you can see the current release details.
2. Start a new release
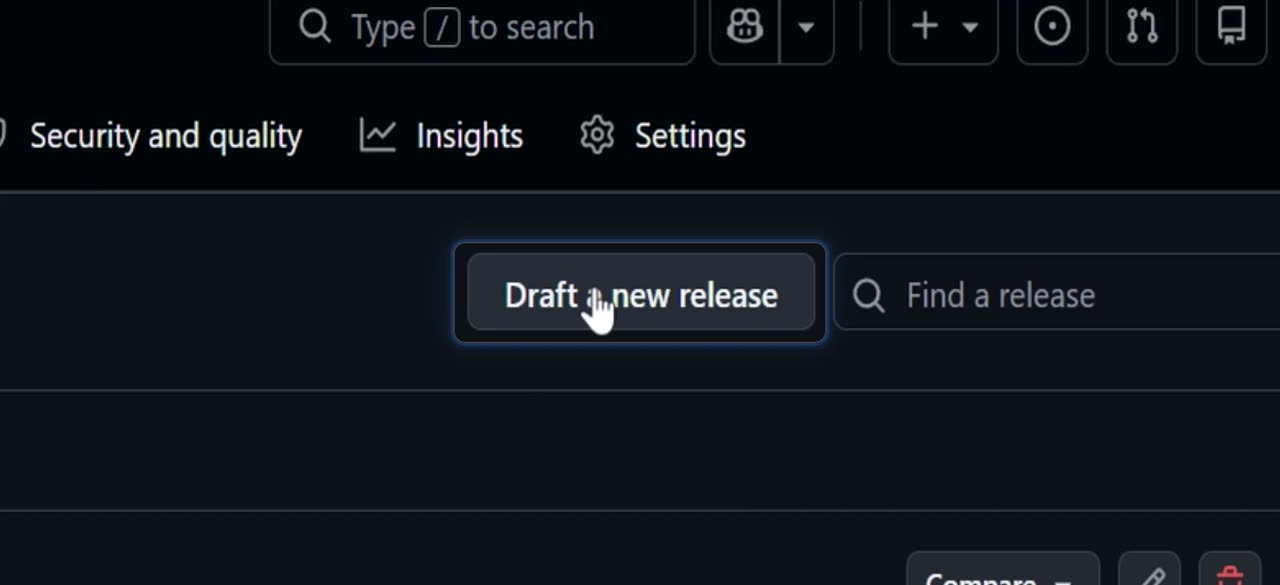
Click Draft a new release. The release creation form opens, with the tag and title fields filled in.
3. Open the tag menu
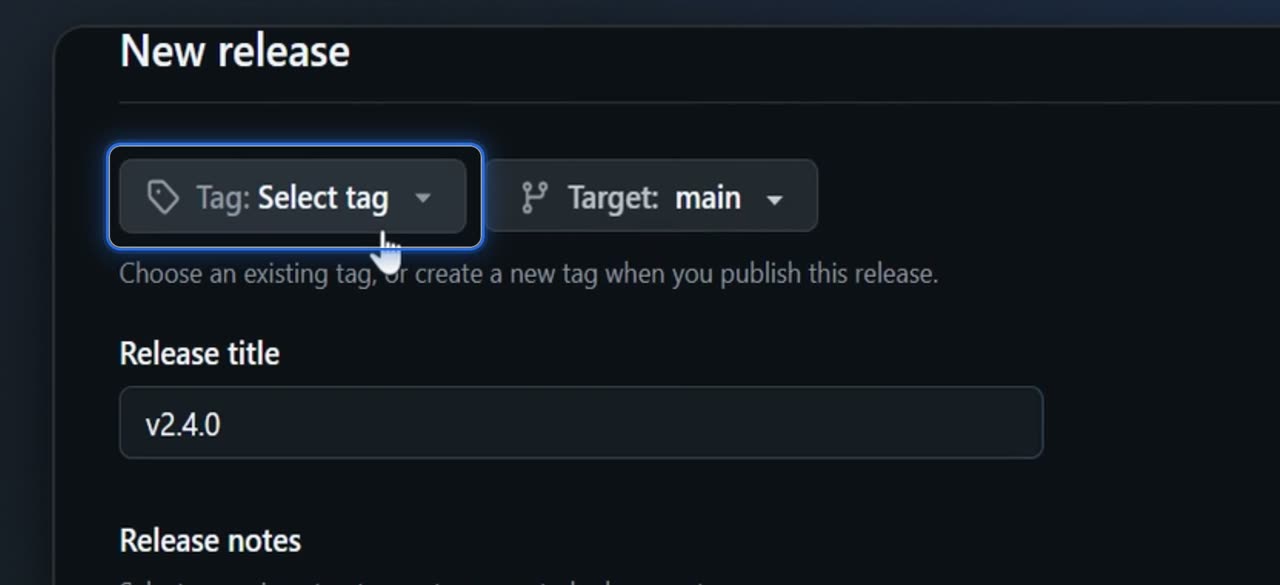
Click Select tag. This opens the tag dropdown so you can choose an existing tag or create a new one.
4. Create a new tag
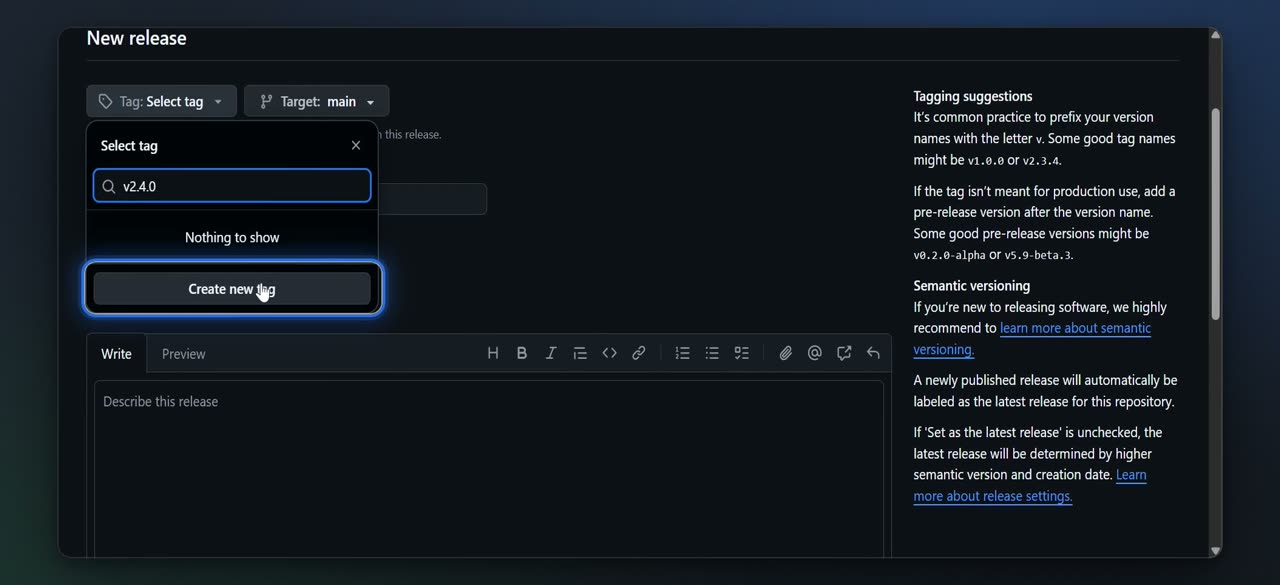
In the tag menu, look for v2.4.0. If no matching tag appears, click Create new tag to start defining it.
5. Confirm the tag
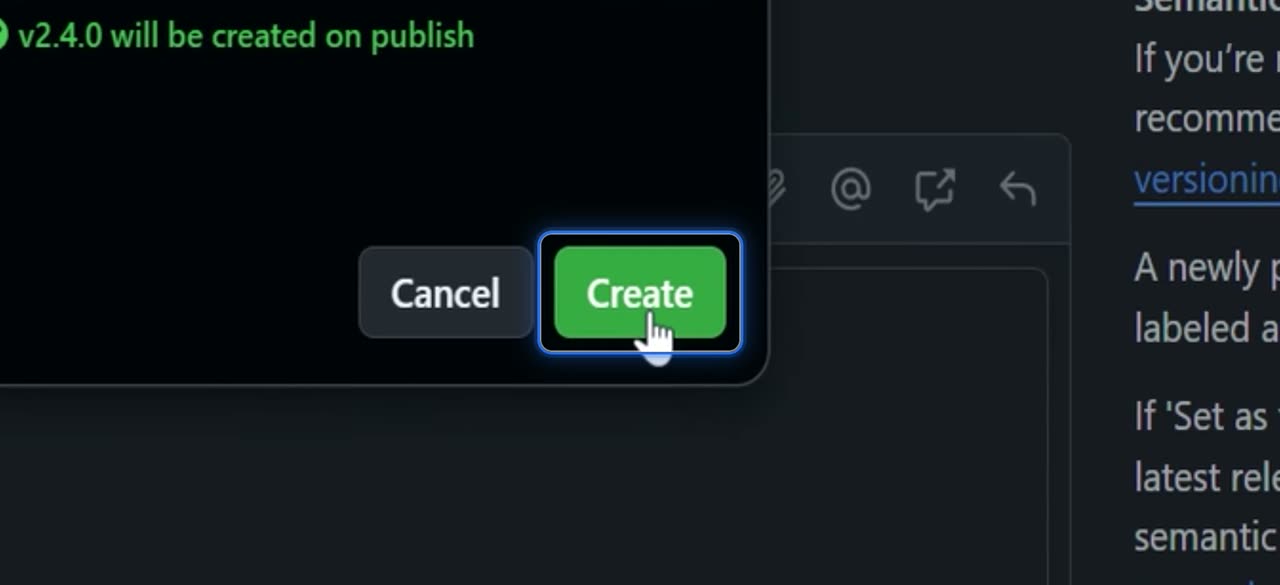
Click Create to finalize the new v2.4.0 tag. You return to the release form with Tag: v2.4.0 selected.
6. Generate release notes
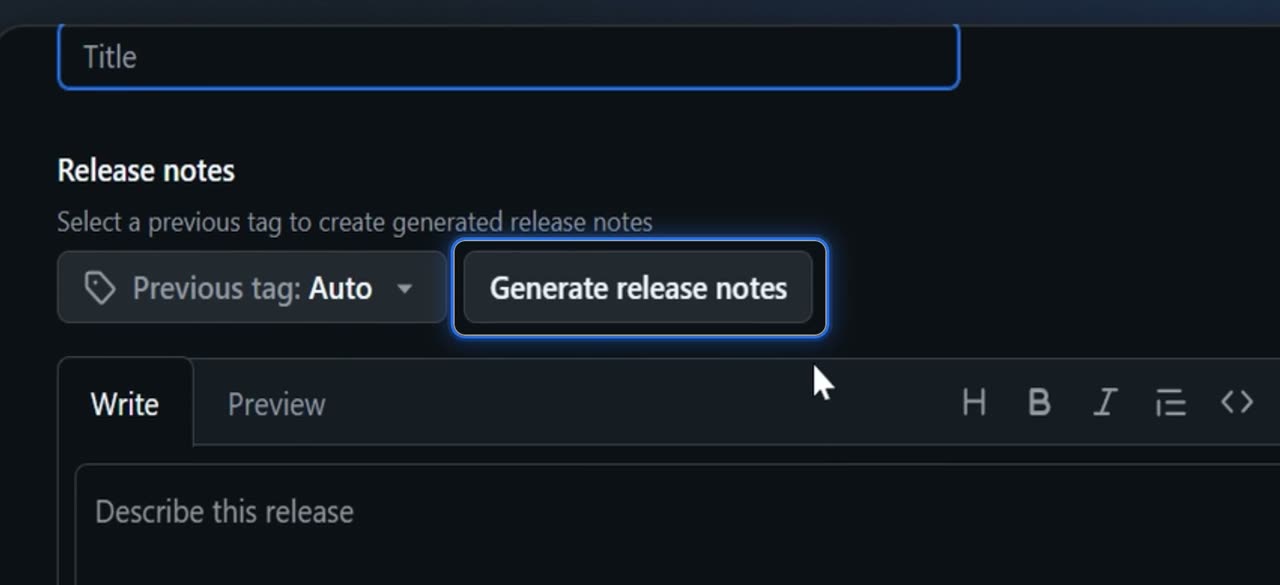
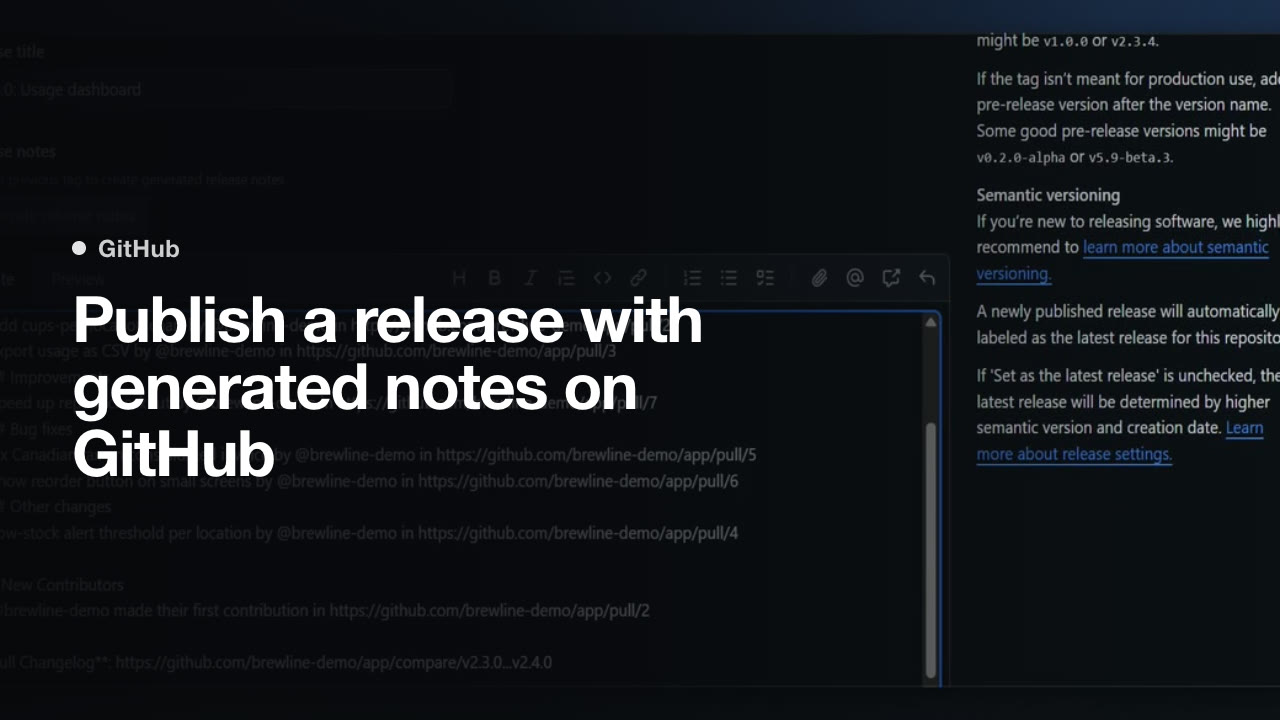
Click Generate release notes. GitHub automatically fills the release notes editor with notes based on merged pull requests.
7. Enter the release title
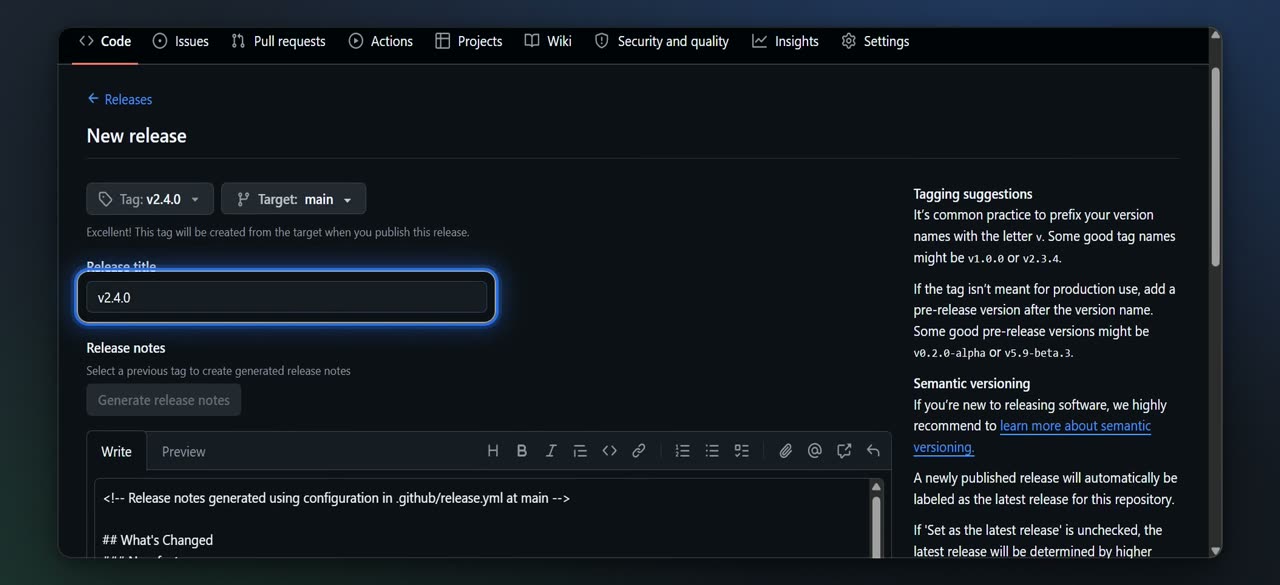
Click in Release title and type the title you want for this release. This updates the release title on the form.
8. Add your own release details
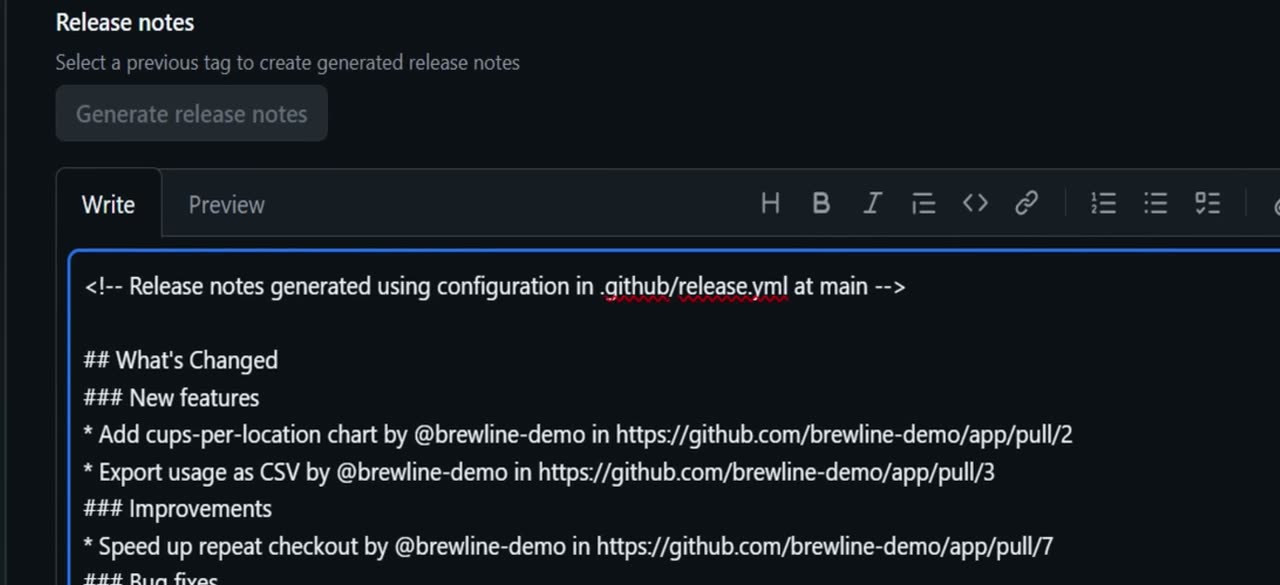
Click in Release notes and add your own summary text at the top. Your custom text appears above the generated sections.
9. Publish the release
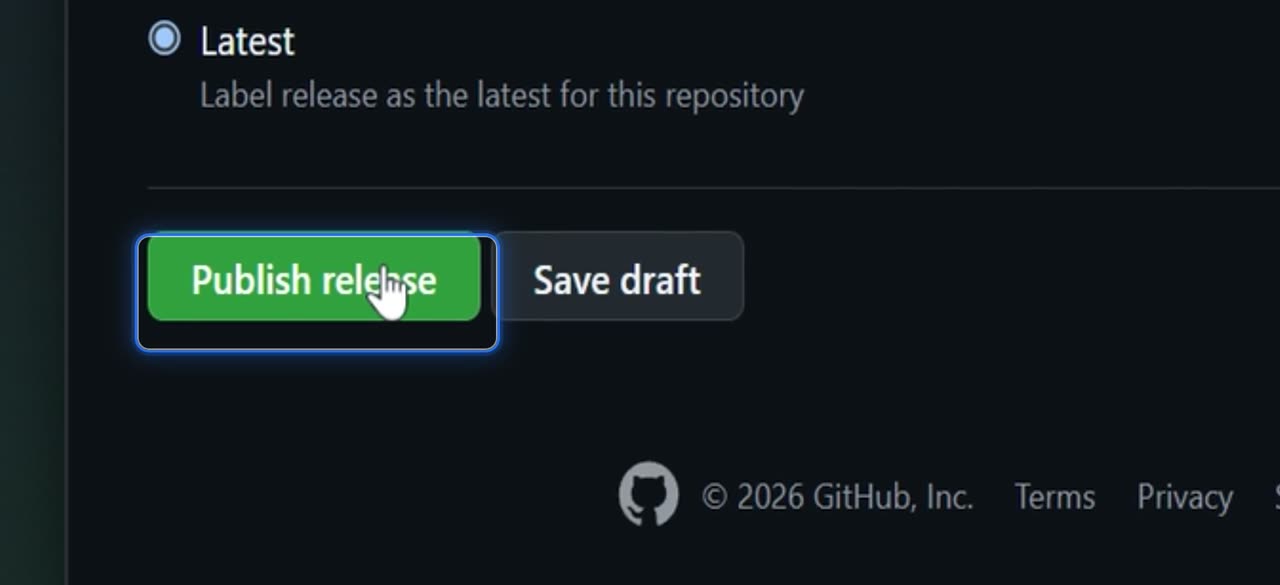
Review the form, then click Publish release when everything looks ready. GitHub opens the published release page, where you can see contributors and assets.
Your release is now live, with generated notes and your own summary included.