How to plan an epic on the timeline in Jira
Use this walkthrough to create an epic, connect existing backlog items to it, and start a sprint. Follow the steps in order to move from planning on the timeline to launching work on the board.
1. Create a new epic
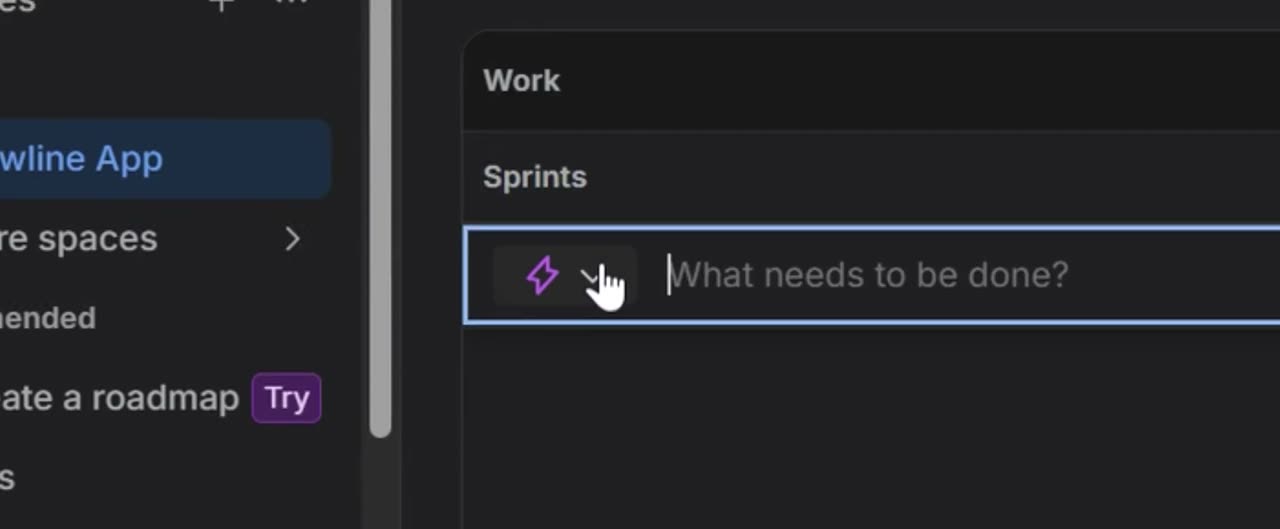
On the Timeline tab, click + Create to add a new work item. This starts the process of creating your epic on the timeline.
2. Save the epic
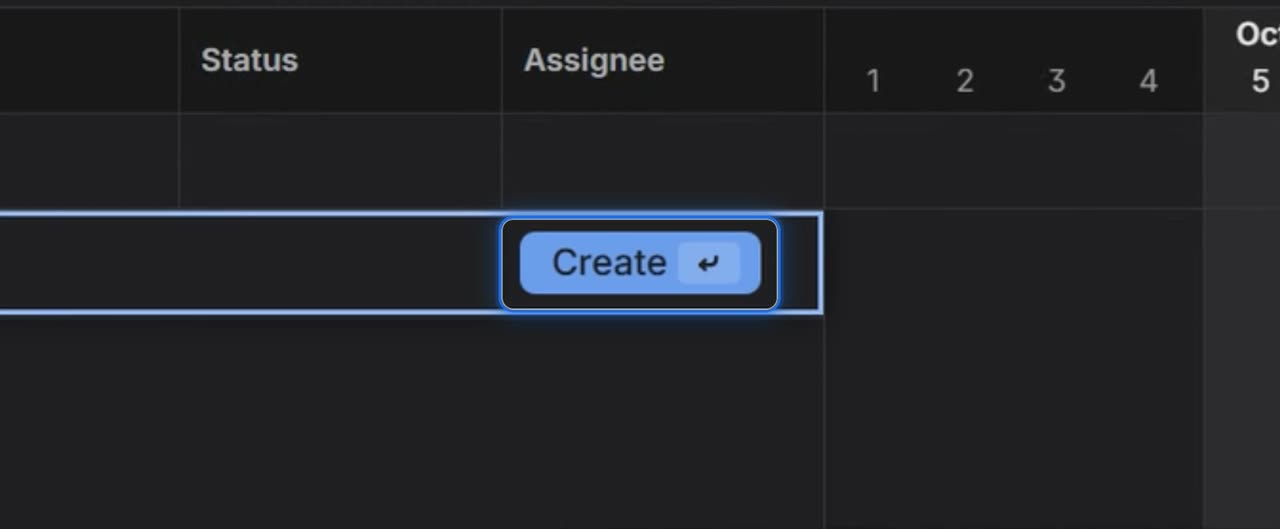
Enter the epic name, then click Create. The new epic is now saved on the timeline.
3. Open Backlog
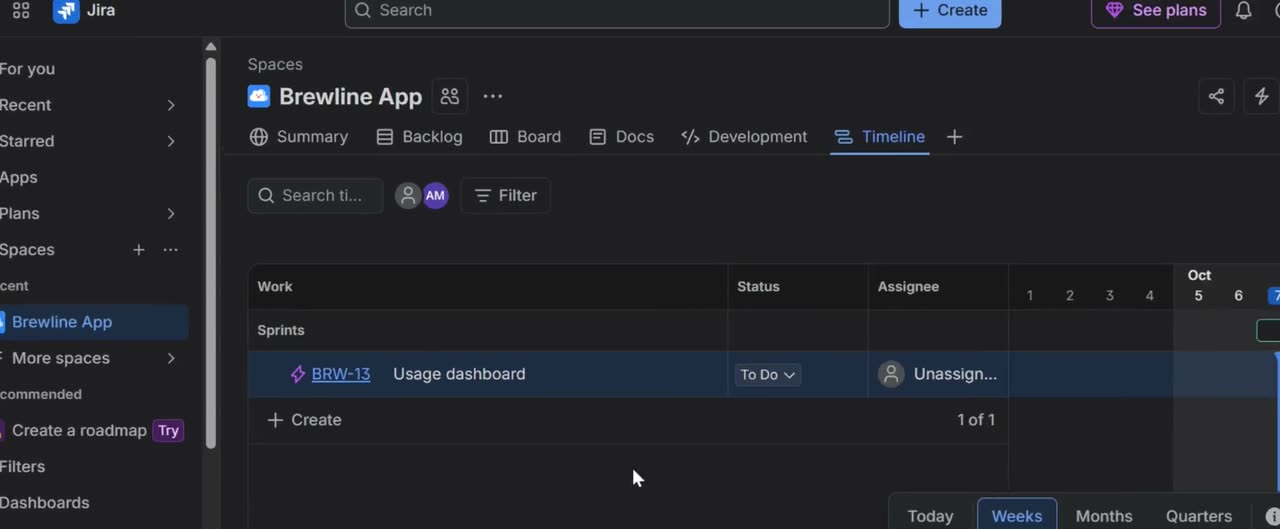
Go to the Backlog tab. This opens the work items list so you can link existing backlog items to your new epic.
4. Open the epic field on a backlog item
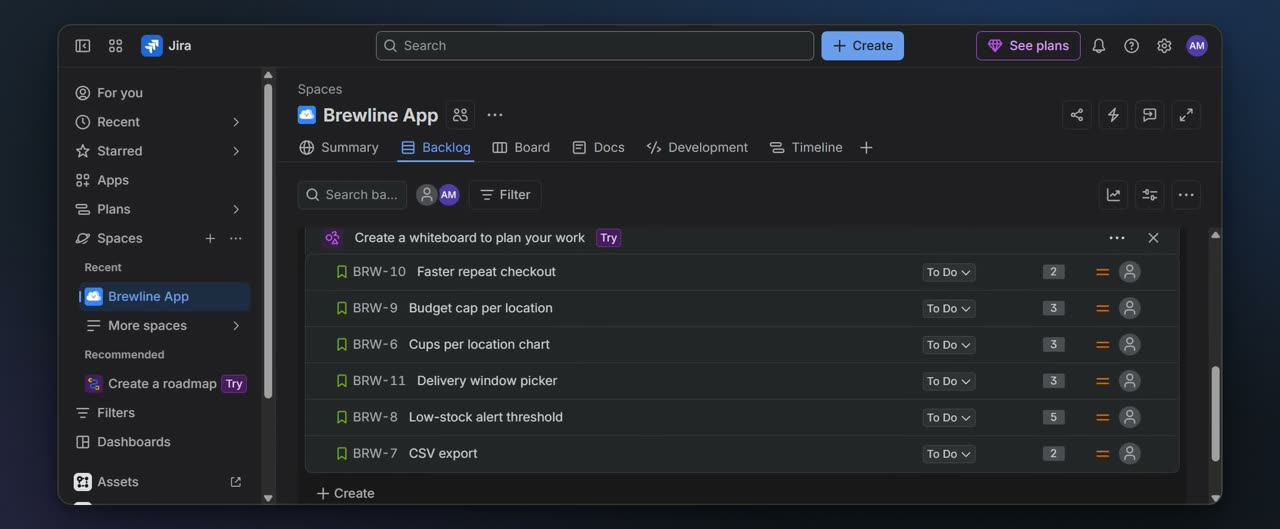
In the Backlog list, find BRW-6 Cups per location chart. Click its + Epic field to assign that item to an epic.
5. Choose the new epic
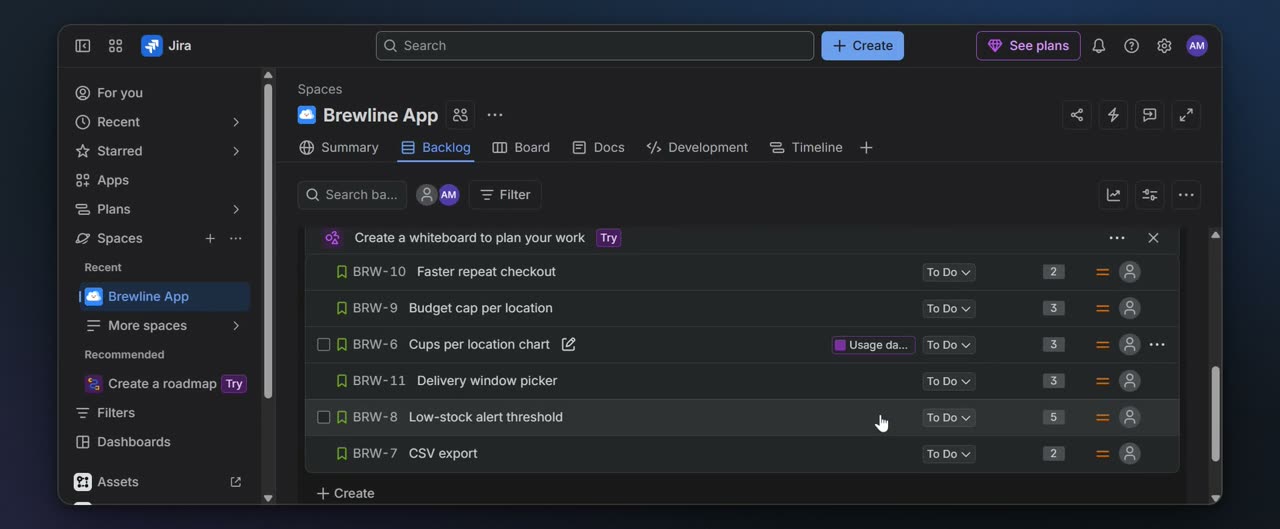
Select BRW-13 Usage dashboard from the list. The Usage dashboard epic label then appears on several backlog items.
6. Return to Timeline
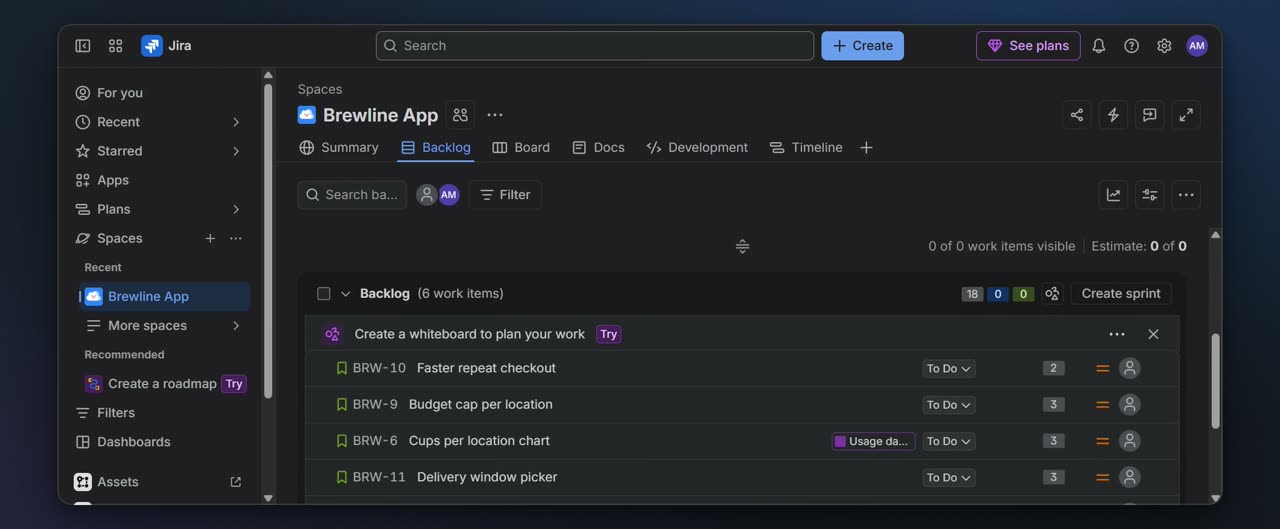
Switch back to the Timeline tab. This takes you back to the date grid so you can continue scheduling the epic.
7. Start the sprint
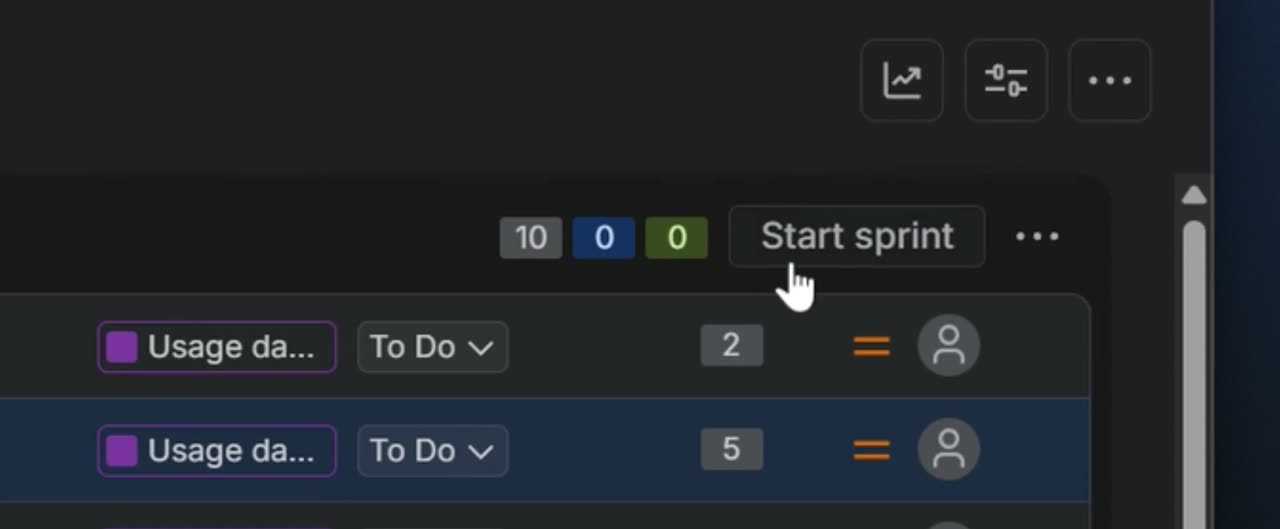
In BRW Sprint 2, click Start sprint. This begins work for the items grouped under your epic.
8. Confirm the sprint launch
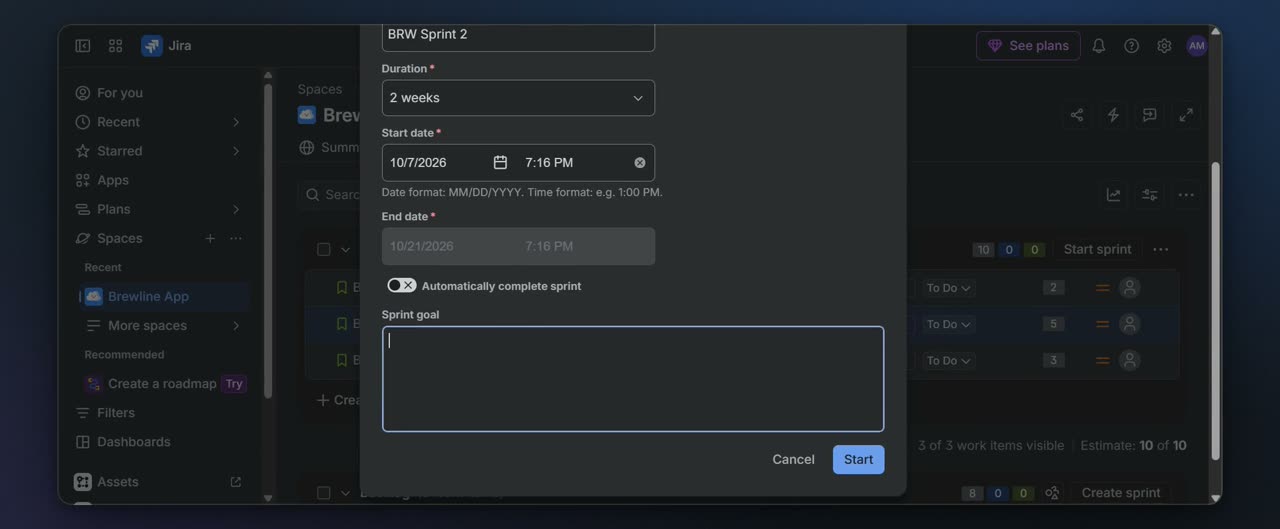
Review the sprint details, including BRW Sprint 2, the two-week duration, the dates, and the sprint goal. Then click Start to launch the sprint board.
After the sprint starts, you can track the epic-linked items on the board as they move through the workflow columns.