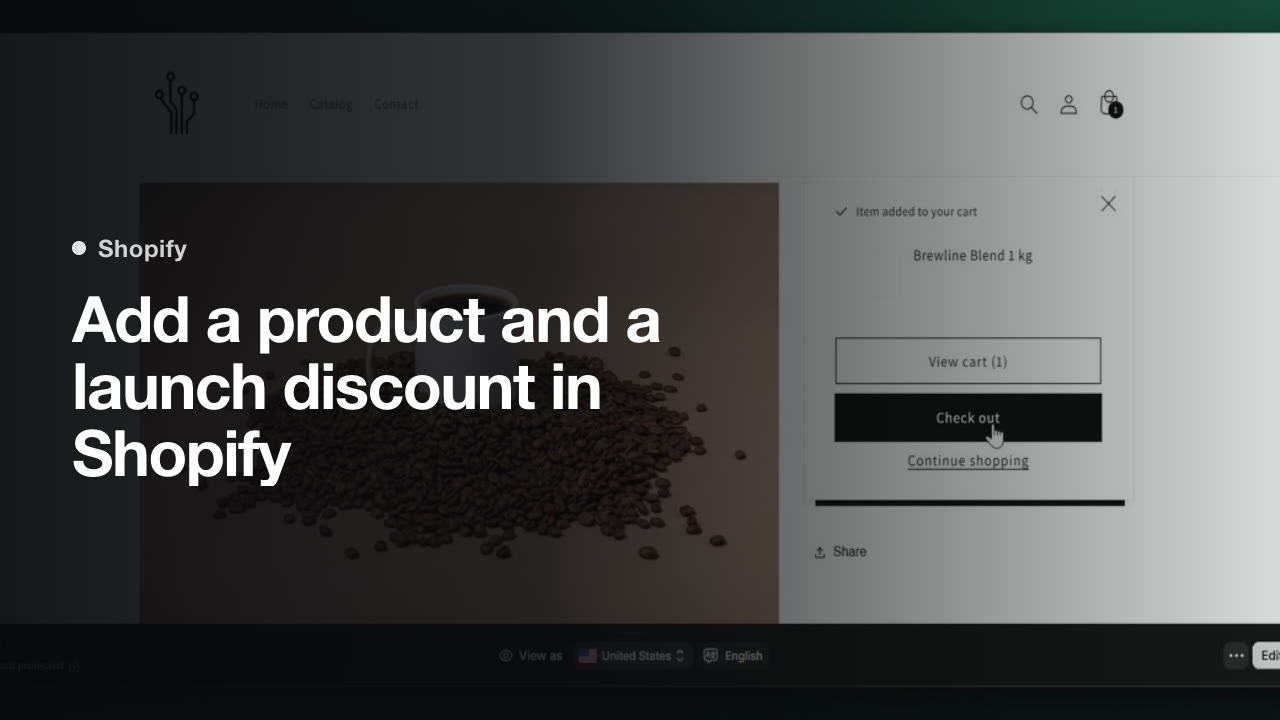
How to add a product and a launch discount in Shopify
Use this workflow to create a new product, set its price and inventory, and then create a discount code for its launch. You’ll also preview your store and test the discount at checkout.
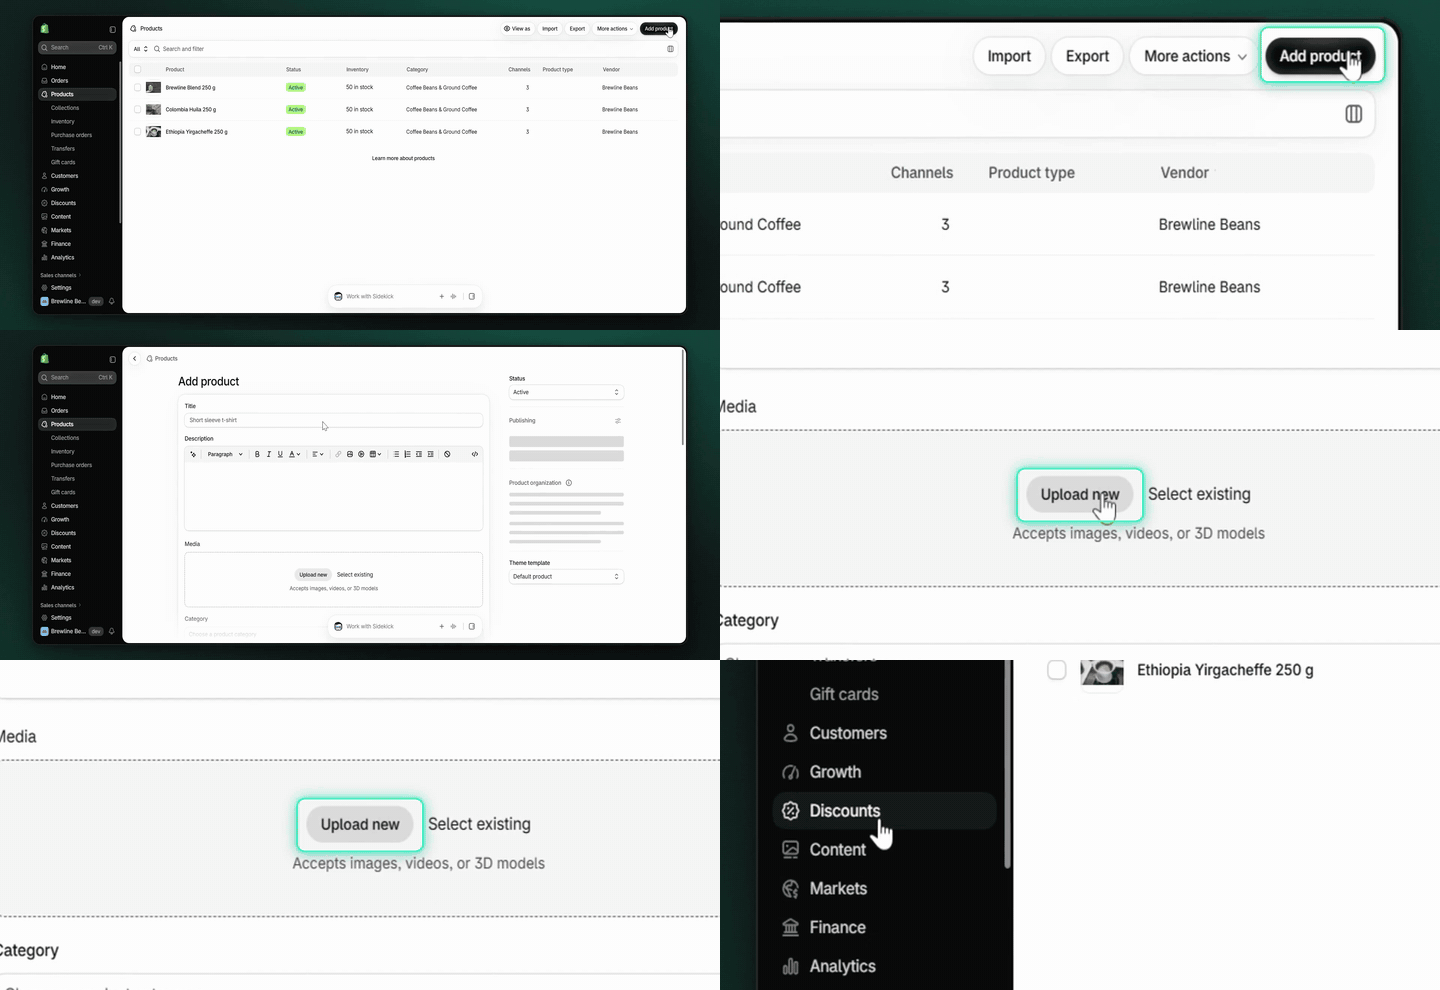
1. Click Add product
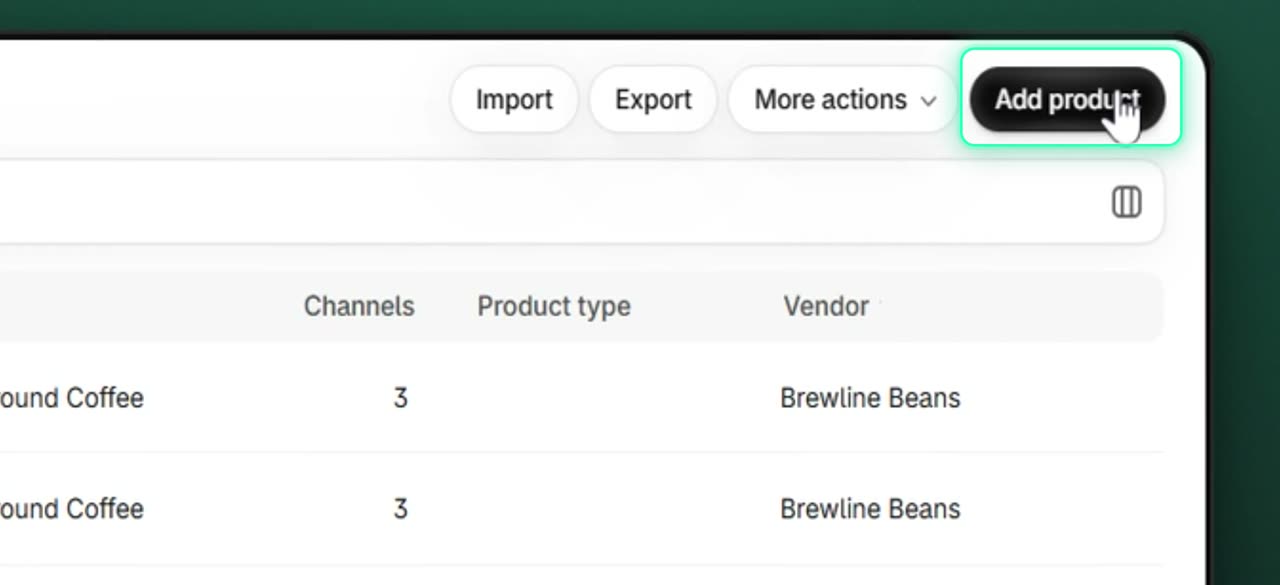
Open the product details form by clicking Add product. This starts a new product draft.
2. Upload product images
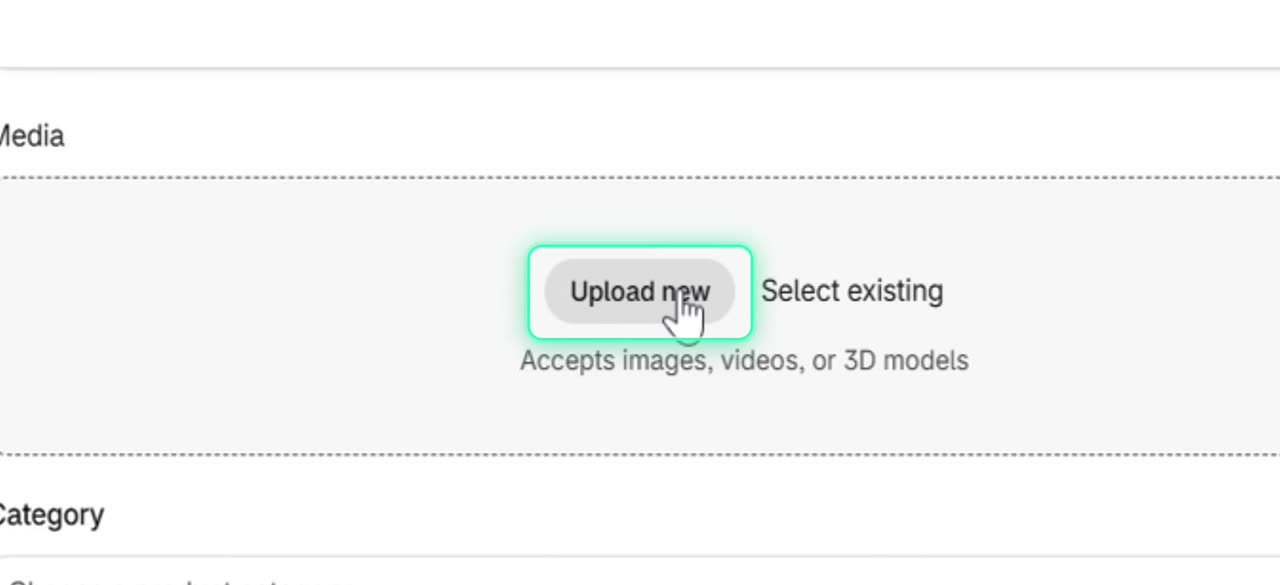
In the Media section, click Upload new. Select the images you want to add for the product.
3. Enter the product price
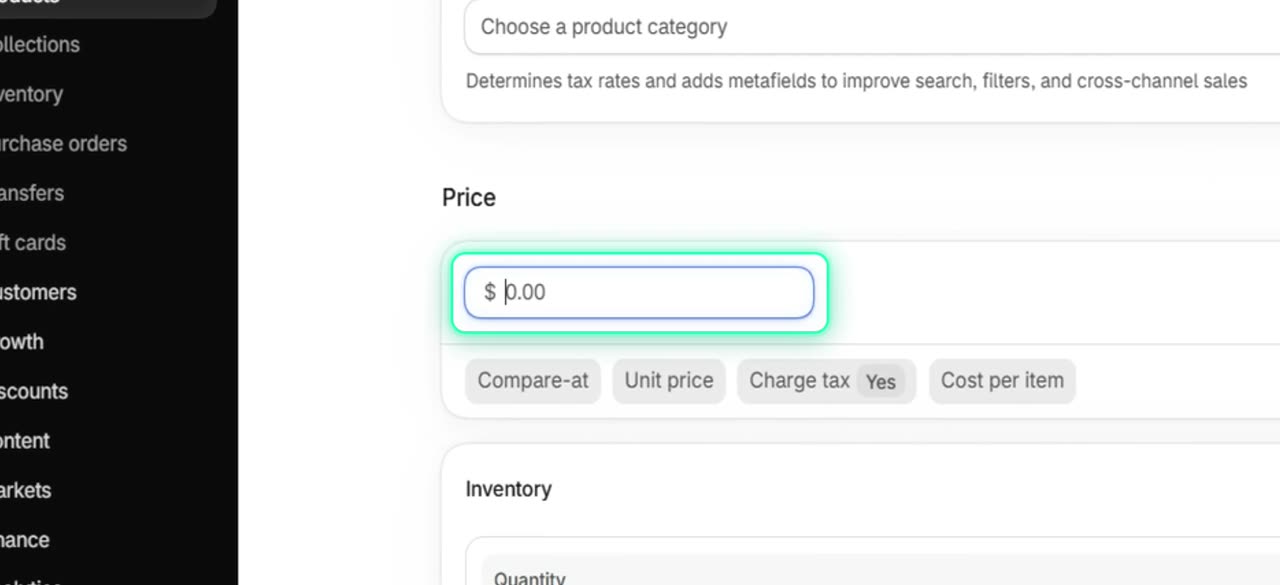
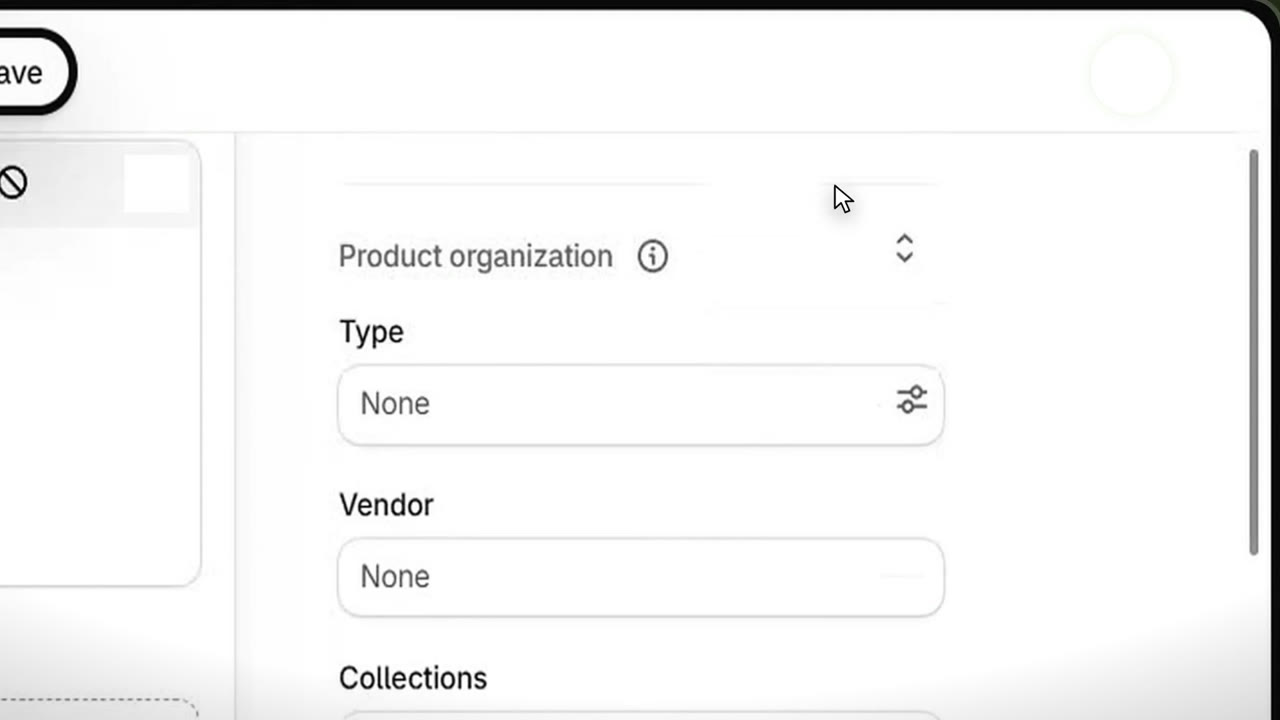
Find the Price field and enter the retail price for the product. Make sure the amount is correct before you continue.
4. Set the inventory quantity
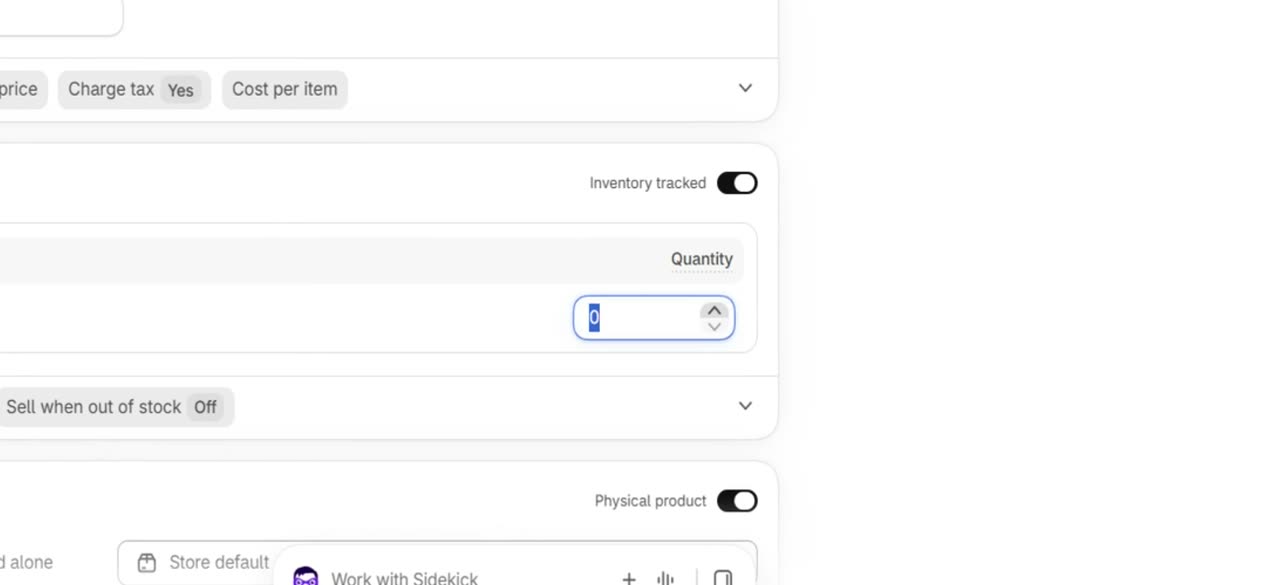
Enter the available stock in the Quantity field. Use the count for your location.
5. Save the product
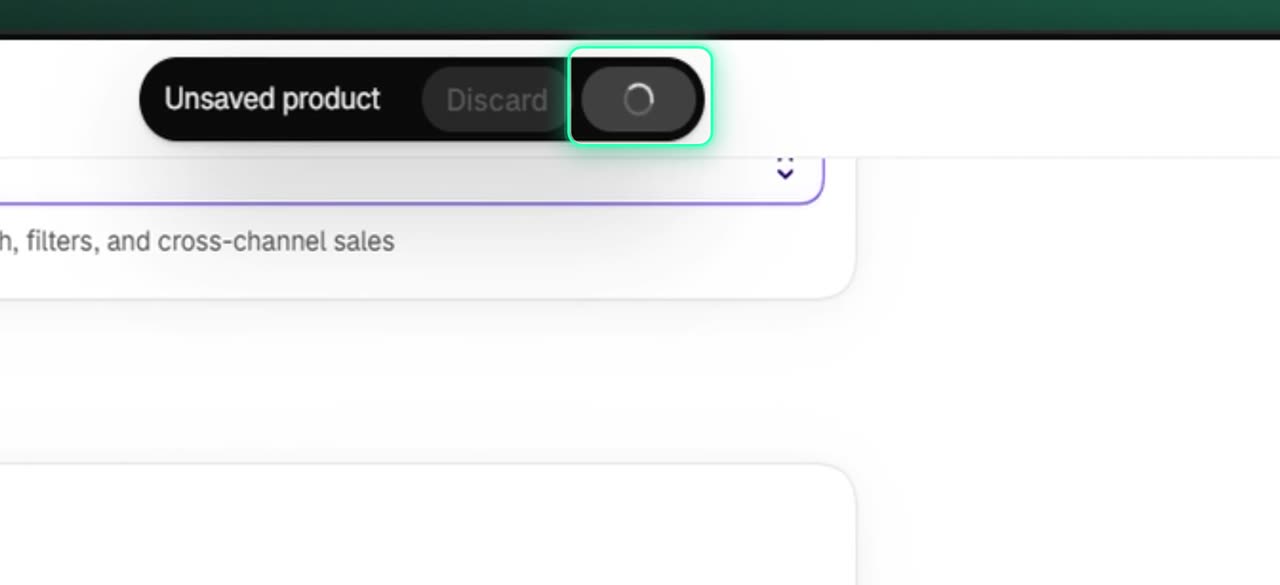
Click Save after you’ve entered the price and inventory. Shopify saves the product and returns you to the Products list.
6. Open Discounts
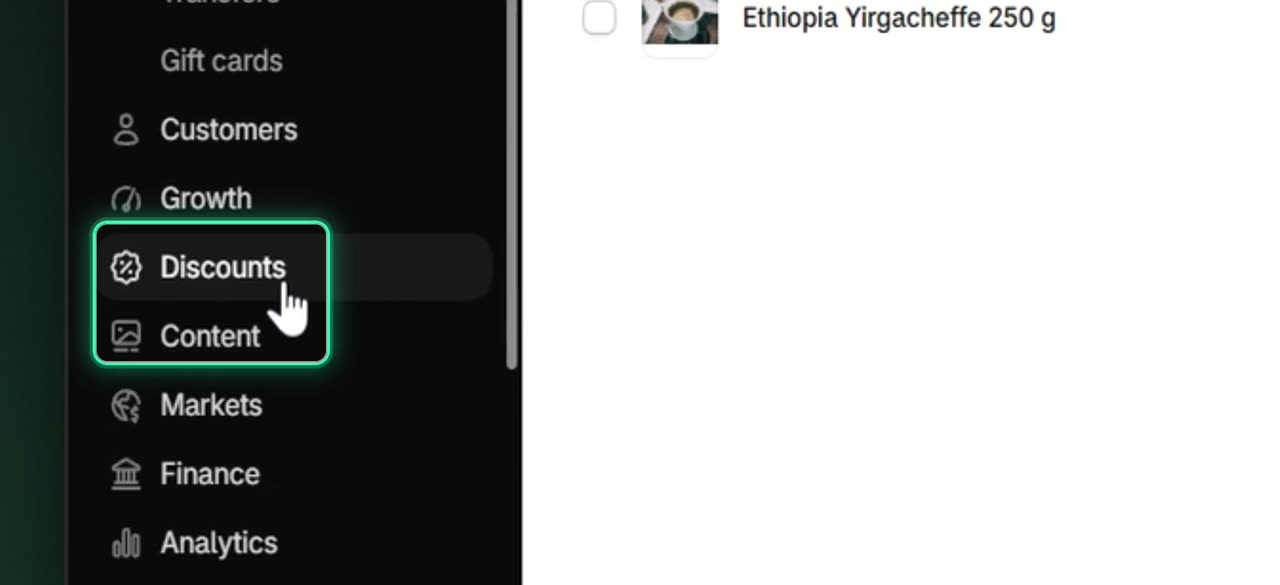
Go to the sidebar and click Discounts. This takes you to the area where you create promotions.
7. Create a new discount
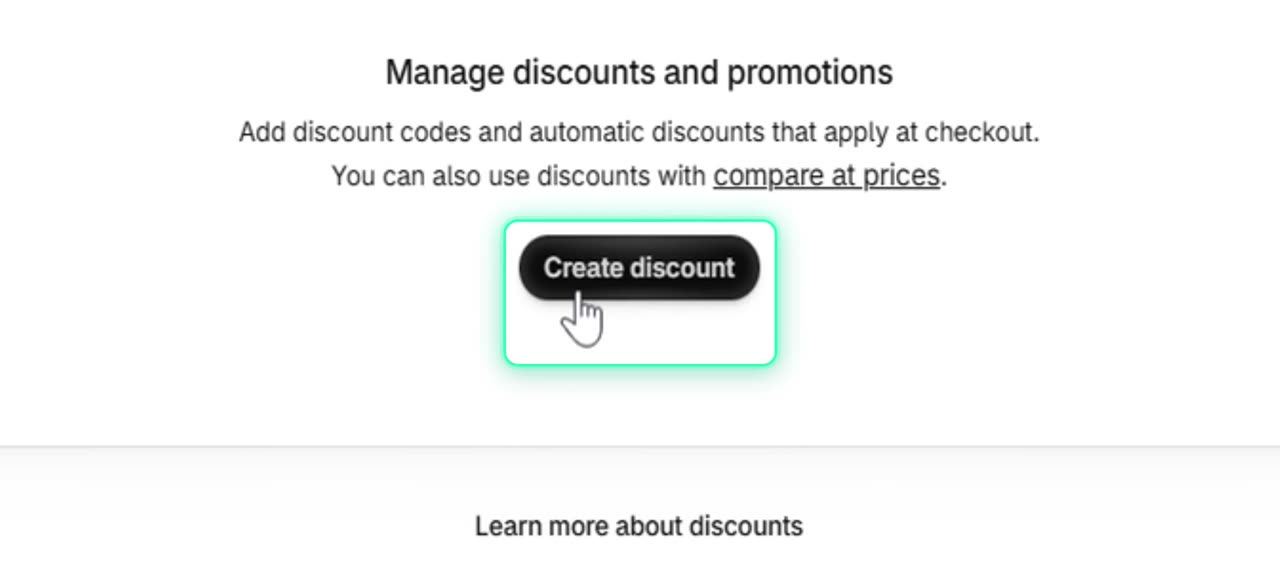
On the Discounts page, click Create discount. The discount form opens with code and percentage details.
8. Save the discount
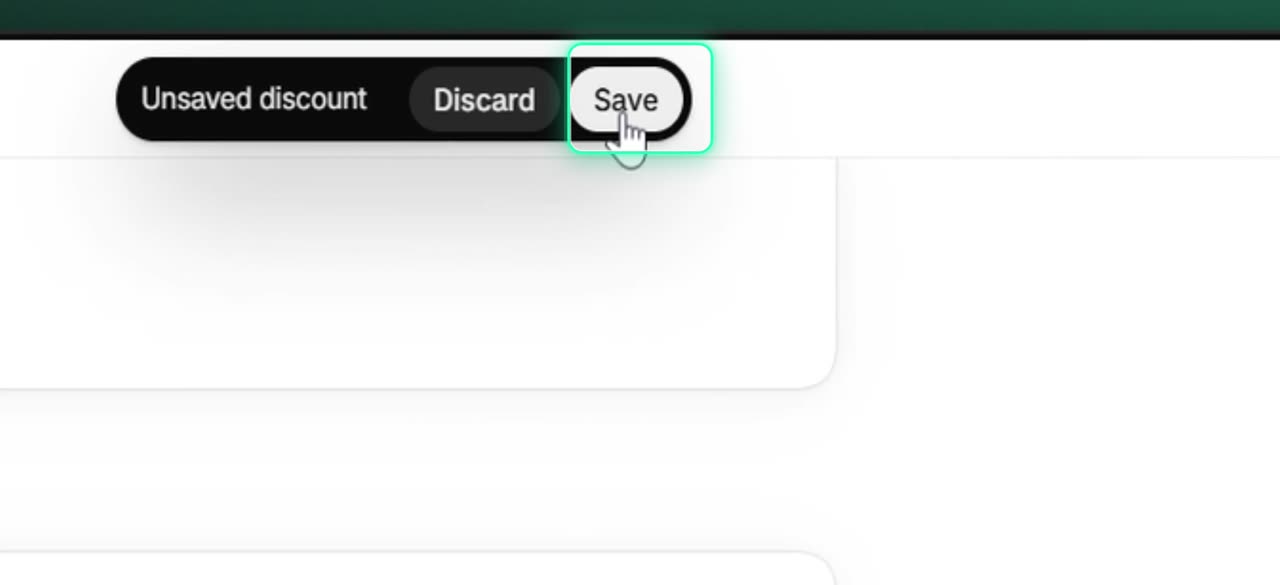
Review the discount percentage and conditions, then click Save. After it saves, the discount page appears and the Discounts list updates.
9. Preview your online store
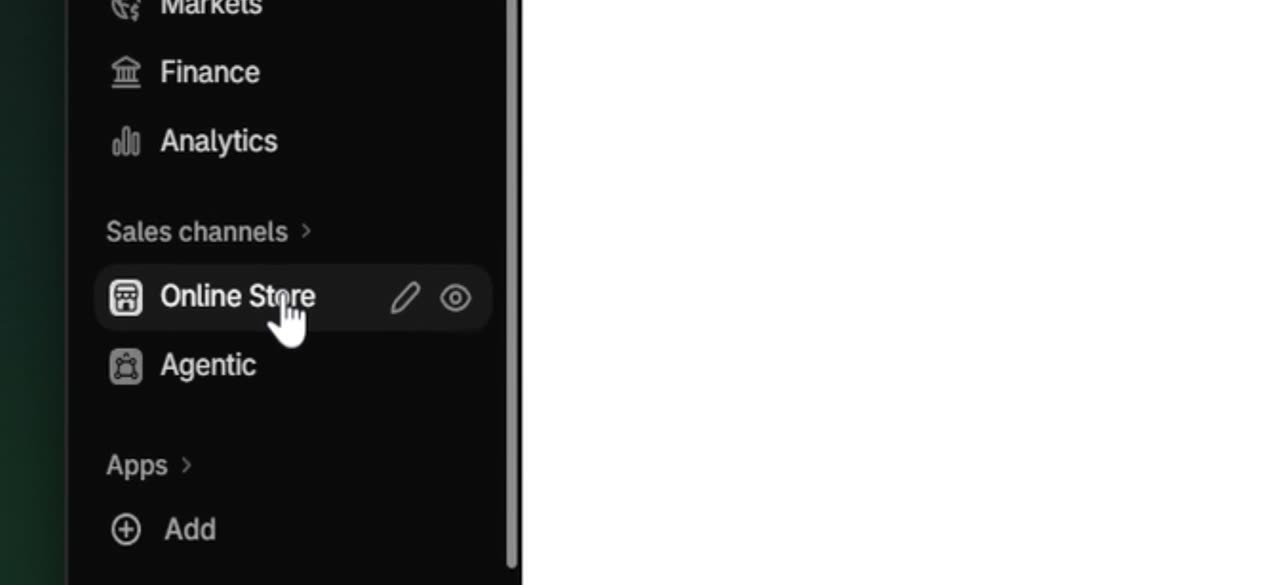
Click the eye icon beside Online Store. Your storefront opens in a new tab on the home page.
10. Add the product to the cart
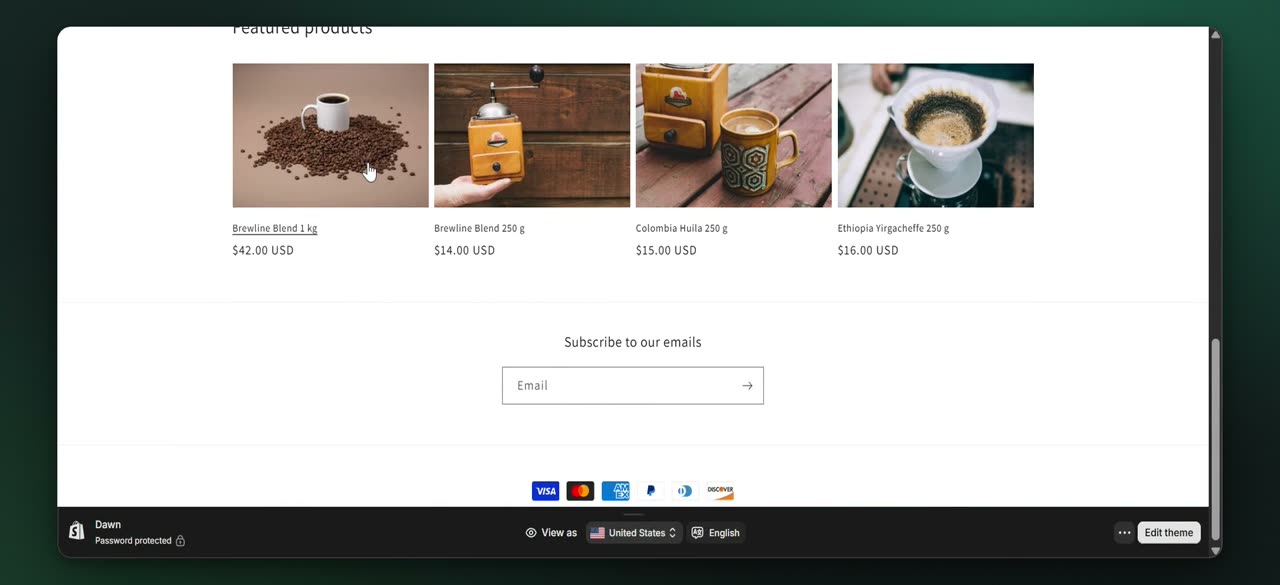
Open the product page, leave the quantity at one, and click Add to cart. This lets you test the discount on the item you just created.
11. Apply the discount code at checkout
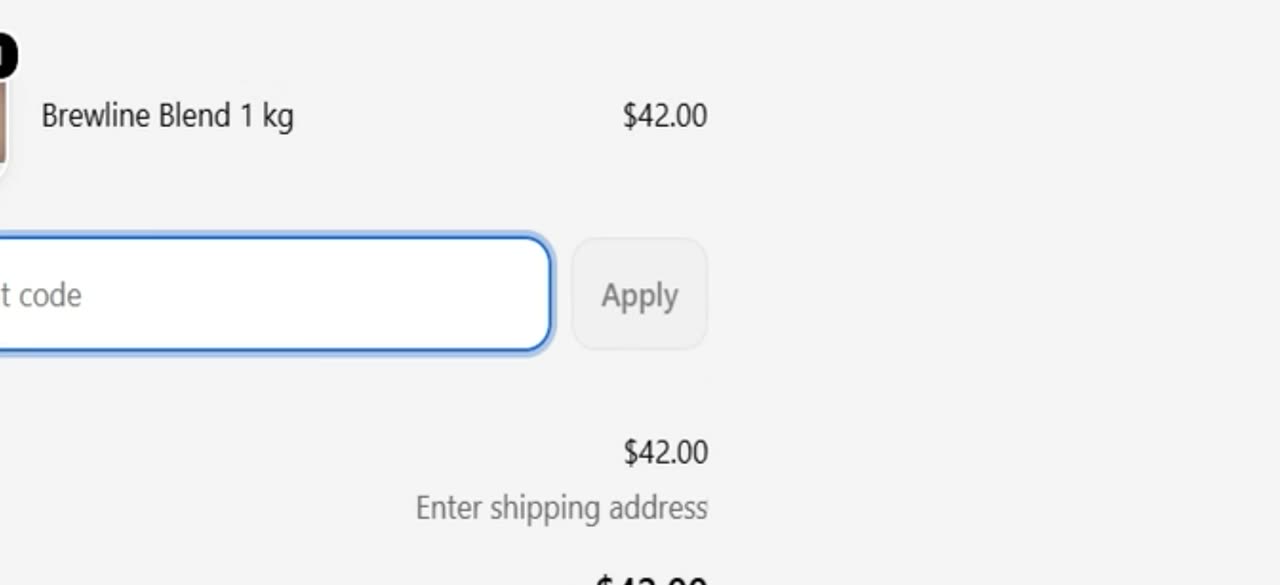
At checkout, enter the discount code and click Apply. The discount appears in the order summary and the total updates.
You’ve now added a product, created a launch discount, and confirmed that the discount works in checkout.