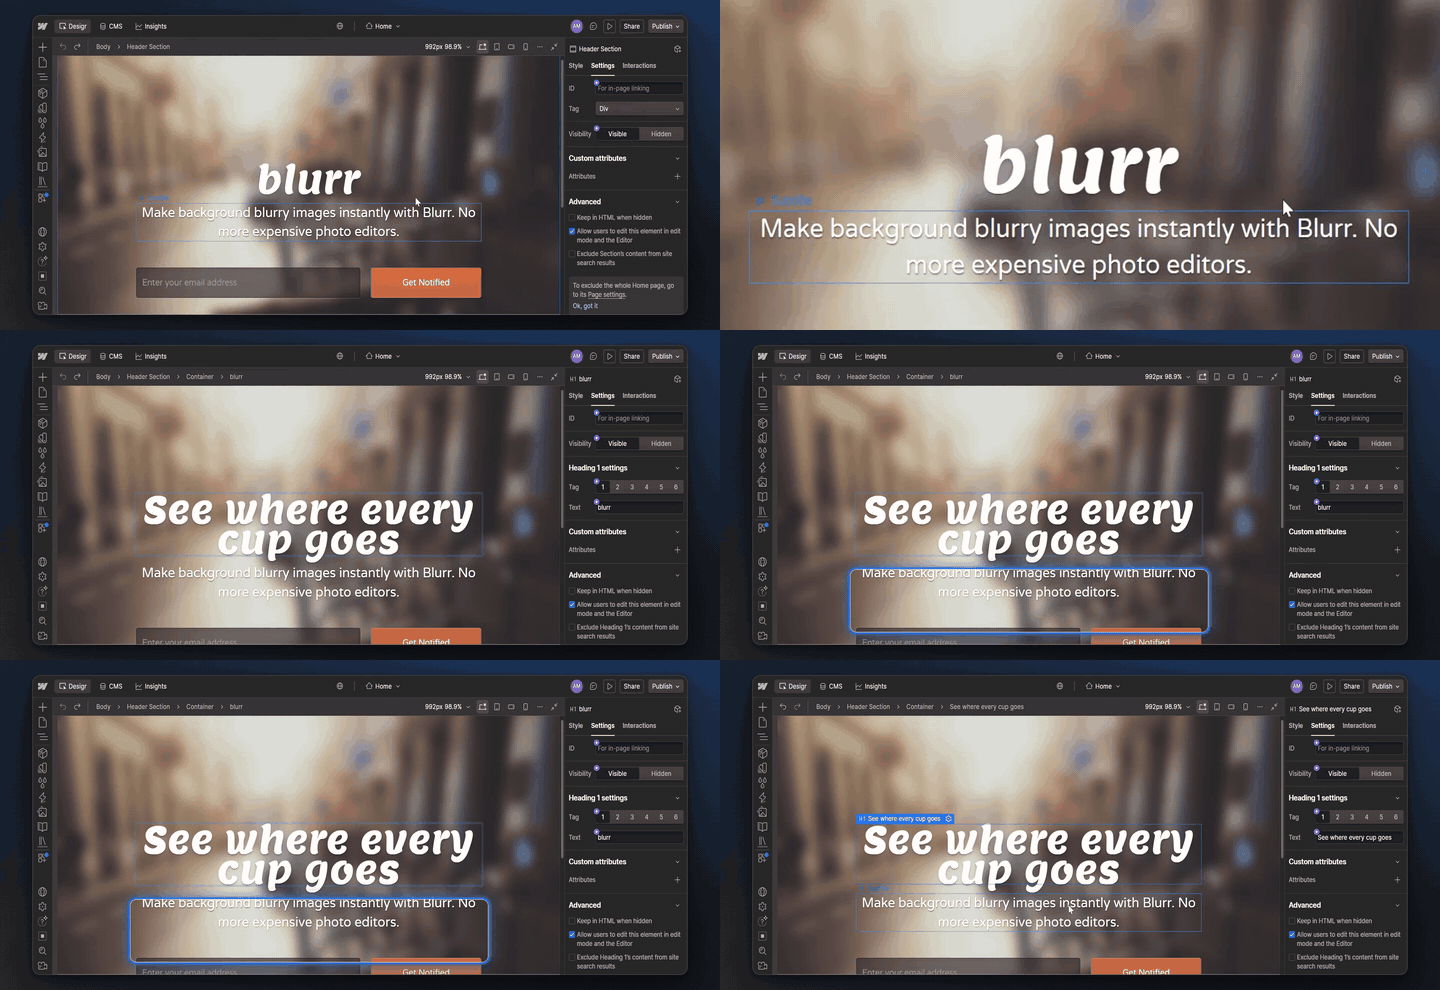
All examples
Webflow

Publish a launch page in Webflow

One 1:48 screen recording, 11 clicks, no script. TurtleScene turned it into everything below. Nothing was edited by hand.

In1:48 recording
Out19
  • 10 videos
  • 1 clickable demo
  • 2 GIFs
  • 2 thumbnails
  • 2 caption tracks
  • 1 help article
  • 1 set of launch posts
The three main outputs

Watch it, click through it, or share the story.

Script, AI voiceover, zooms and a highlight on each step, all generated from the recording. Turn the sound on.

Cut for social · 8 videos

Every shape a feed asks for.

Captions are burned in, in big phrases, so they play muted. The narrated video gets vertical and square cuts that follow every click under a step header, and a 30-second highlight in landscape and 9:16. The story video is laid out again for each shape: vertical and square cuts, and its highlight in landscape and 9:16.

Vertical cut
Reels, Shorts, TikTok · 1:34
Square cut
LinkedIn and X · 1:34
30-second highlight
Emails and landing pages · 0:33
Vertical highlight
Stories and ads · 0:33
Written from the same recording

The docs and the launch copy come with it.

Help article

How to publish a launch page in Webflow

Use this walkthrough to update a launch page and publish it live. You’ll edit the heading and description, change the background image, update the button redirect, and then open the published page.

1. Select the main heading
Select the main heading

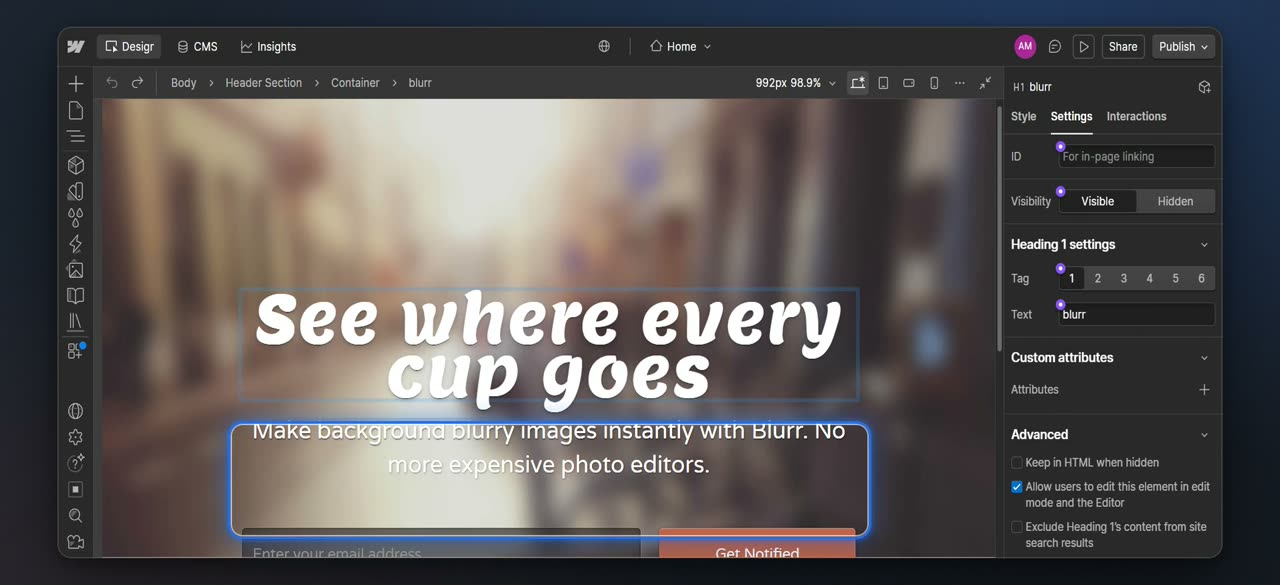
Click the main text heading to select it. Edit the heading text directly.

2. Select the subtitle text
Select the subtitle text

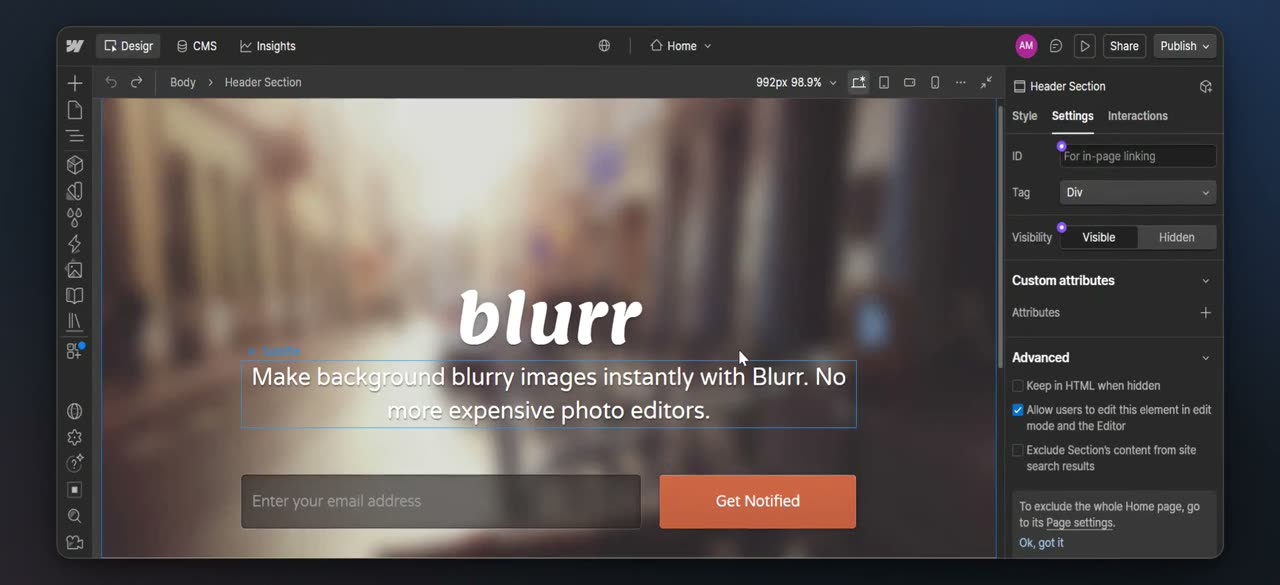
Click the paragraph below the heading. Update the description text shown under the title.

3. Open the background image options
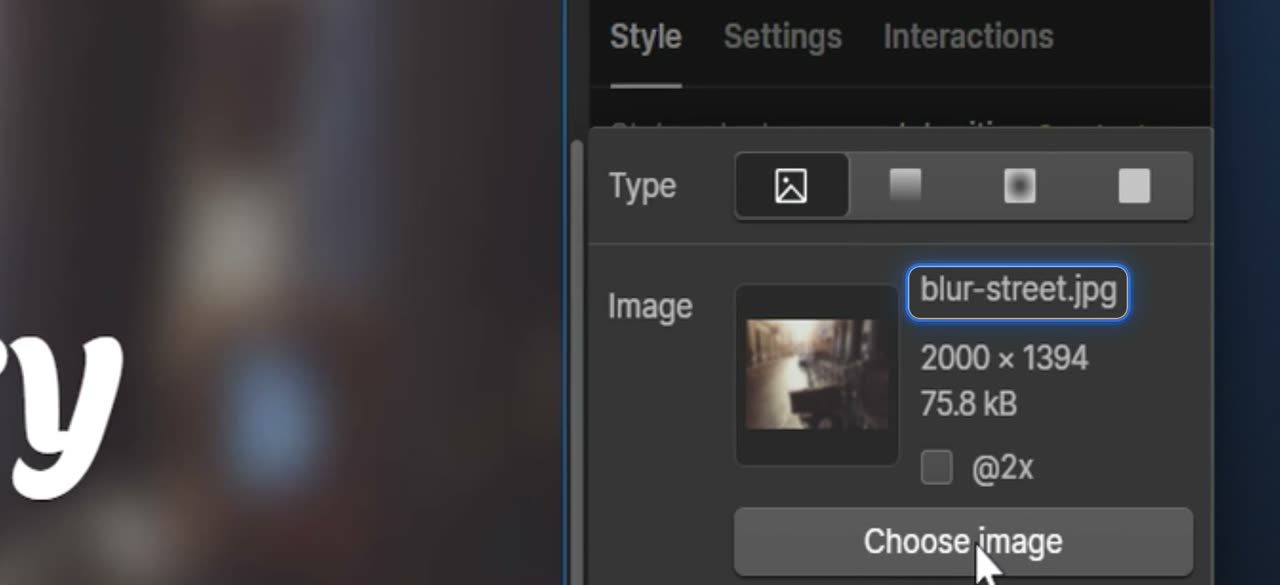
Open the background image options

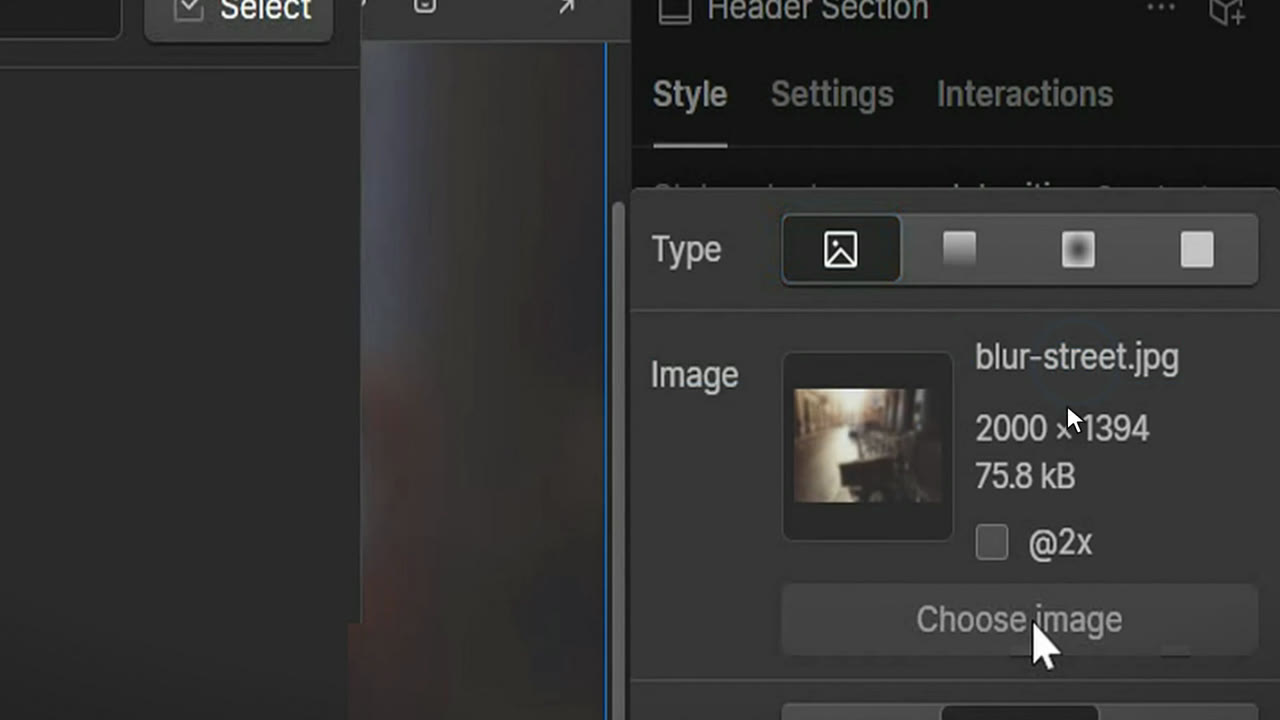
Click the current background image. This opens the image settings so you can replace it.

4. Choose a new image
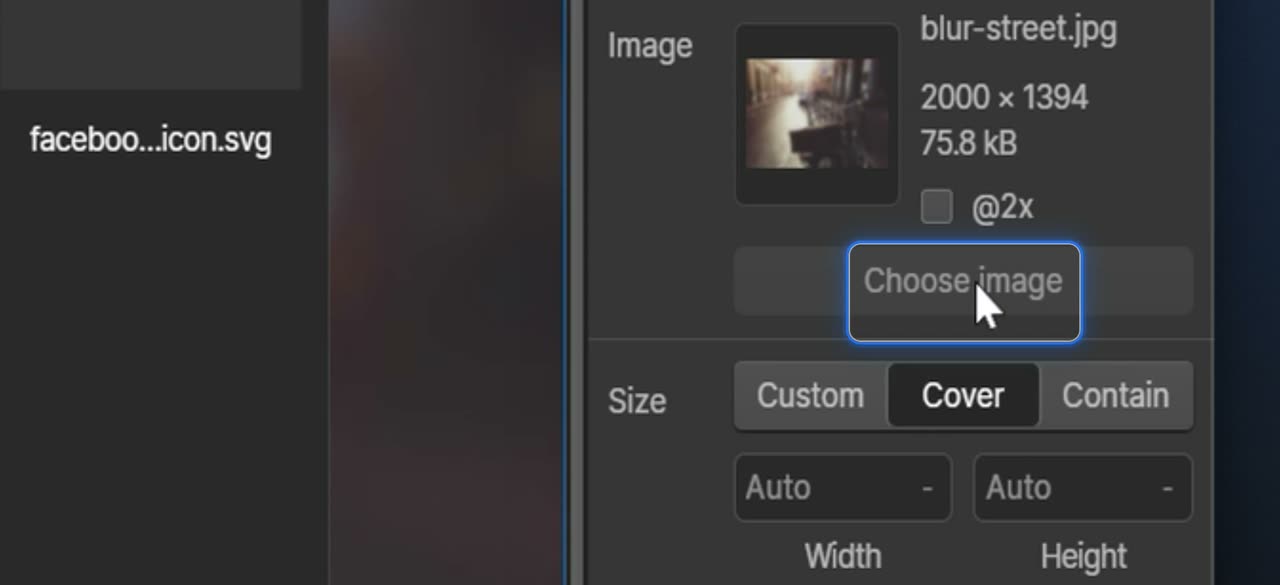
Choose a new image

In the image settings, click Choose image. This opens the assets panel.

5. Select the background image asset
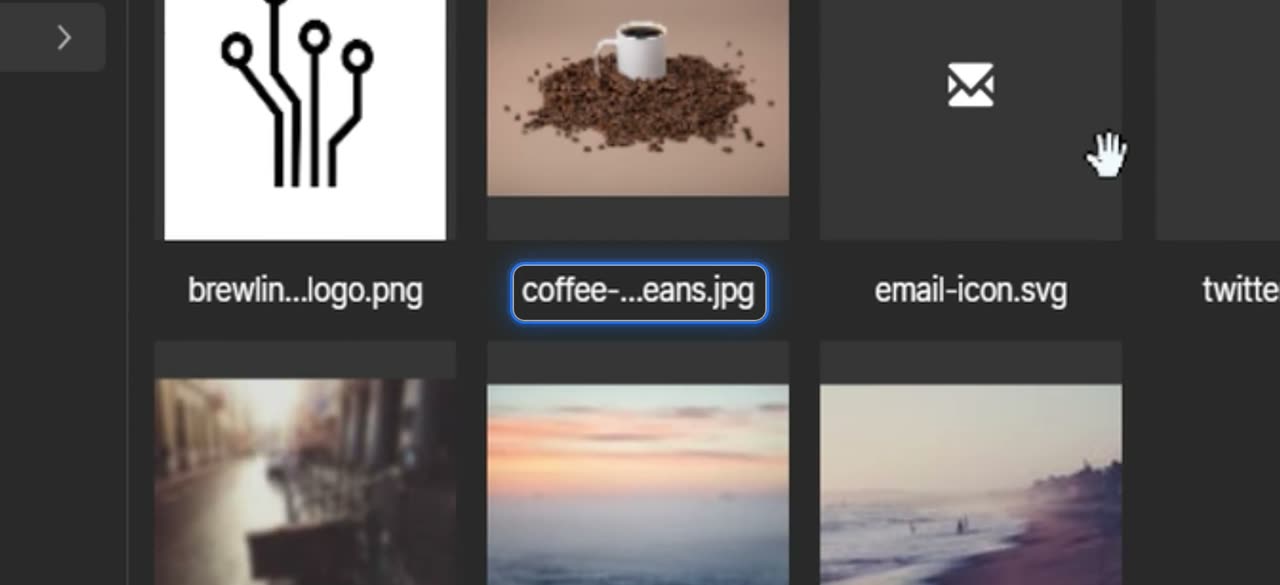
Select the background image asset

In Assets, click coffee-beans.jpg. The new image appears as the header background behind the form and button.

6. Open the button settings
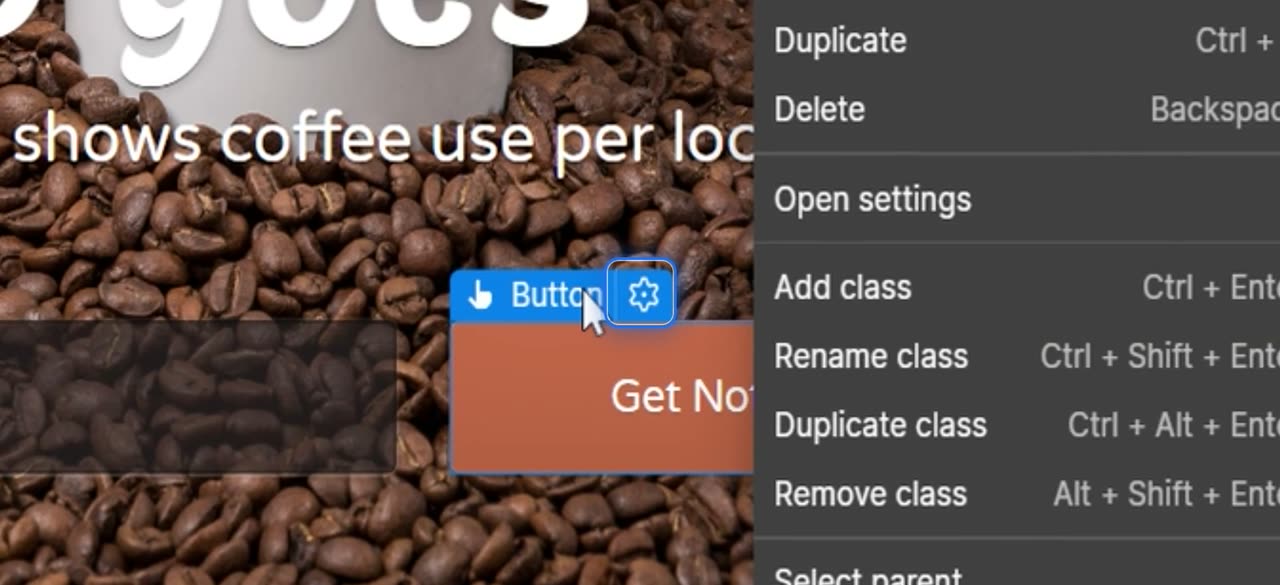
Open the button settings

Click the settings gear on the button element. This opens the Submit Button settings so you can change its properties.

7. Set the redirect type to URL
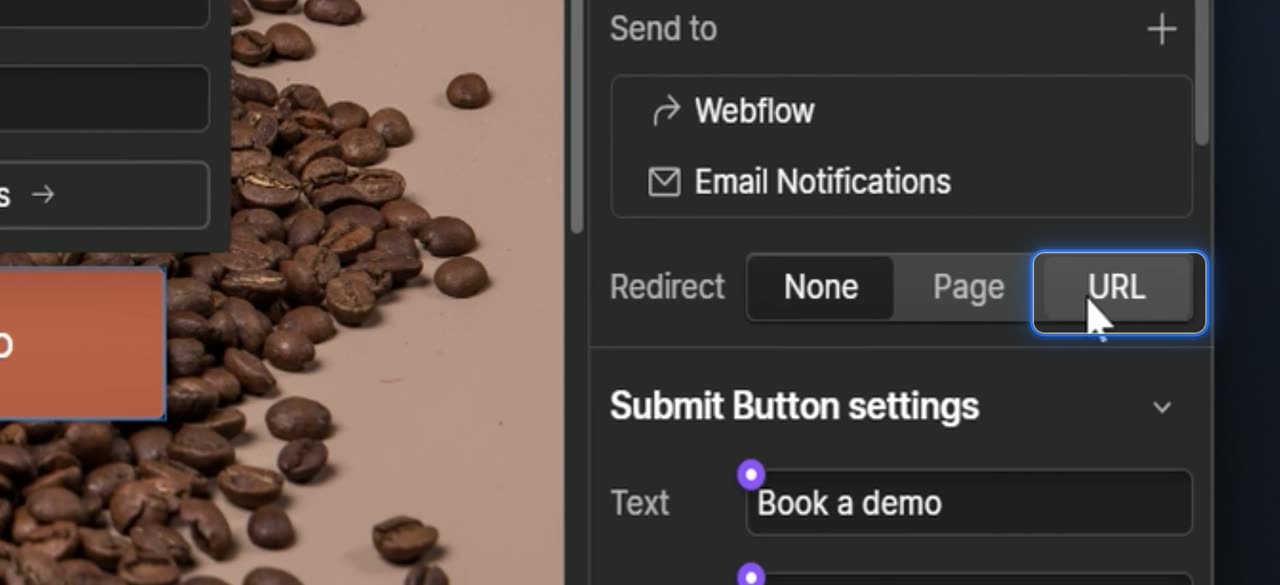
Set the redirect type to URL

In the button settings, choose URL as the redirect target. This tells the button to send visitors to a link.

8. Enter the redirect URL
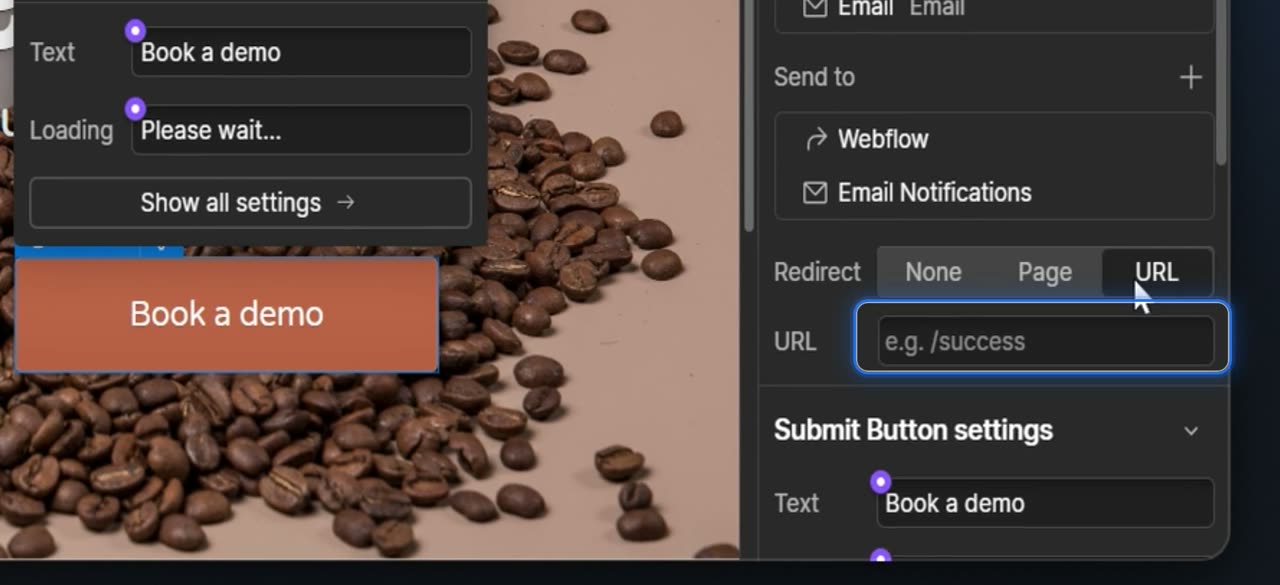
Enter the redirect URL

Type the booking link into the URL field. The button will use this address when someone clicks it.

9. Open the Publish menu
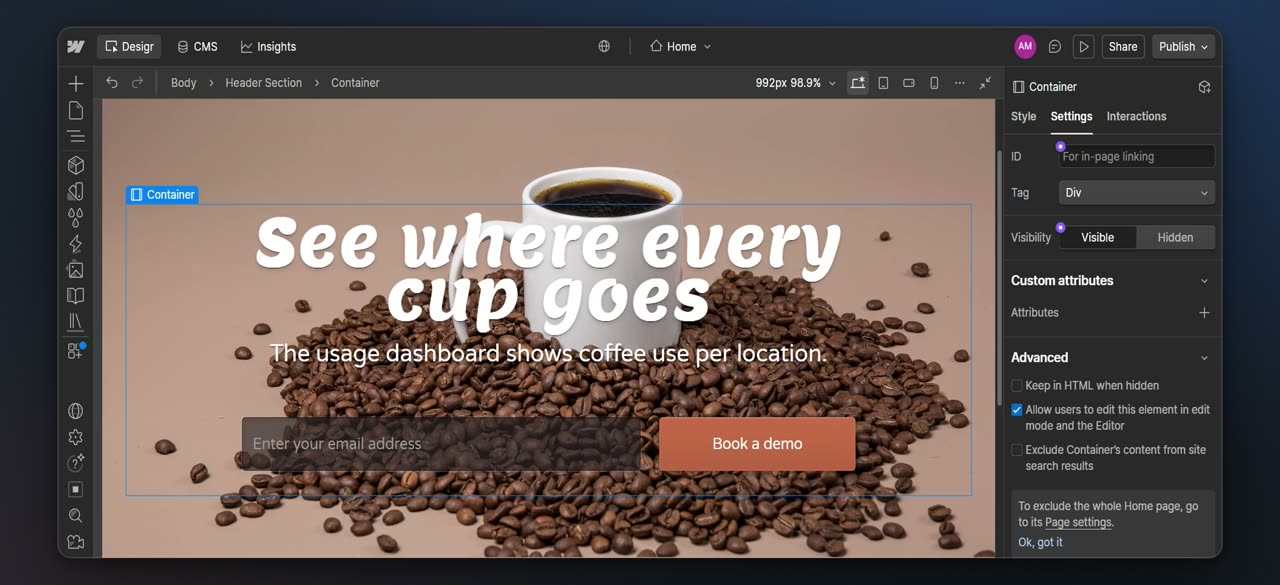
Open the Publish menu

Click Publish in the top toolbar. This opens the available publishing destinations.

10. Publish to the selected domains
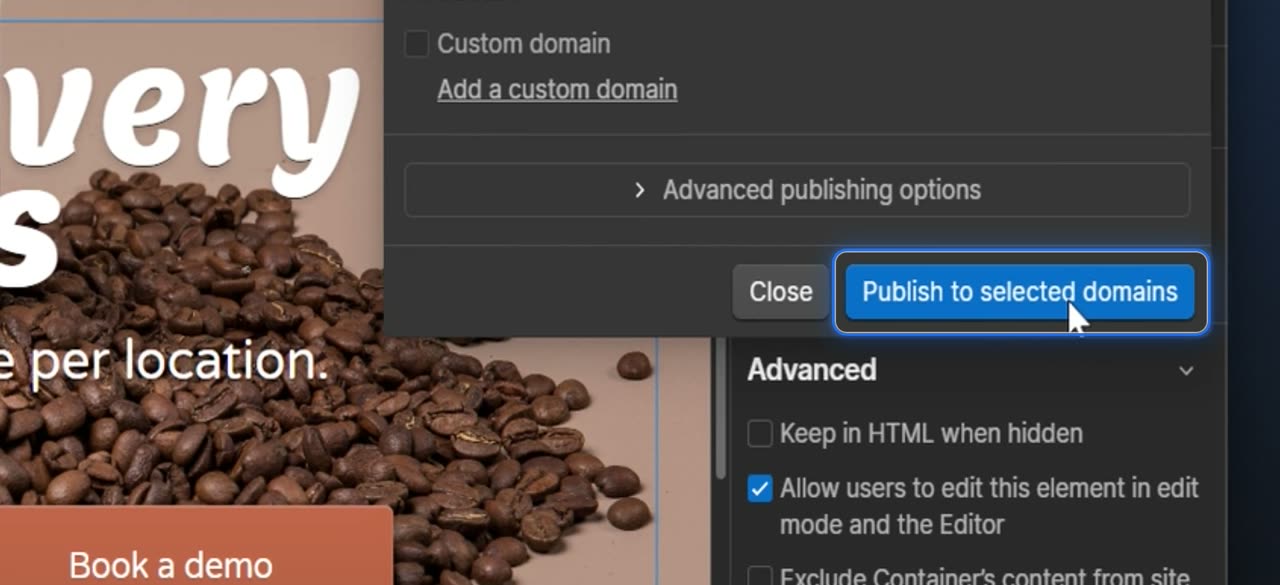
Publish to the selected domains

Click Publish to selected domains. This publishes the site online.

11. Open the published website
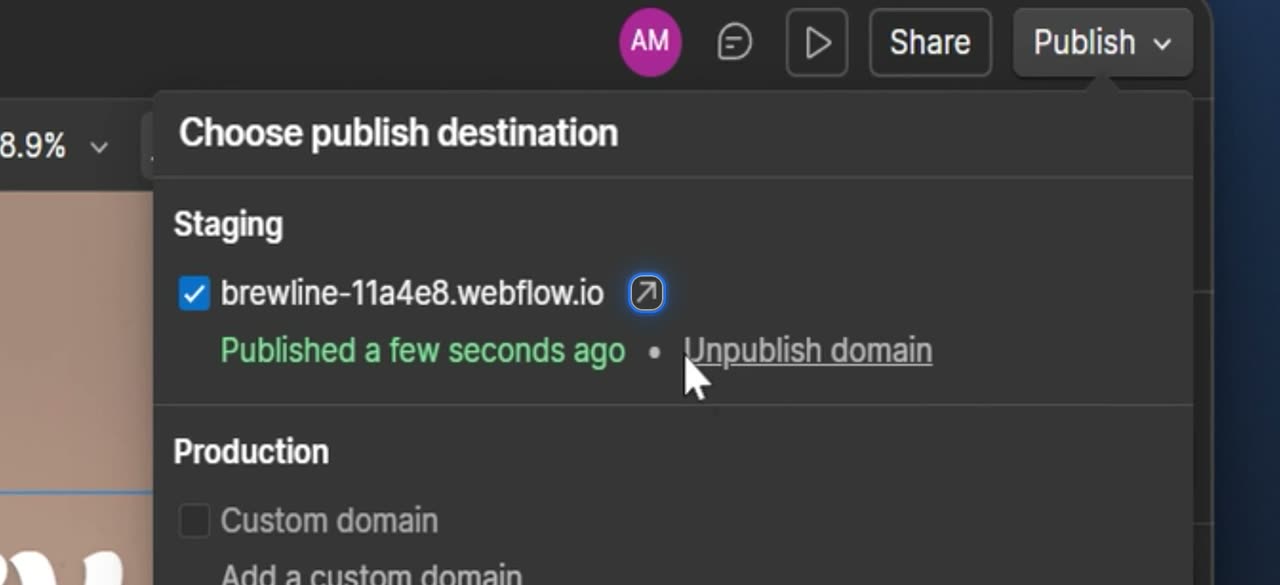
Open the published website

Click the external link icon for the published link. The live page opens in a new tab so you can review the updated heading, text, and button.

After that, your launch page is live and ready to share.
Launch posts
You
Your company
LinkedIn post · written by TurtleScene

Need to get a launch page live in Webflow without overthinking the setup?

This walkthrough shows the full path from first edit to published page.

It starts with a simple visual update: selecting a section background, choosing a new image, and swapping it from the asset library.

Then it moves to the part that matters most for a launch page: the sign-up flow. The video shows how to decide where visitors should go after submitting the form, then how to open the button settings, choose a URL redirect, and enter the destination page.

From there, it covers the final publishing step: opening the Publish menu, selecting your domains, and pushing the page live.

By the end, the page is published on its staging domain and ready to collect email sign-ups.

If you’re opening Webflow for the first time and want a clear, practical example, this is a good place to start. Watch the video to see each step in order. #Webflow #WebDesign #LaunchPage

You
Your company
X post · written by TurtleScene

Publishing a launch page in Webflow is simpler when you see the exact steps.

This video covers editing the page, setting the form redirect, and publishing to a live staging domain. Watch the walkthrough. #Webflow #NoCode

Read the blog post

How to publish a launch page in Webflow

A simple Webflow walkthrough for first-time launch pages

If you’re setting up a launch page in Webflow for the first time, it helps to see the full process from start to finish.

This video walks through the core steps to take a page from an initial edit to a live site. It focuses on a practical launch-page flow: updating the design, making the sign-up form useful, and publishing the page so it can start collecting email sign-ups.

What the video covers

The walkthrough begins with a basic visual change. It shows how to select a section background image, click Choose image, and replace it with a new photo from the asset library. For anyone new to Webflow, this is a straightforward example of how to update the look of a page without rebuilding anything.

Next, the video moves to form behavior. A launch page usually needs one clear action, and in this case that action is signing up. The tutorial shows how to decide where visitors should go after they submit the form.

From there, it demonstrates how to wire that flow in Webflow: open the button settings, choose URL as the redirect option, and enter the address visitors should land on after submission.

From edit to live site

Once the page content and form flow are ready, the final step is publishing. The video shows how to open the Publish menu, publish to the selected domains, and open the live site.

The result is a published launch page on its staging domain, ready to collect email sign-ups.

That makes this a useful how-to for anyone who wants a clear example of the essential Webflow steps involved in getting a launch page online.

Watch the walkthrough

If you want to follow the exact sequence in Webflow, watch the video and use it as a step-by-step guide for publishing your own launch page today.

Captions · narrated video
  1. 00:00Here's how to update and publish
  2. 00:02a launch page in Webflow.
  3. 00:06Select the main heading text to edit it.
  4. 00:12With the heading updated,
  5. 00:14click the paragraph below it
  6. 00:15to change the description text shown
  7. 00:18under the title.
  8. 00:20The paragraph text updates, and the header
  9. 00:22section settings stay open on the right.
  10. 00:25Open the current background
  11. 00:27image settings here.
  12. 00:30In the image settings, open Choose image.
  13. 00:34From Assets, pick coffee-beans.jpg
  14. 00:36for the header background.
  15. 00:39The new coffee image appears behind
  16. 00:41the form and button.
  17. 00:43Open the button settings
  18. 00:45to edit its properties.
  19. 00:47The button text changes to Book a demo,
  20. 00:50and Submit Button settings open.
  21. 00:54Set Redirect to URL for this button.
  22. 00:58Enter the destination link
  23. 01:01in the URL field.
  24. 01:03The URL field fills
  25. 01:04with the redirect address for the button.
  26. 01:08Now that the page content, background
  27. 01:11image, and button redirect are updated,
  28. 01:14open Publish in the top toolbar
  29. 01:16to choose where this site goes live.
  30. 01:20Choose Publish to selected domains
  31. 01:23to publish online.
  32. 01:28After publishing, open the staging link
  33. 01:31with the external link icon.
  34. 01:34The published page opens in a new tab
  35. 01:36with the updated heading,
  36. 01:38text, and button.
  37. 01:40The updated launch page
  38. 01:42is now live in the browser.
Captions · story video
  1. 00:00Here's how to publish
  2. 00:01a launch page in Webflow,
  3. 00:03from your first edit to a live site.
  4. 00:06Select the section's background image,
  5. 00:08click Choose image, then pick
  6. 00:10a new photo from the asset library.
  7. 00:13Next, make the sign-up form useful. Decide
  8. 00:16where visitors go after they submit.
  9. 00:20Open the button's settings,
  10. 00:21choose URL as the redirect, and enter
  11. 00:24the address visitors should land on.
  12. 00:27When it's ready, open the Publish menu,
  13. 00:29publish to your selected domains,
  14. 00:32and open the live site.
  15. 00:35Your page is live on its staging domain,
  16. 00:38ready to collect email sign-ups.
  17. 00:40Open Webflow and publish
  18. 00:42your own launch page today.
For previews and link cards

GIFs and thumbnails, from both videos.

GIF · narrated video
GIF · narrated videoChangelogs, READMEs, emails
GIF · story video
GIF · story videoChangelogs, READMEs, emails
Thumbnail · narrated video
Thumbnail · narrated videoYouTube and link previews
Thumbnail · story video
Thumbnail · story videoYouTube and link previews

Independent tutorials we recorded ourselves. Webflow is a trademark of their owners; TurtleScene is not affiliated with or endorsed by them.

Your next product demo is one recording away

Record a flow on the free plan and watch it come back narrated, clickable and on-brand in a few minutes.

  • No credit card
  • 2 free recordings a month
  • Cancel any time